Today I worked on making some Bullseye Pillows. What are bullseye pillows, you ask. It is a pillow made from a stripe fabric and cut in triangles then sewn together to create a bullseye effect. These are pieced pillows that take a little more planning and time to make then the normal pillow, but makes a boring stripe fabric interesting. There are actually several variations that you can do with stripes, but today I am going to show you how to make the bullseye pillow.
Choosing the Fabric
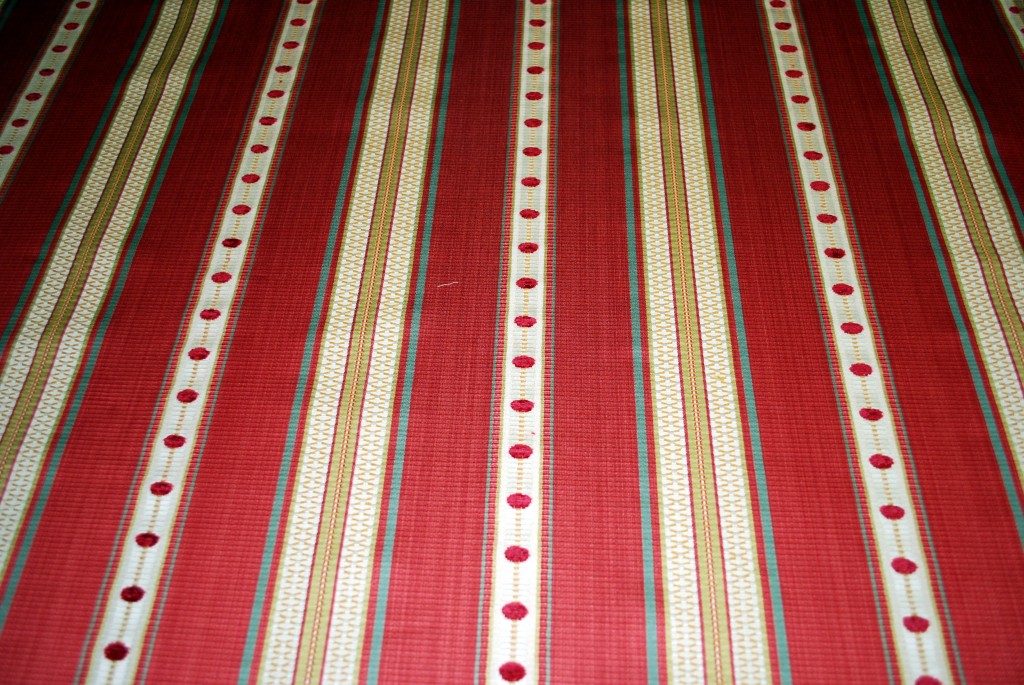
First you need a beautiful stripe fabric. With a bullseye fabric the stripes do not have to be evenly space. Although this one is.
Making the Pattern
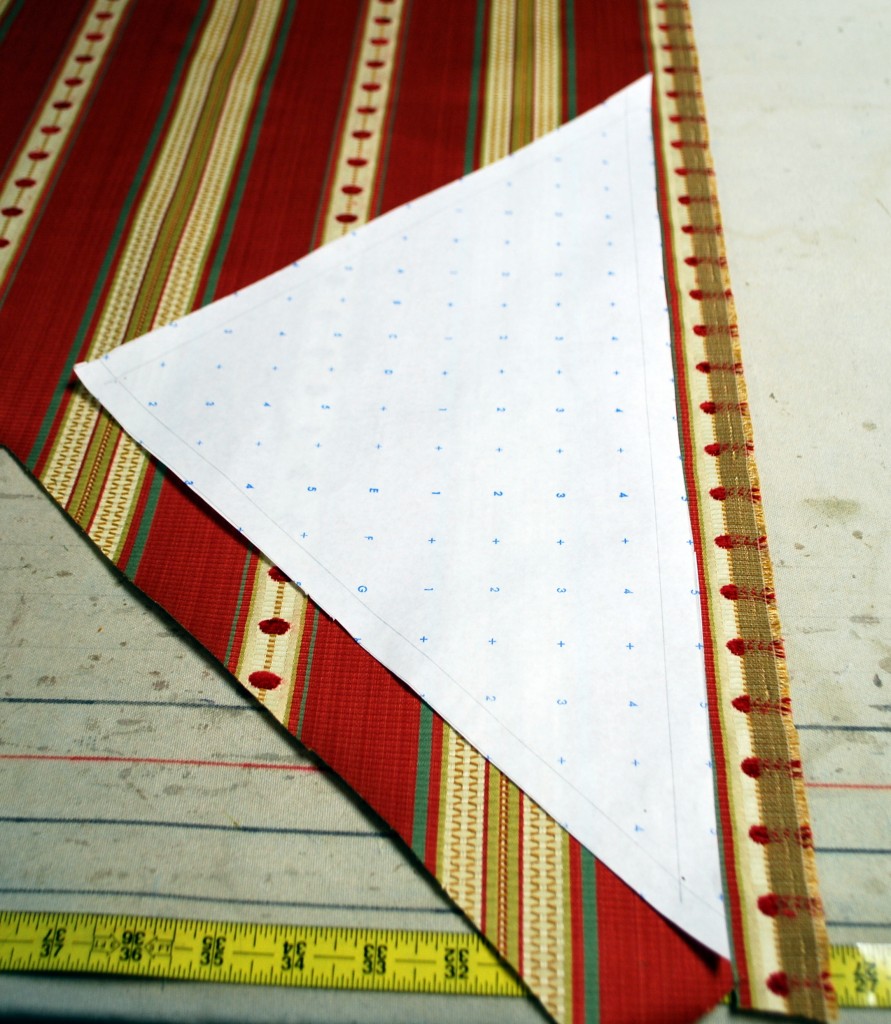
The next step is to come up with a pattern. The pattern is a triangle with the bottom edge being the size of the pillow plus seam allowances, plus extra to make up for the amount you will lose when you sew the triangles together. So if you need an 18″ pillow your triangle needs to be approximately 21″ along the bottom edge.
Cutting the Bullseye Pillow
Once you have the pattern cut, you line it up with one of the stripes. Here is where you will want to think about where you lay it and what stripe you want to use, depending on the look you are wanting. If you want the red to be the predominate color or the gold. Once you have decided, line it up and cut.

After you have cut the first piece, then continue to use that piece as the pattern to cut the rest of the pieces and carefully line up the stripes to match each cut.

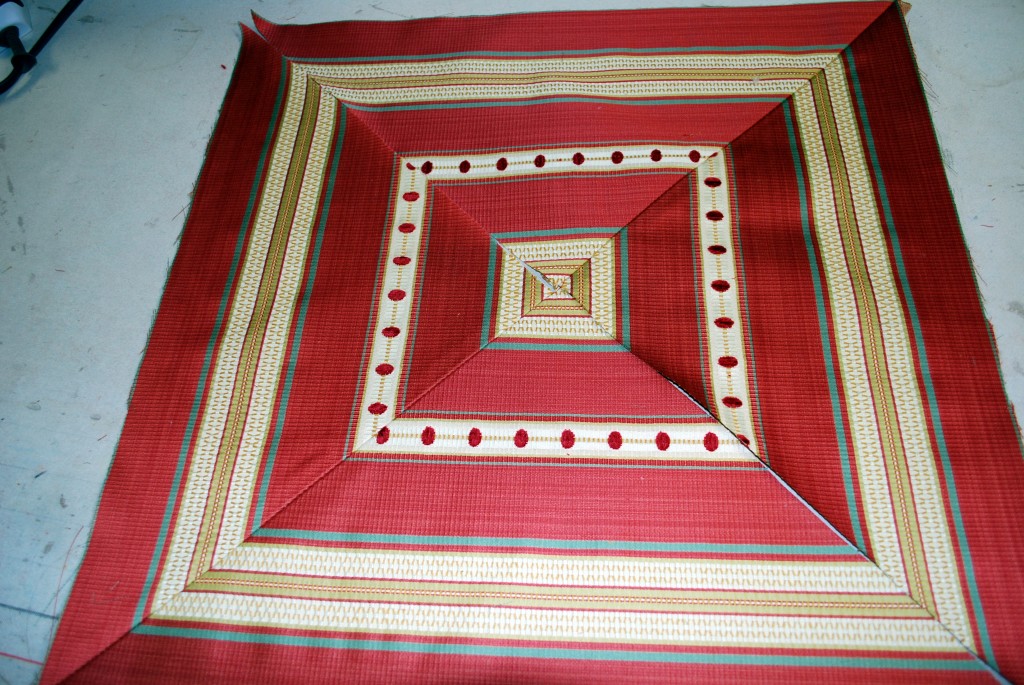
After you have all 4 pieces cut you lay them out and make sure all the corners and stripes match up.
Sewing the Bullseye Pillow
Then you will sew 2 of the pieces together being sure to pin and sew carefully and not pull on the bias cut edges of the triangle or you will have a harder time of matching up the lines and could also wind up with a bubble in the middle of your pillow. After sewing each piece together turn it over and press the seam open.
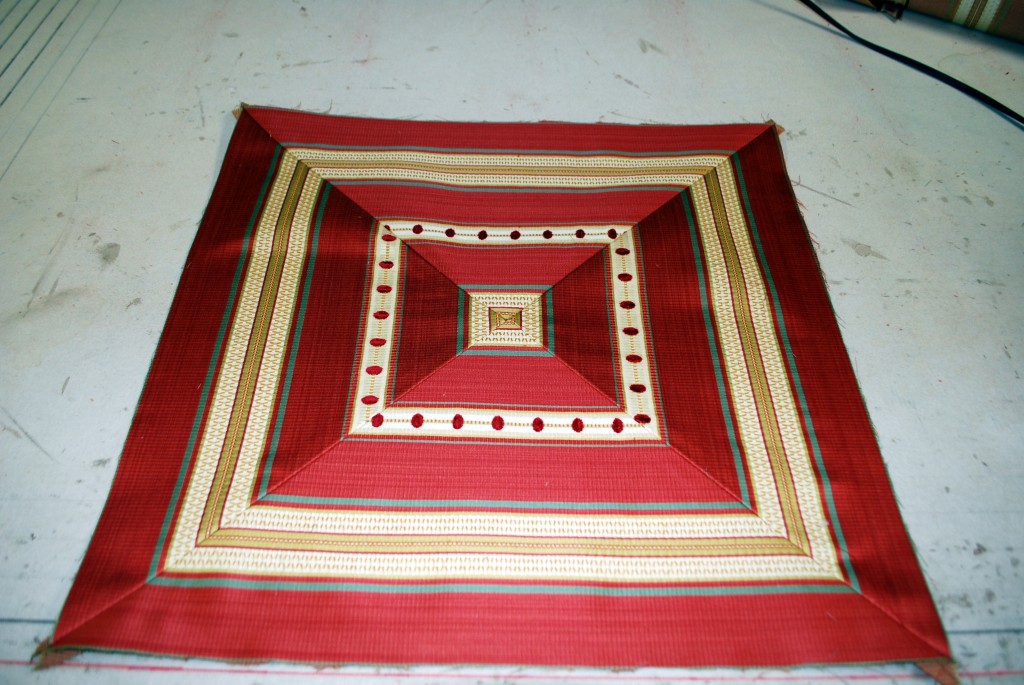
The next step is to carefully pin and sew the 2 halves together to form the square. In this step you need to be careful to match up the middle seams, and lines.
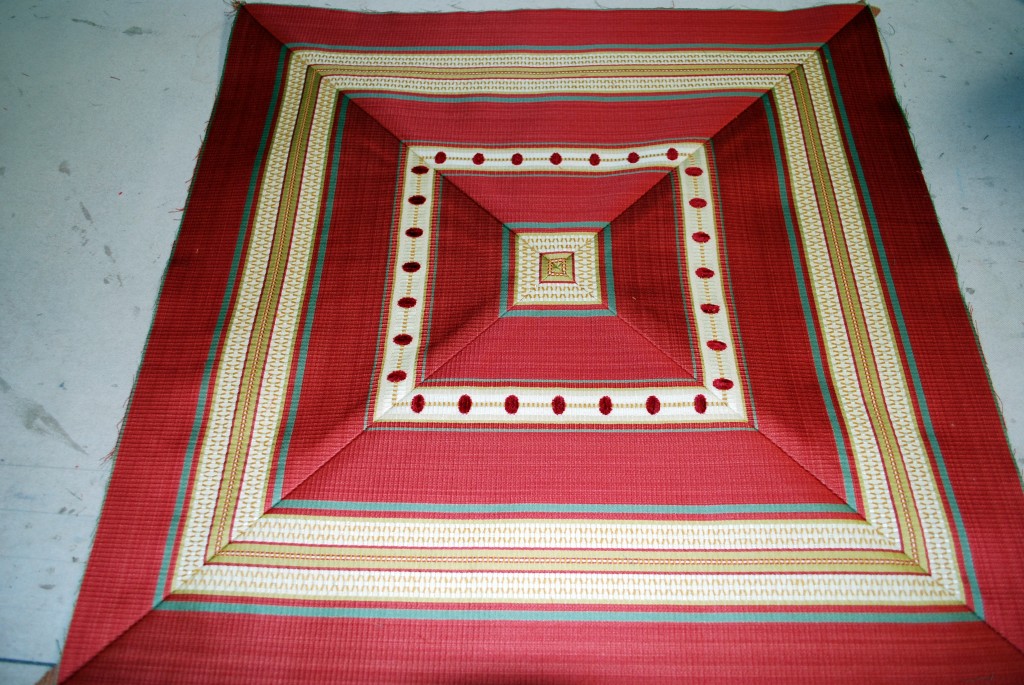
Once you have this seam sewn, then press it open.
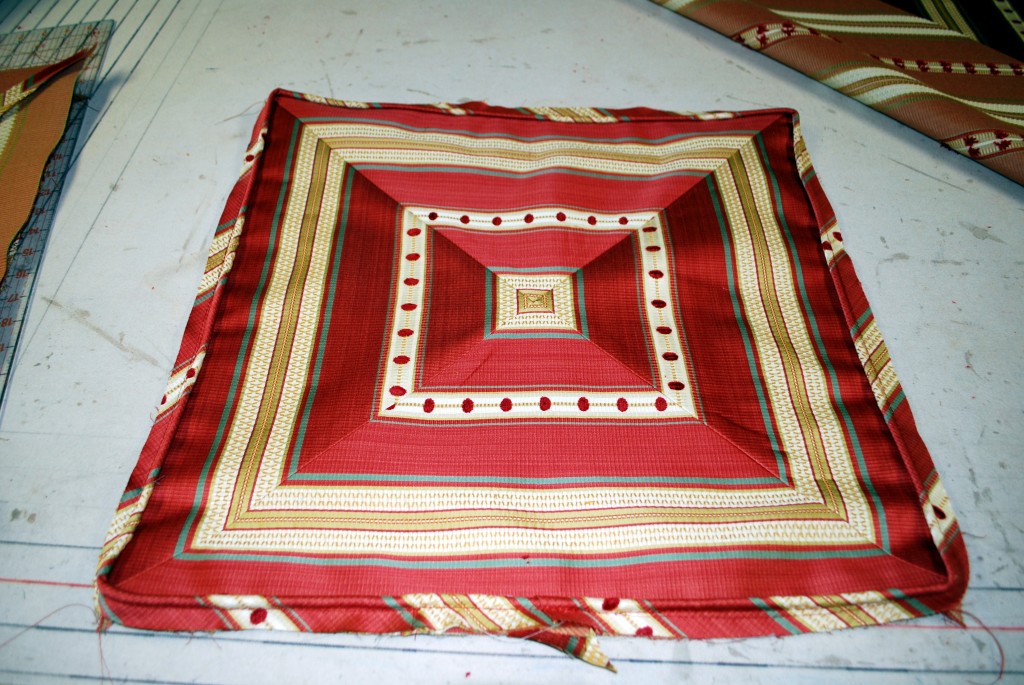
On this pillow I made a bias welting or cording to go around the edges. I then basted the welting on. Next I carefully pinned the front to the back, being careful to have the corners with the seams meeting up, and sewed around the edges, leaving an opening to stuff the insert through. Then I hand closed the bottom edge.
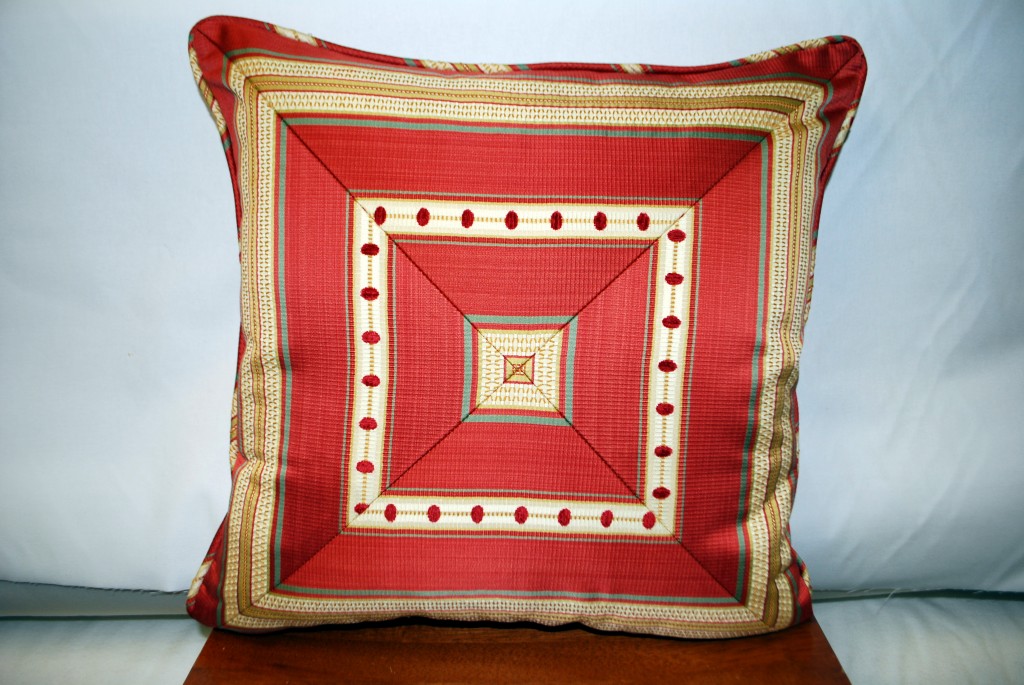
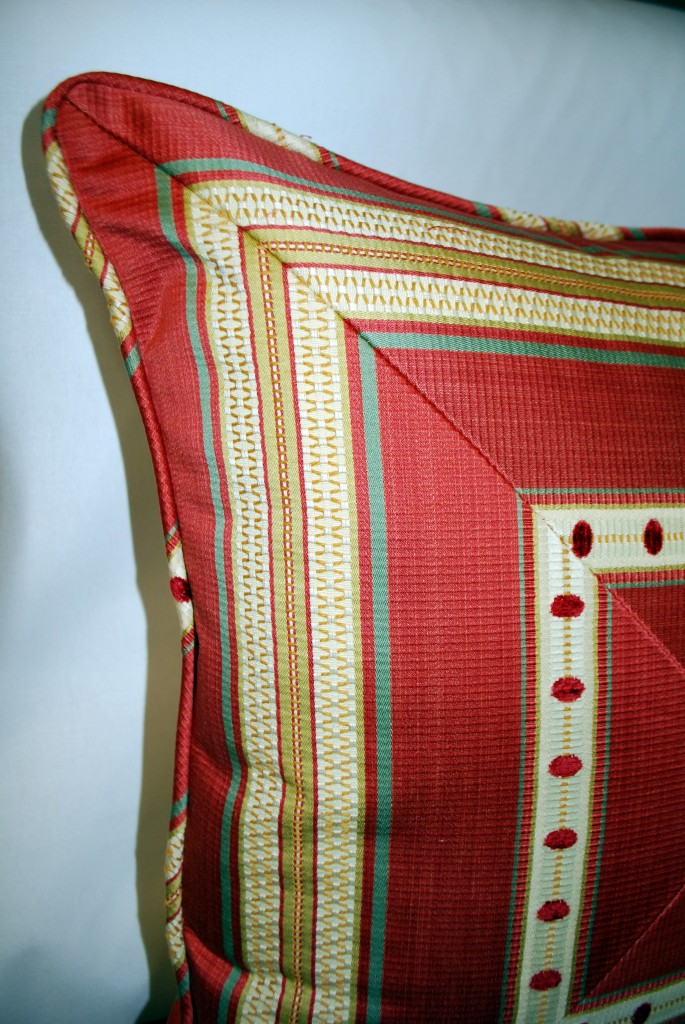
And you have a nice Bullseye Pillow!
If you enjoy this blog, please remember to subscribe, and you will get an update, when I post a new article. Just put in your email, it is that simple. And thanks for taking the time to read this!



6 Comments
Leave your reply.