So after showing a lot of the projects we create in our workroom, I have decided to let you see some of the equipment we use in our workroom. Years ago when we started out I worked in my living/dining room, with 2 home machines, a Viking sewing machine and a Husqvarna serger. I actually started with a cheap little Singer Sewing Machine, but soon out grew it. The first 2 machines that I mentioned lasted me a long time. I didn’t have a table, I cut and laid everything out on the floor, I ironed on a regular ironing board and had a table set up that held my 2 machines. At one end of the room was my work area and the other end had a play kitchen and little climber, that my 6 month old, 2 yr old, and 4 yr old played on while I sewed. After several years of this, I became more serious and had saved up enough money to finish a room in our basement.
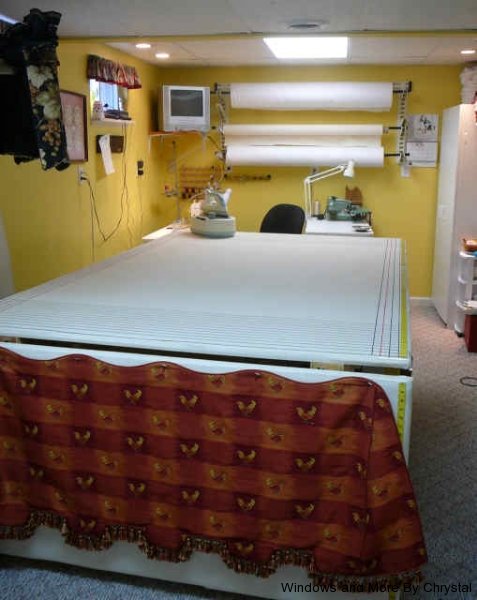
It wasn’t very big but it gave me enough room to work in. Mark built me a table, so I didn’t have to crawl on the floor anymore. I can pin, iron and cut out on this table and it is wide enough for a full bolt of fabric. It was a real upgrade from the floor! Soon after, I started investing in industrial machines.
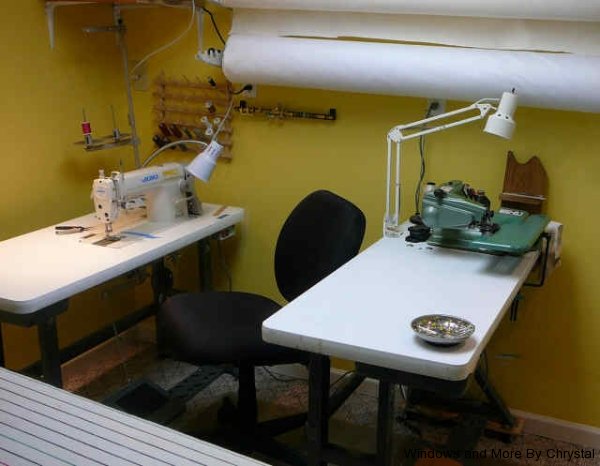
The first one I bought was the Cadillac of blind hemmers from U.S. Blindstitch, it was used, but ran like a top. Then I went ahead and bought the Juki Industrial straight stitch new, when I went down to the CHF Academy. But with these new machines my workroom was expanding out the door!
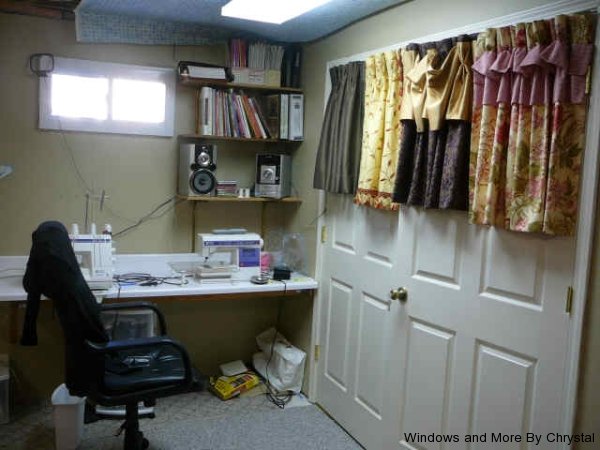
I still had my home machines, the serger and my Viking sewing machine. The home machine could do things the industrial could not, such as buttonholes, and the zigzag stitch. I also displayed the samples that I had created at the CHF Academy.
But as time past, and my family started growing up, so did my business! I went to Conferences, joined WCAA, got my tax id. and became a real business! Some people still have a hard time thinking of it that way, but with my new workroom they realize this is not a hobby anymore. I also got a couple more machines and the little room wasn’t going to work anymore! So we took over the kid space and moved everything out into the large area of the basement.
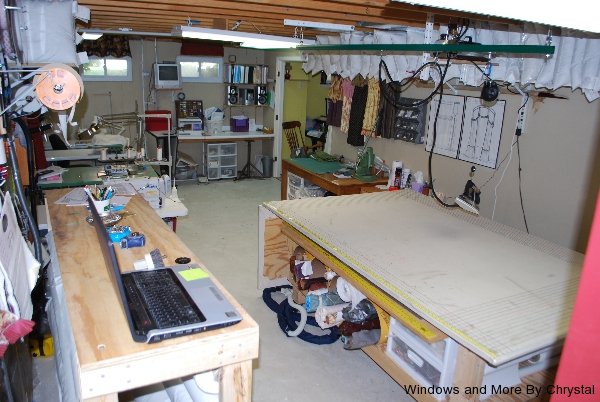
So this is the view of the new workroom as you come down the stairs.
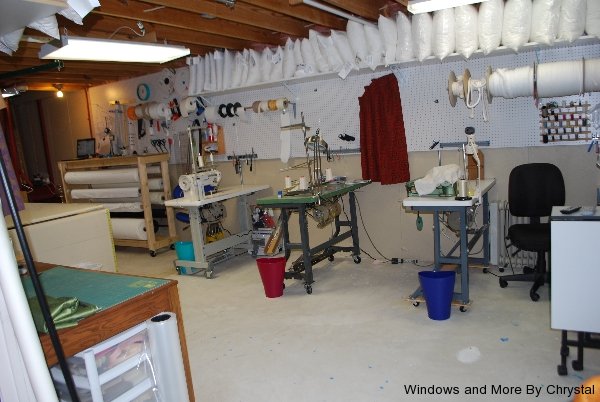
View looking from the old workroom. I lined up all my machines on one wall. There has been one adjustment since this picture was taken, I switched my walking foot with the regular straight stitch, from the first machine you see, after using the new set up a couple of weeks I realized that it wasn’t efficient the way it was set up. But the move was not hard, because as you can see all my machines are on wheels. My table, lining rack are also on wheels, so I can easily move things around.
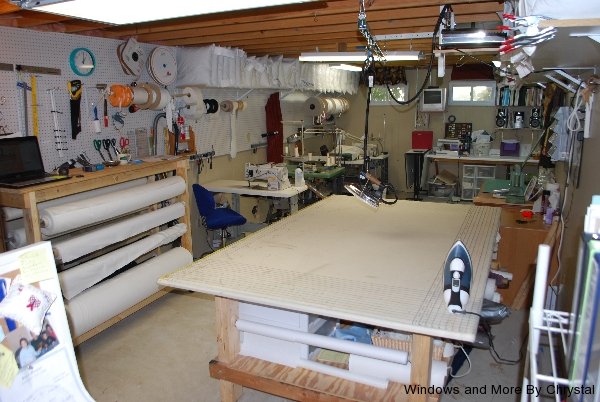
Another view from the other corner of the room. As you can see on my table I have a roll of pattern paper that is on a rod on the end. I actually have 2 different kind of irons, an expensive hand-held iron that heats up quickly, and a boiler iron that is on a track above my table.
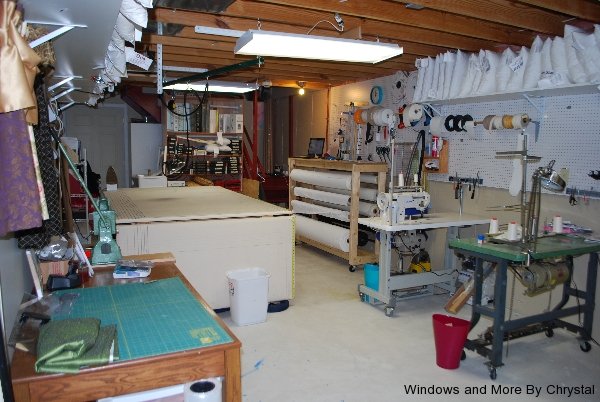
This view shows of the storage I have on the wall with the great pegboard. Since this picture I have done some rearranging again and will show you some of the ways I use it today. Above on both sides of the rooms I put shelves for pillow storage, one side is for feather/down and the other is for polyester pillows. I can quickly see what I have and what I need to order. Now if you think I thought of all these ideas all on my own, you will be sadly disappointed. I borrowed many of them from other workrooms that I had visited or was friends with. Jann Newton of Newton Custom Interiors was my main inspiration! She sent me pictures of her workroom and was very helpful in planning out my new workroom. She also has a website and has started a great new blog. So check her out. http://newtoncustominteriors.com/ . I got the pillow storage idea from Debbie Bruns of Under Cover Custom Slipcovers.
So as I said before I slowly bought industrial machines. The first was the U.S. Blind Stitch machine.
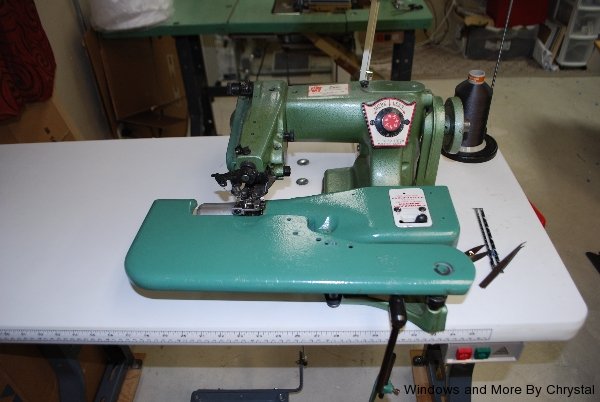
I didn’t buy it new, it had been refurbished. The reason I chose to purchase this machine first, was so I could do hems and side hems on drapes professionally. Up until this point I had been making my drapes in a different way, that wasn’t as professional as they could have been. I was slowly raising my standards. I researched a lot before I took the deep plunge and this was supposedly the Cadillac of blindhemmers. And it does a wonderful job and I almost never have issues with it. There are still times that I hand hem drapes, usually silks, velvets and a few others require that extra special touch.
My next purchase was the Juki Straight Stitch.
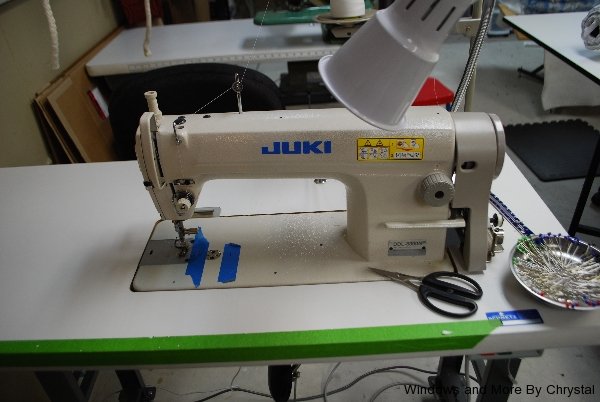
The reason I finally took the plunge on this one, was because I was sewing faster than my home machine could sew. When I took my poor viking in for maintenance they said I had worn the feed dogs down to nothing. Feed dogs are what pulls the fabric through the machine. The Juki will also sew through almost anything. This is my most used and loved machine! Just for an example my Viking home machine sewed approx. 430 stitches a minute, where the Juki is set to sew 2500 a minute and can sew up to 5000. No comparison!
After this I was pretty much killing my home serger with all the slipcovers, so I gave in a got an industrial serger.
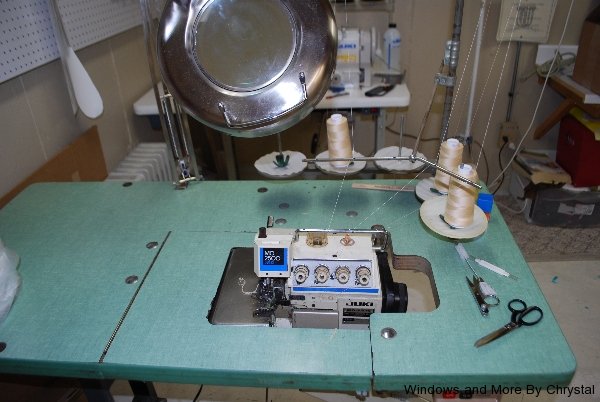
I bought my industrial serger through Craig’s List and had to drive about 100 miles to get it. I have to say I am not in love with it, but it really gets the job done. The reason I am not in love with it, is because it is really hard to thread. Right now my 17 yr. old son can thread it and has been able to since I got it. But he is going off to college after this year, so I really need to conquer it! Otherwise it is a great little machine.
So after many years of sewing window treatments, I also started doing slipcovers. This end of my business really picked up and with lots of layers, and making cushions, I decided I needed a walking foot machine.
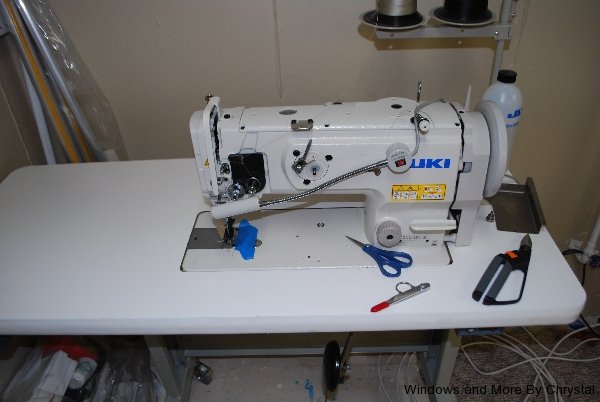
This machine “The Beast” as my son calls it is a Juki Walking Foot. I bought when I went to a conference and it is the reason we had to redo my workroom. It will sew through anything. It makes sewing through lots of layers a dream. Slipcovers, cushions, heavy pillows, upholstery work is all done on this machine. It is not used as much as the others, but it has become a very necessary part of my workroom.
Here are a few other machines or tools that you might have glimpsed in my workroom.
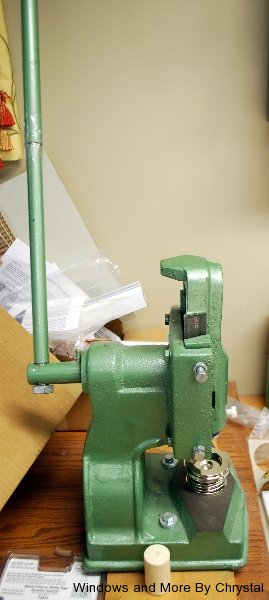
This is a grommet and button press, that makes putting in grommets or making buttons a whole lot easier. Necessary no, but nice to have!
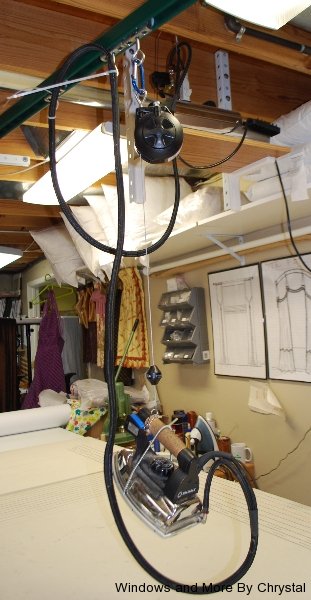
A boiler Iron on a track above my table, very nice to have! It puts out large amounts of steam without having to be so hot, so you can use it on a lot of different fabrics. And hanging on a track makes it so easy to use on my table.
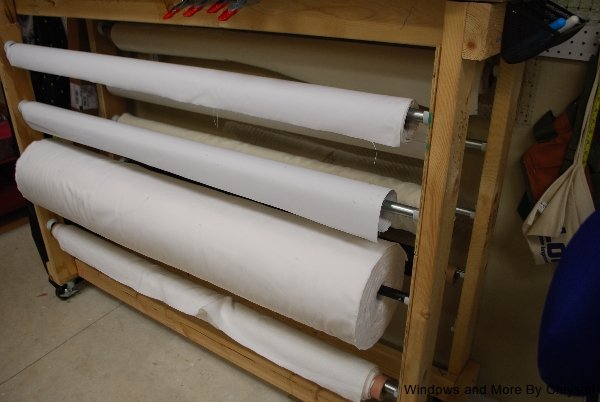
A lining Rack, which me and Ian built while Mark was working on putting up shelves for the new workroom. Nice to have for all my different linings.
Next are few pictures of how I organize and store my supplies.
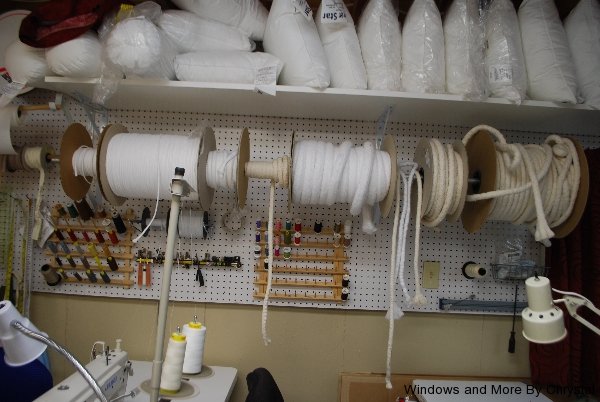
All different sizes of welt cording hanging above my machines, so they come of the spool with out kinking. And my thread is hanging right by my machines. At each machine I also have a magnetic strip for different feet, bobbins, and tools.
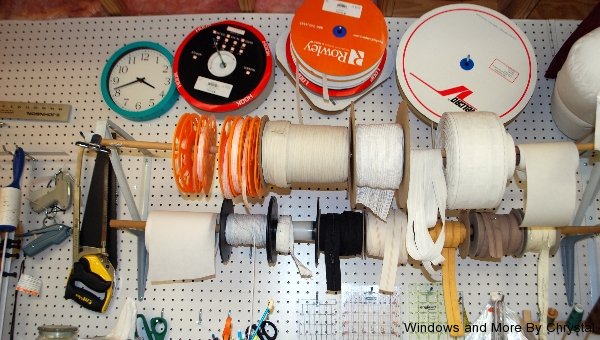
Then I have a couple of dowel rods with other supplies, such as zippers, buckram, do fix tape, etc. Above is velcro, and below I have rulers, scissors, saws and various other supplies and tools I need handy.
Well that is a tour of my workroom and how it has all evolved. Thanks for taking the tour, and if you would ever like to see it in person, just give me warning because it doesn’t look the same as the pictures when it was nice and neat and cleaned up!


12 Comments
Leave your reply.