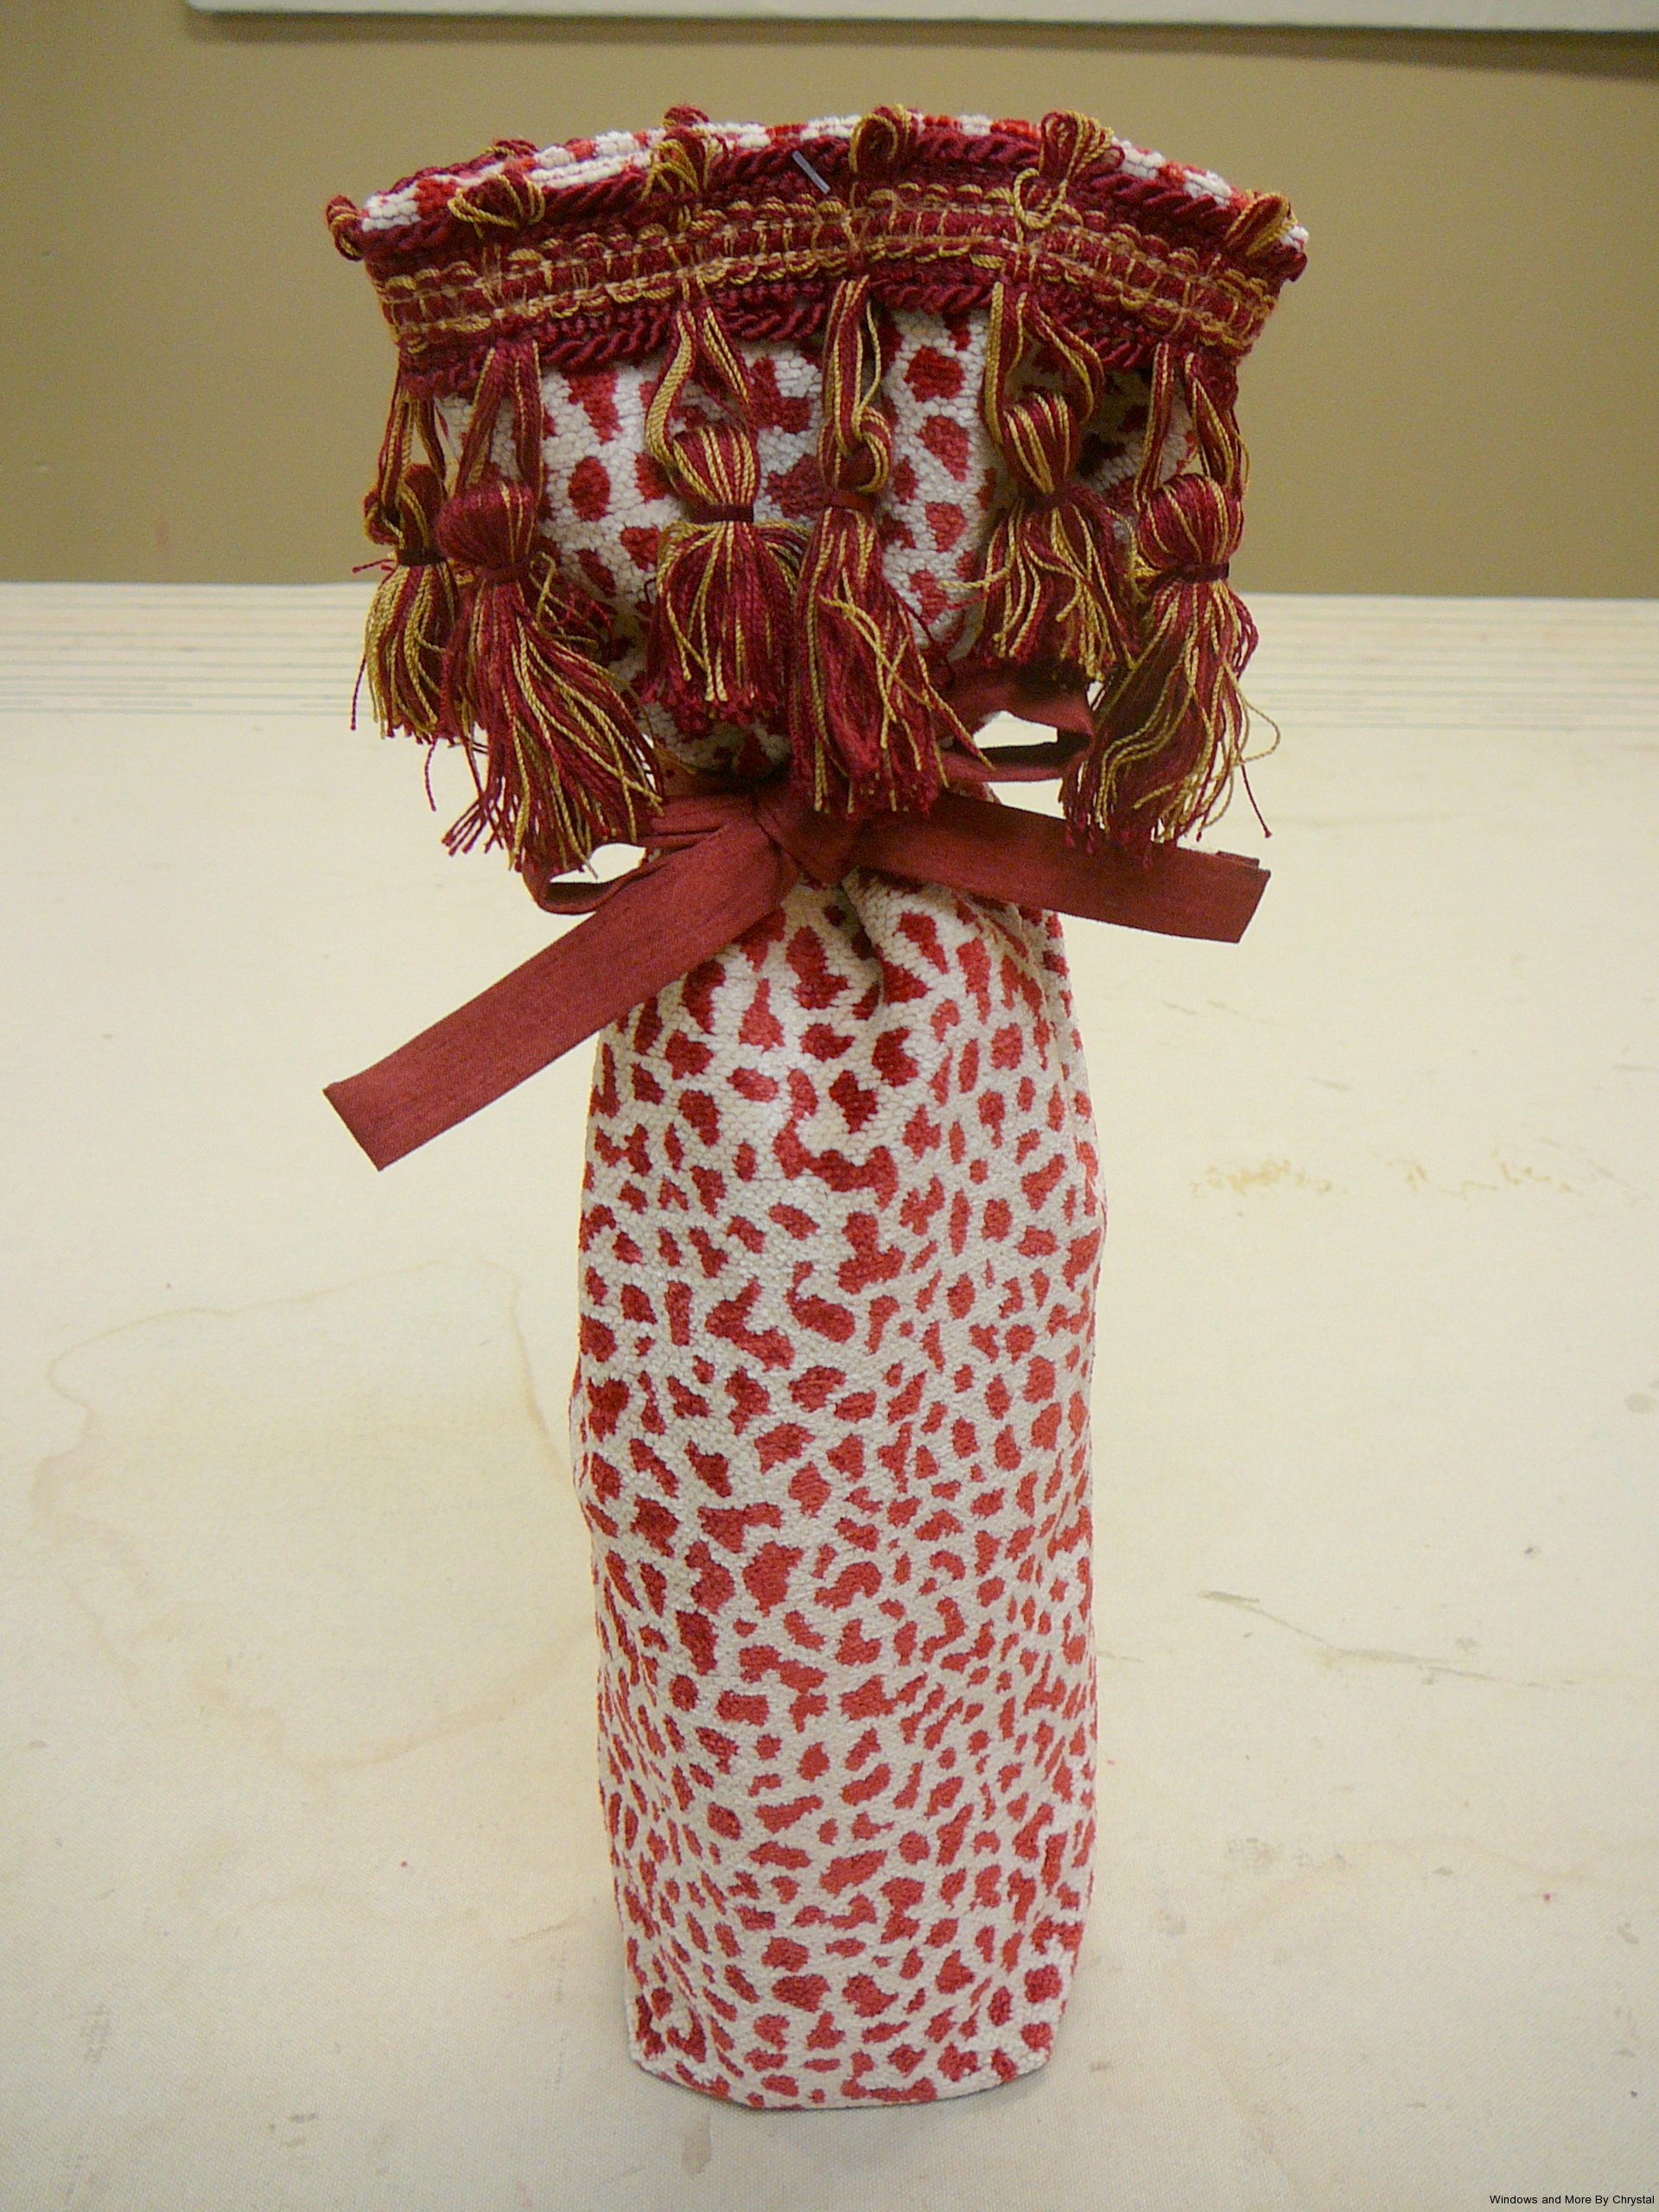
Eventually this post will be about making this wine bottle gift bag, but first I want to catch you up on why I haven’t posted for so long. It has been a busy couple of months with Thanksgiving and Christmas deadlines and making sure everything gets installed in time for all the get together ‘s everyone was having. Then all of a sudden when I thought I had a couple of minutes to update my website or do a post, it wasn’t there! Gone, nothing! It was kind of scary. But Mark called the web provider and discovered they had done an update and our website needed to be updated to work with them. Then for some reason I couldn’t up load pictures. So since I couldn’t write a blog, I started posting more on Facebook.
So back to the gift bag. I had our neighborhood Bunco Christmas Party to go to and my secret pal had put wine and gift card to her favorite nail salon on her list of likes. I bought a bottle of wine, and the gift card and decided I wanted to do something special for the bag. I looked around my workroom and found some left over fabrics and trim.
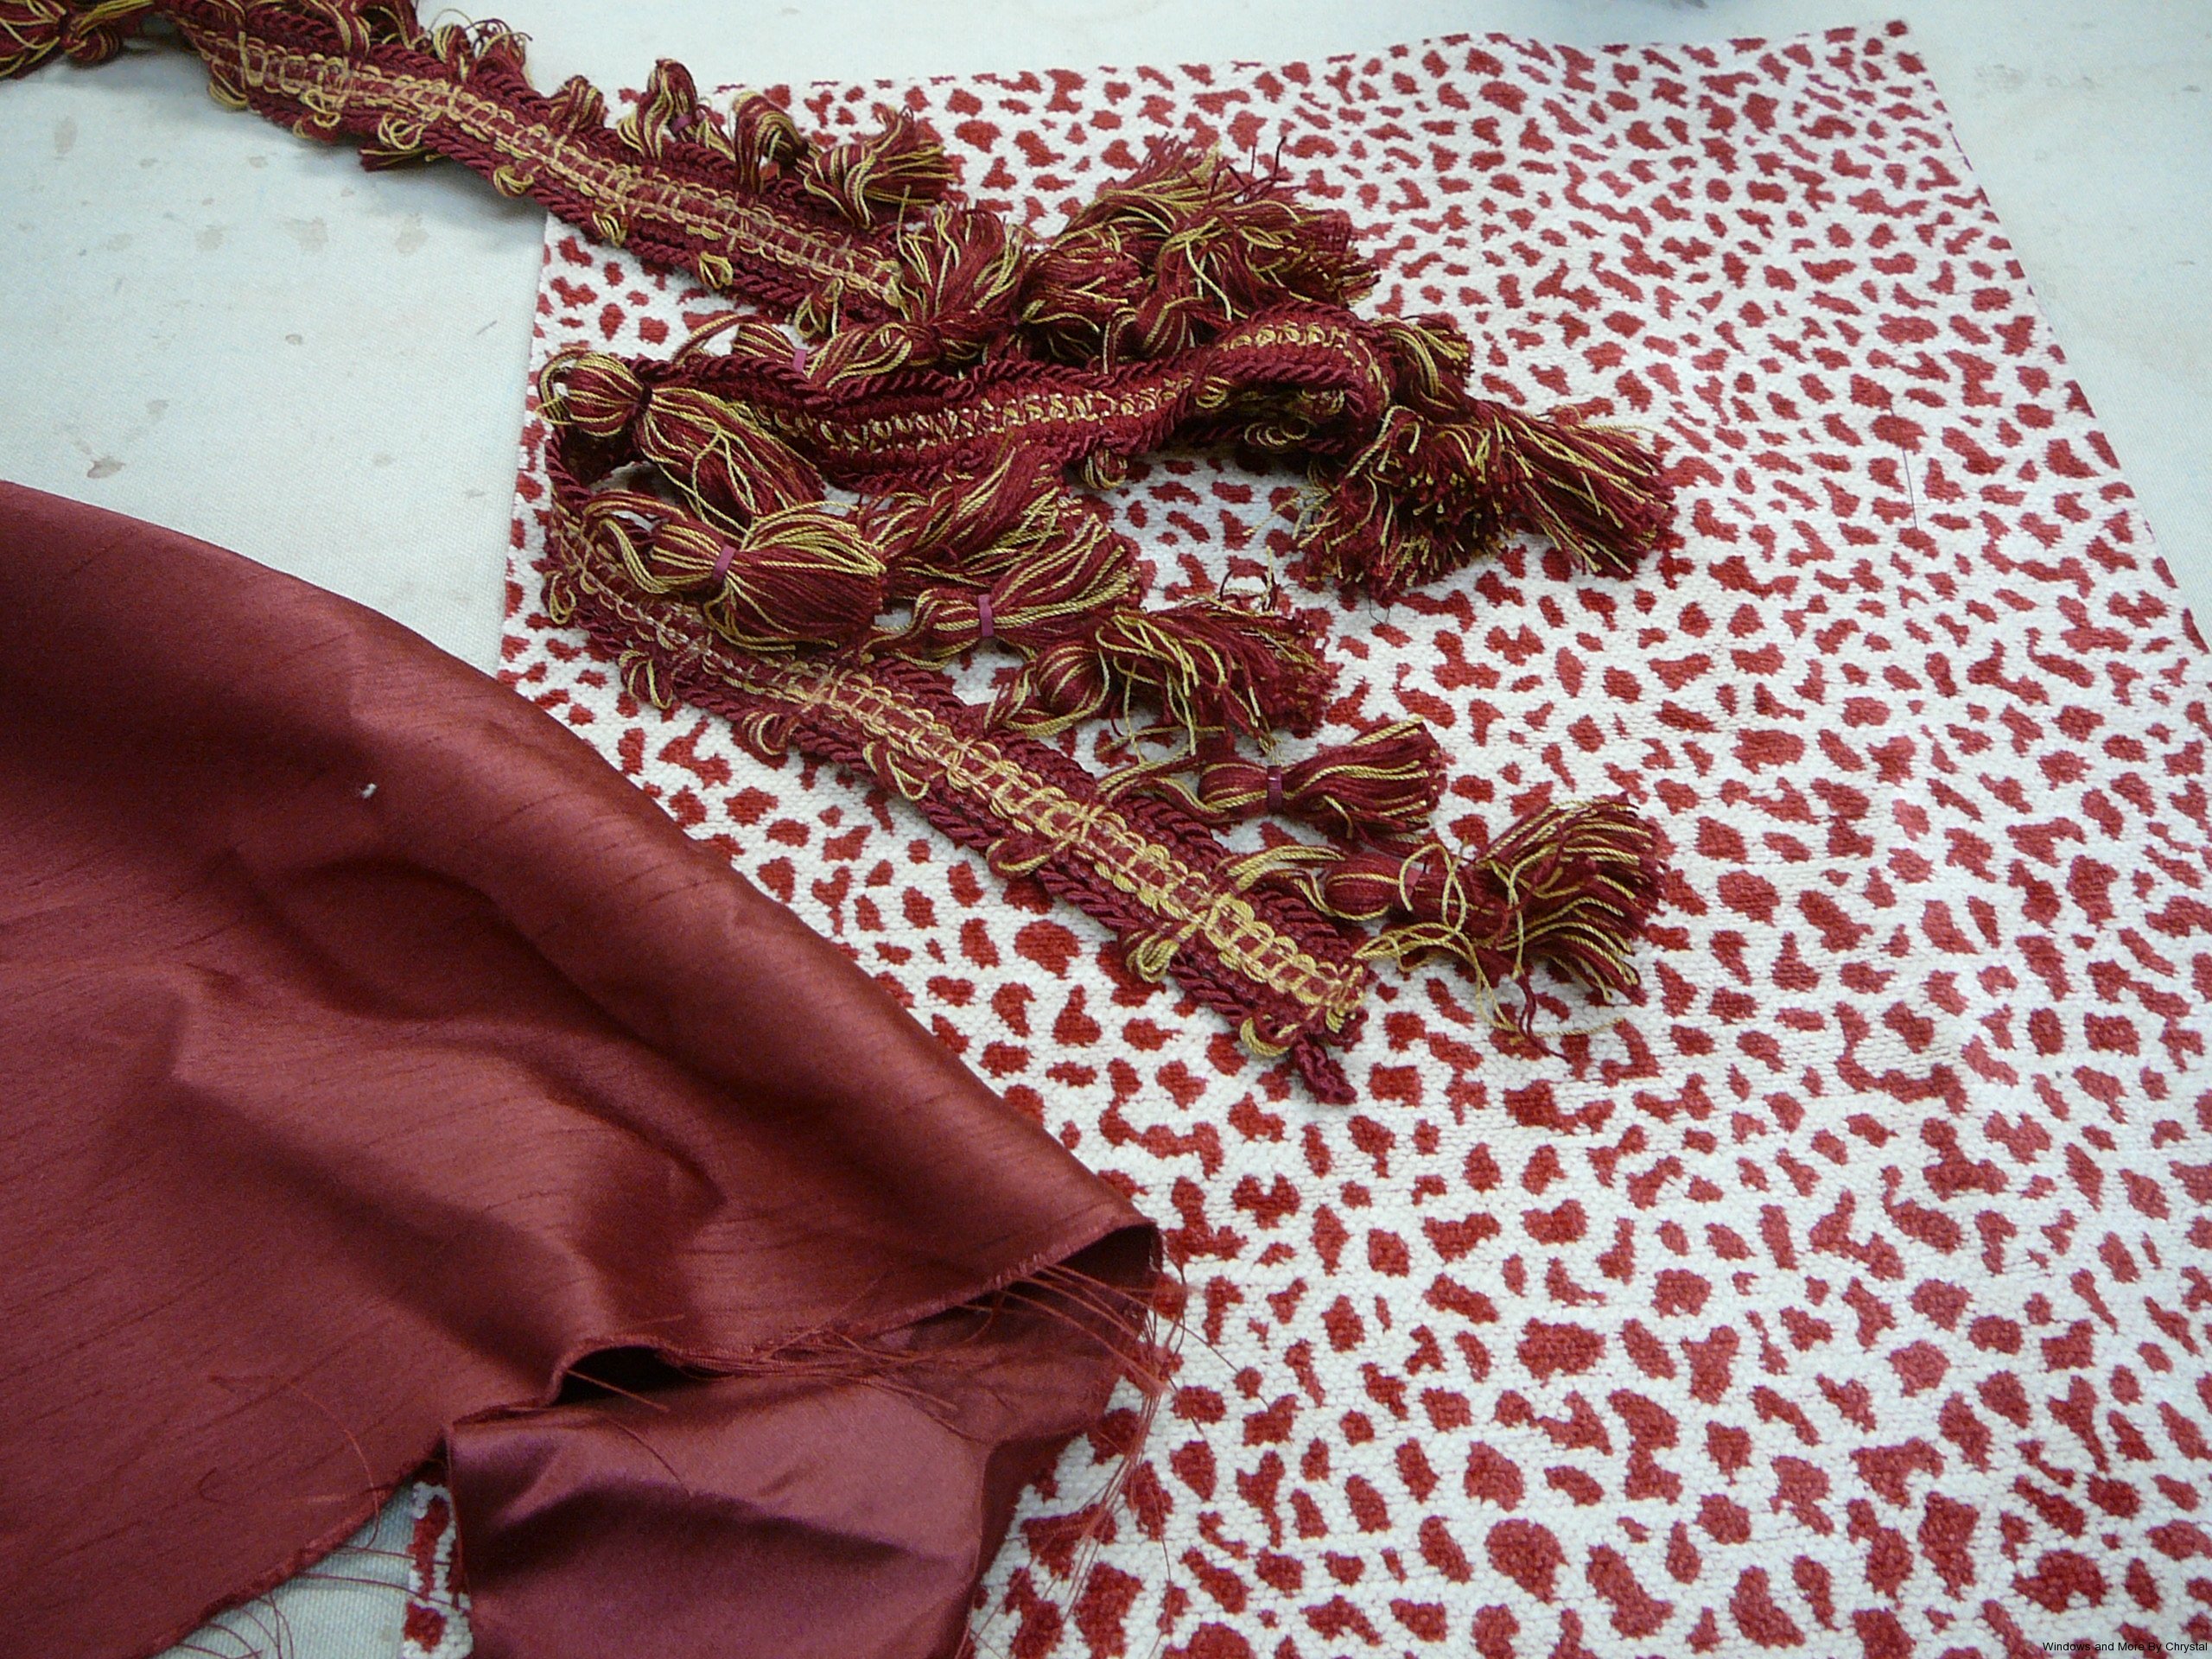
Next I had to decide on how to make it. Just to let you know there are literally thousands of instructions on how to make these or something like them. I did find a really easy u tube video that I followed along with a couple of changes. I went back and tried to find the link but couldn’t. I would post it if I could. Sorry!
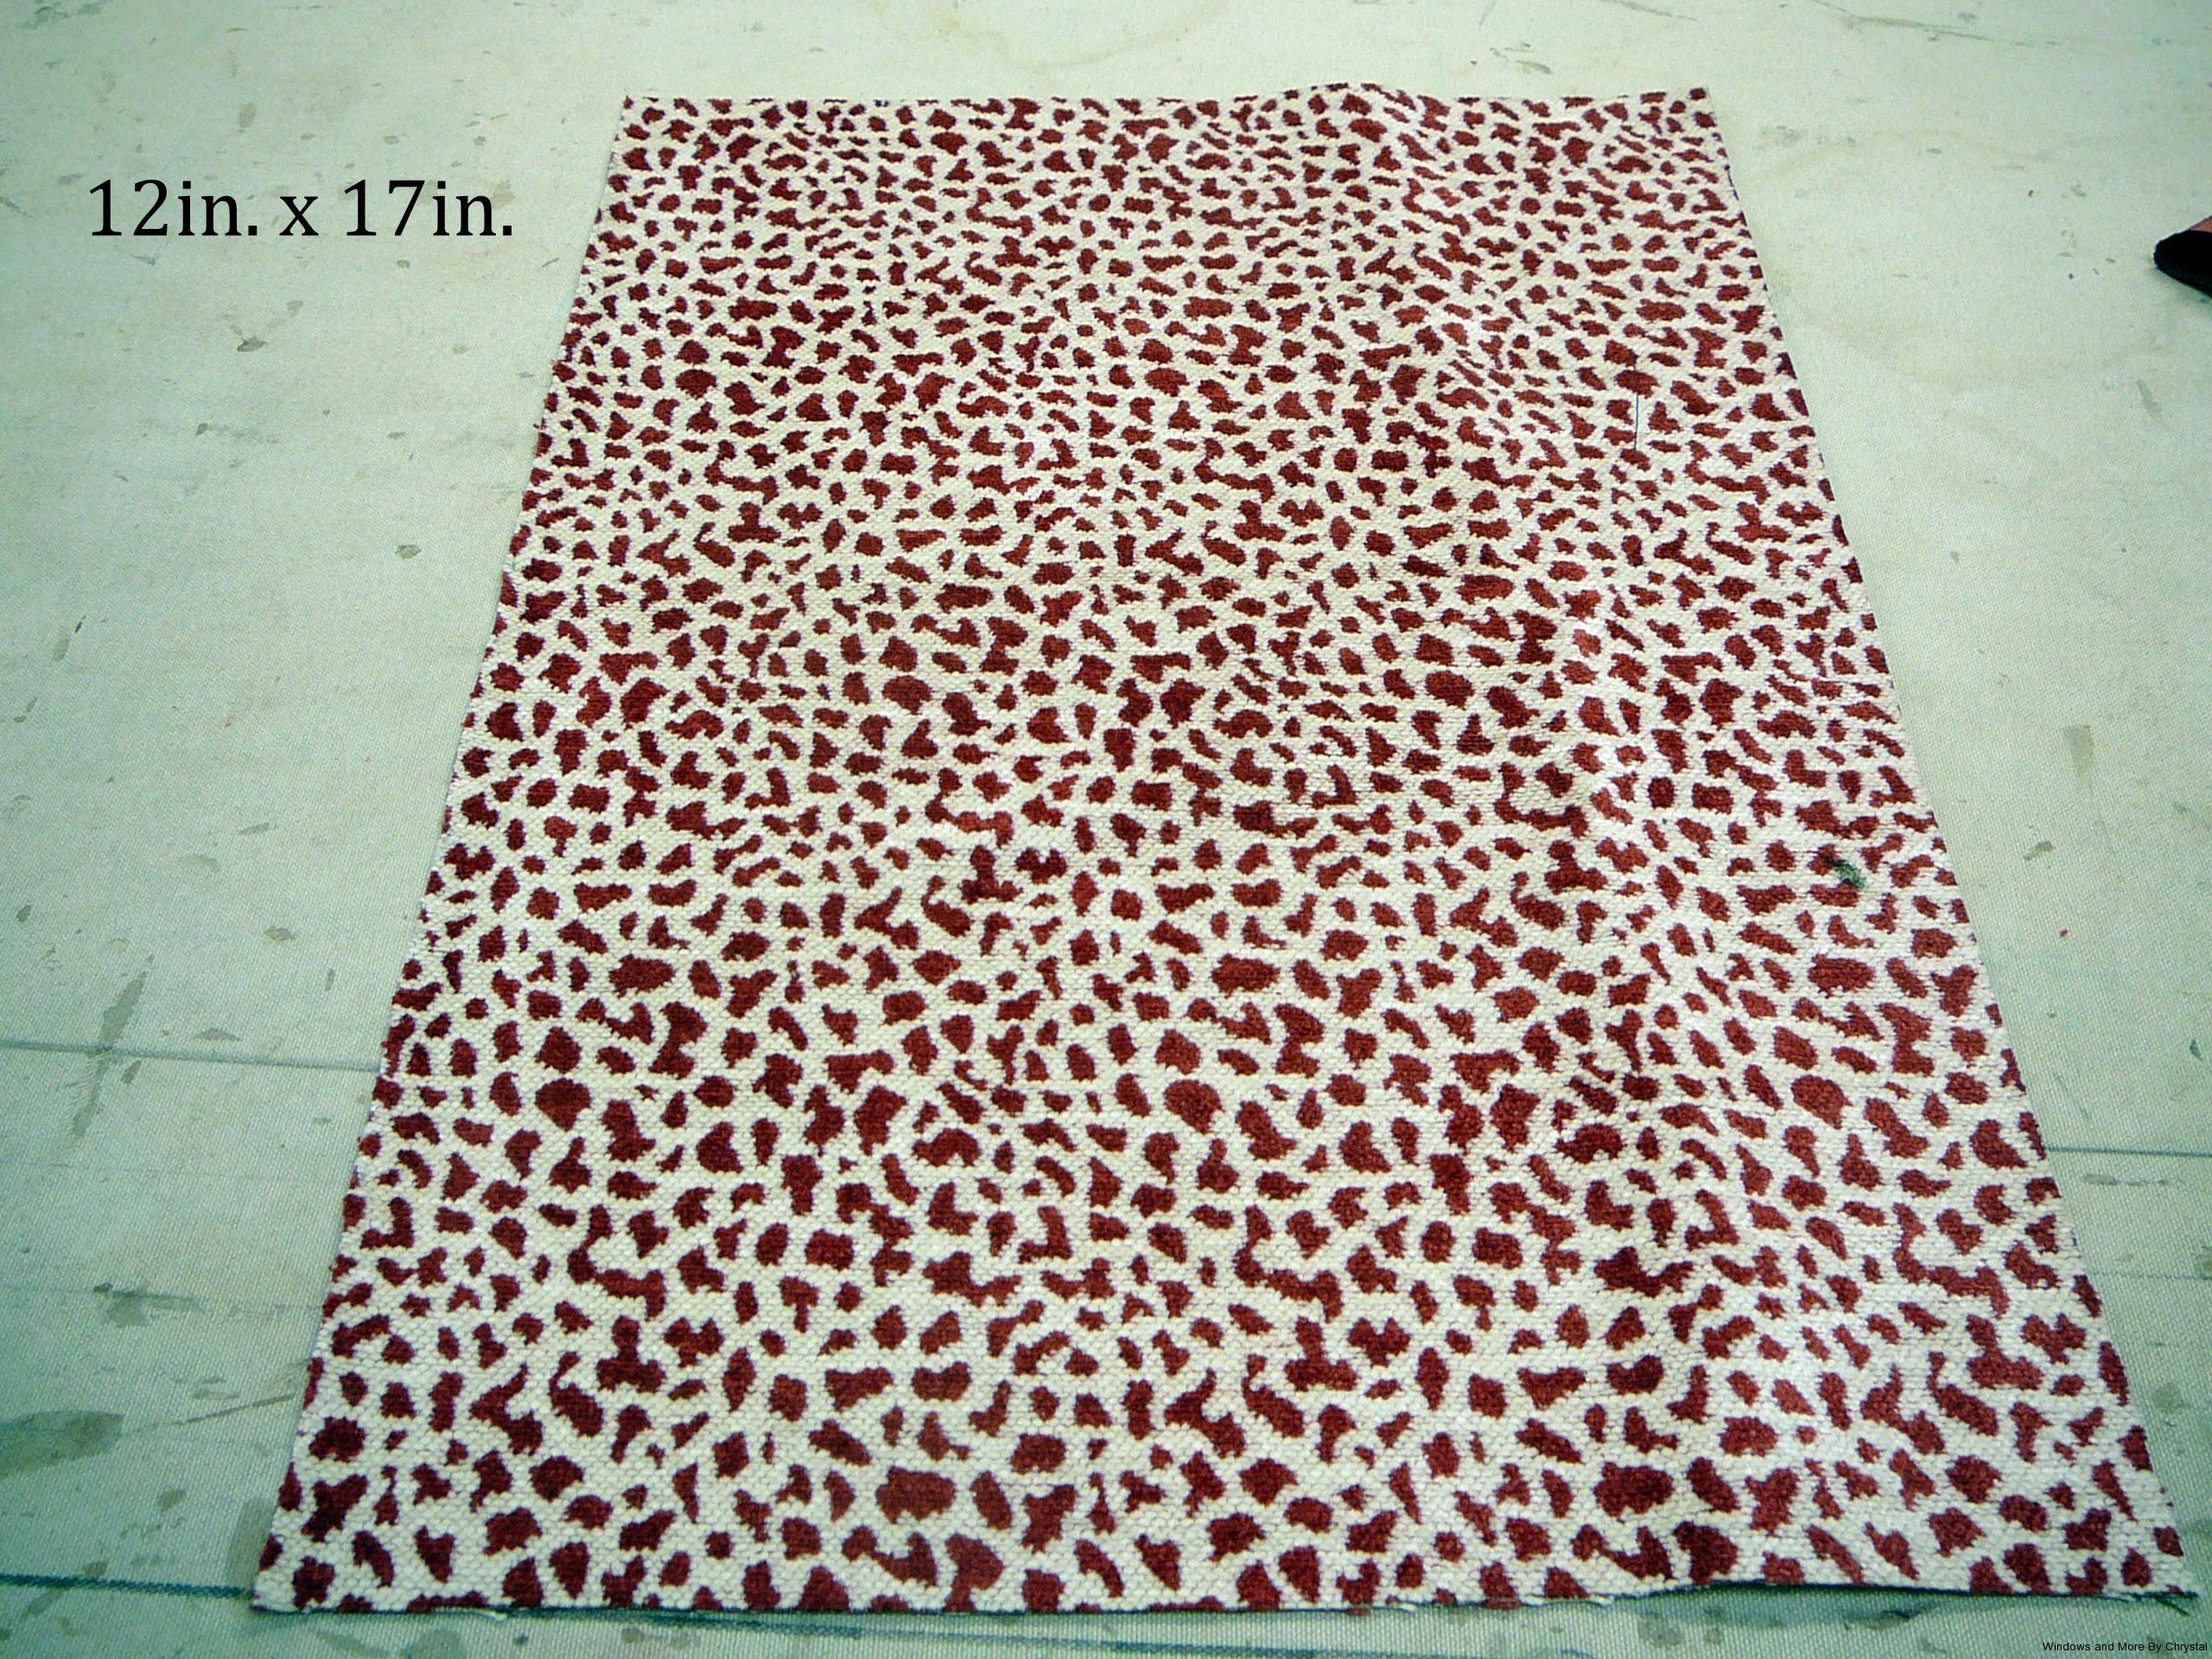
I first cut the fabric into a 12 x 17 inch rectangle. After I made it I think I would make the bag a little taller, so I would change the 17″ to possible 20″.
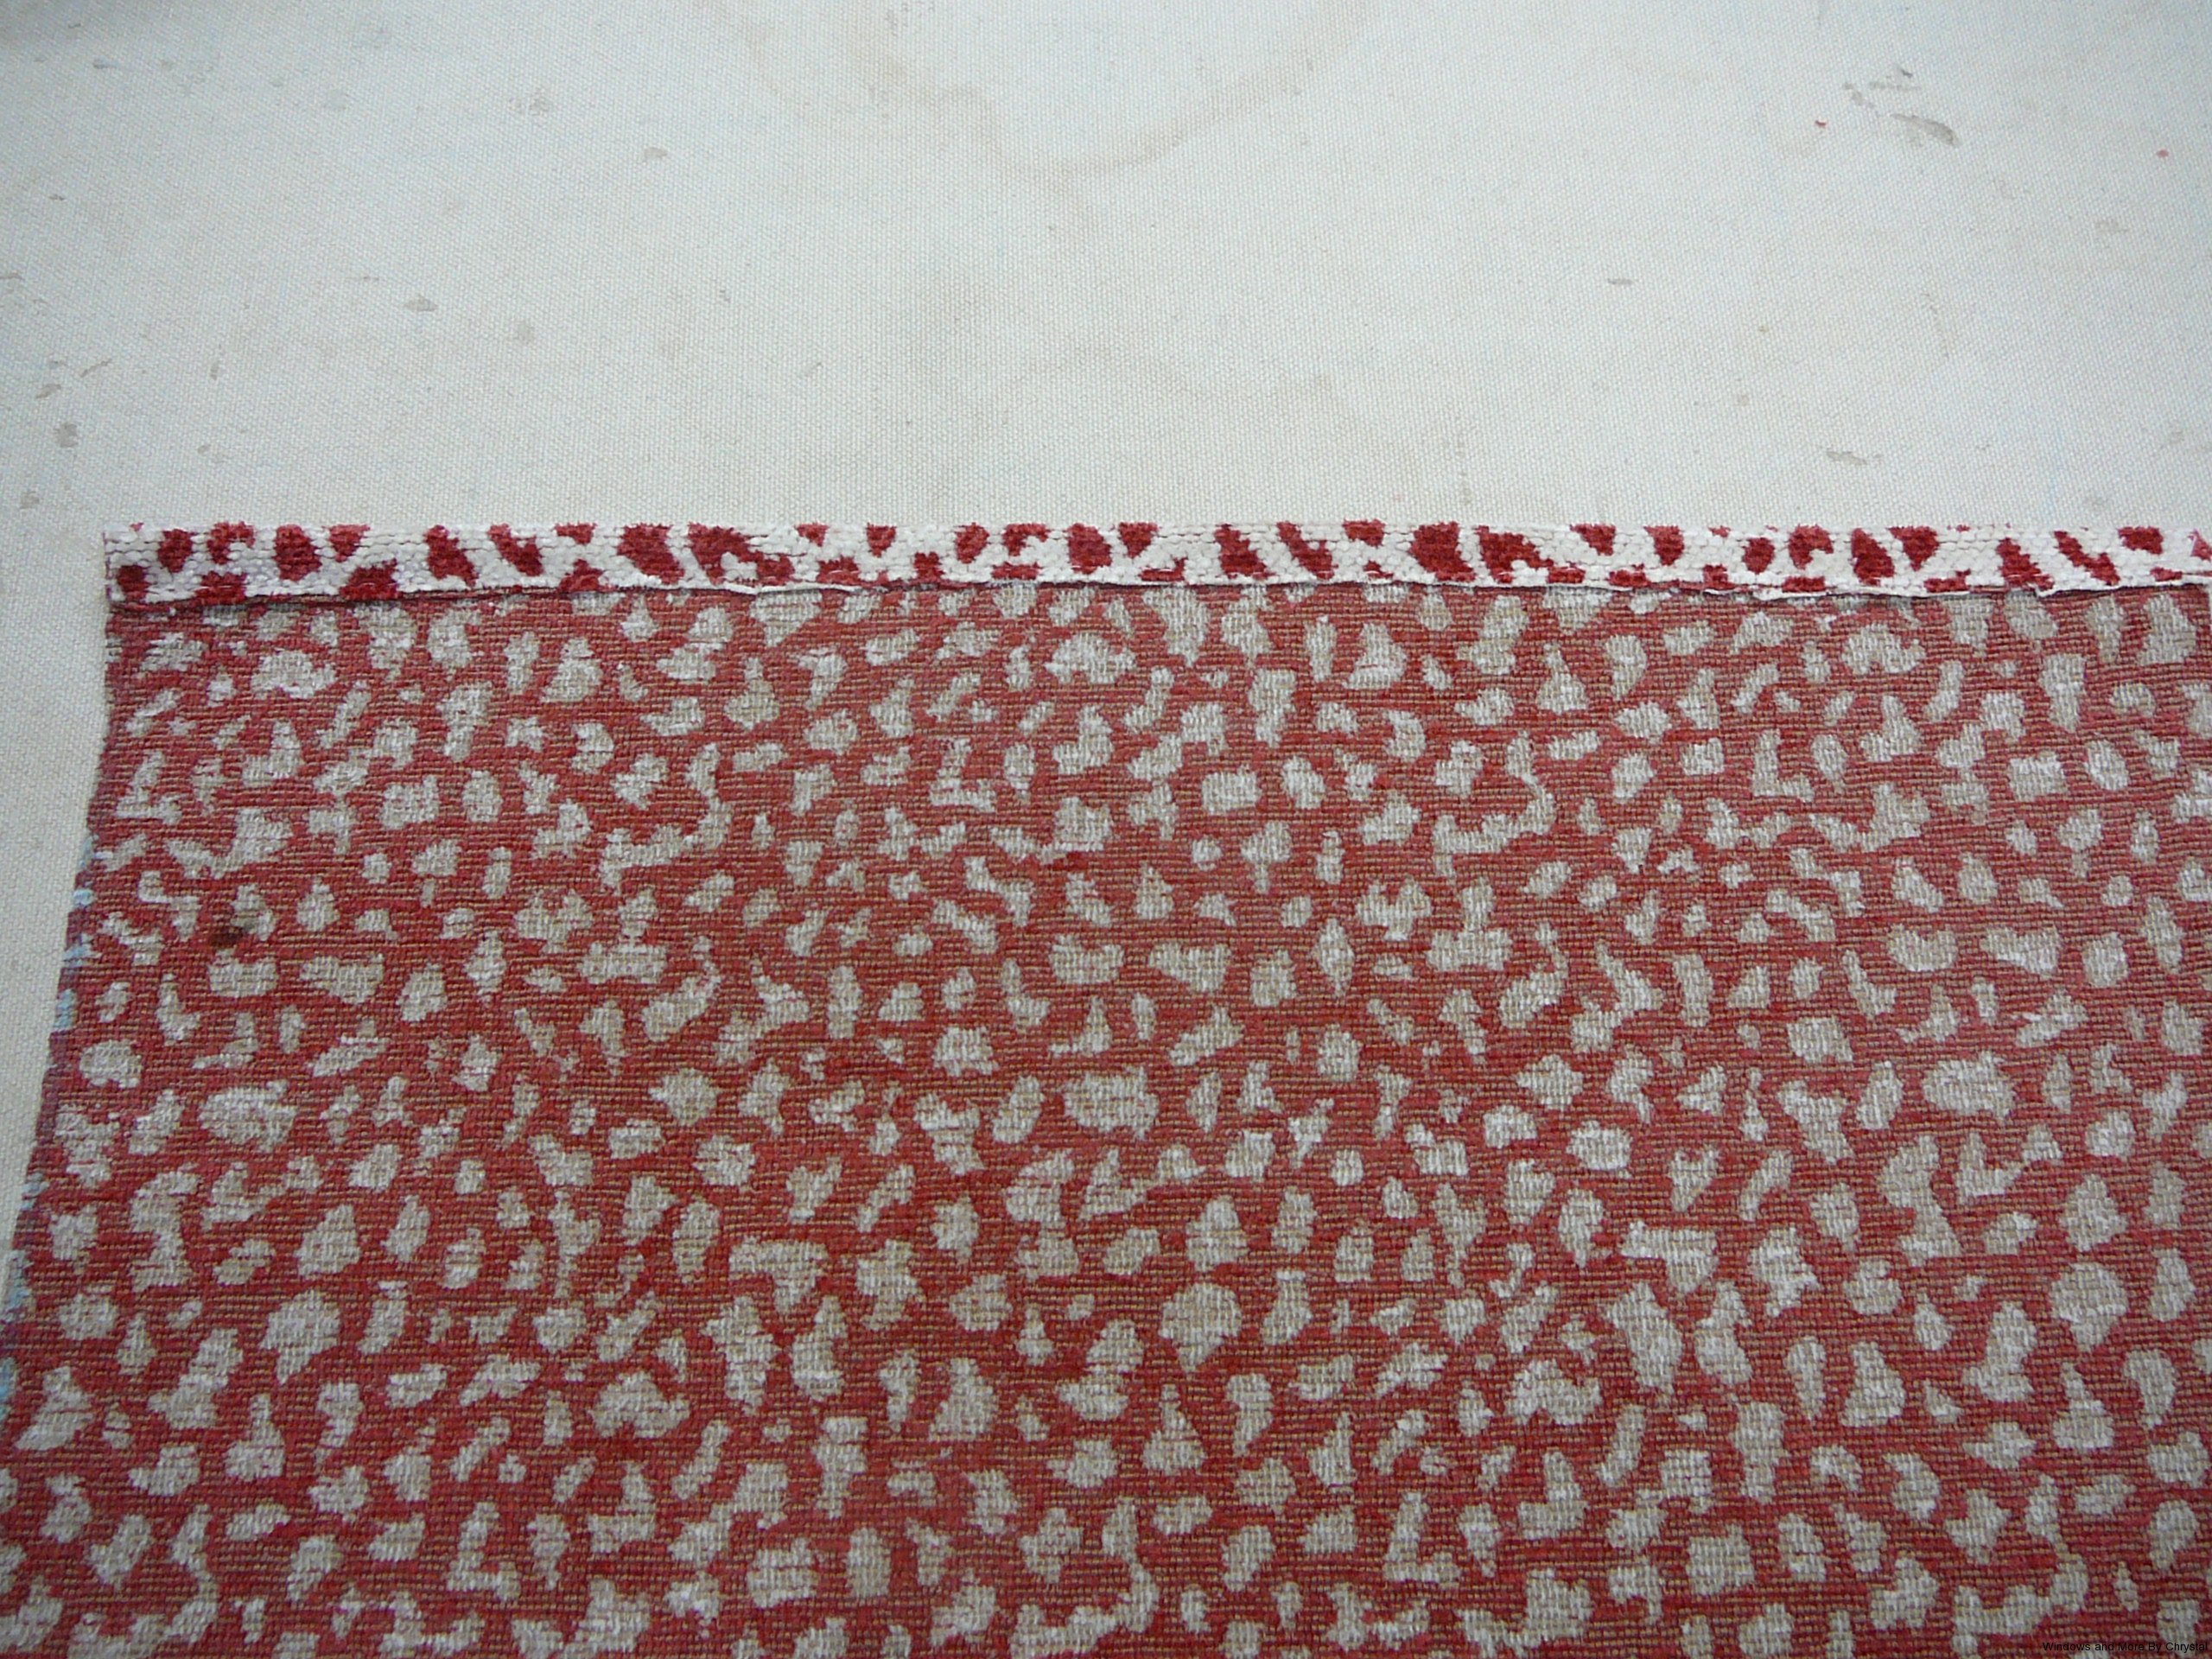
I turned down the top edge of the fabric, just a 1/4″, to make a neater finished edge you could do a double turn, but the fabric I was using was already pretty thick, and a double turn would have been a little to thick. You could sew this down with a matching tread or use a fabric glue.
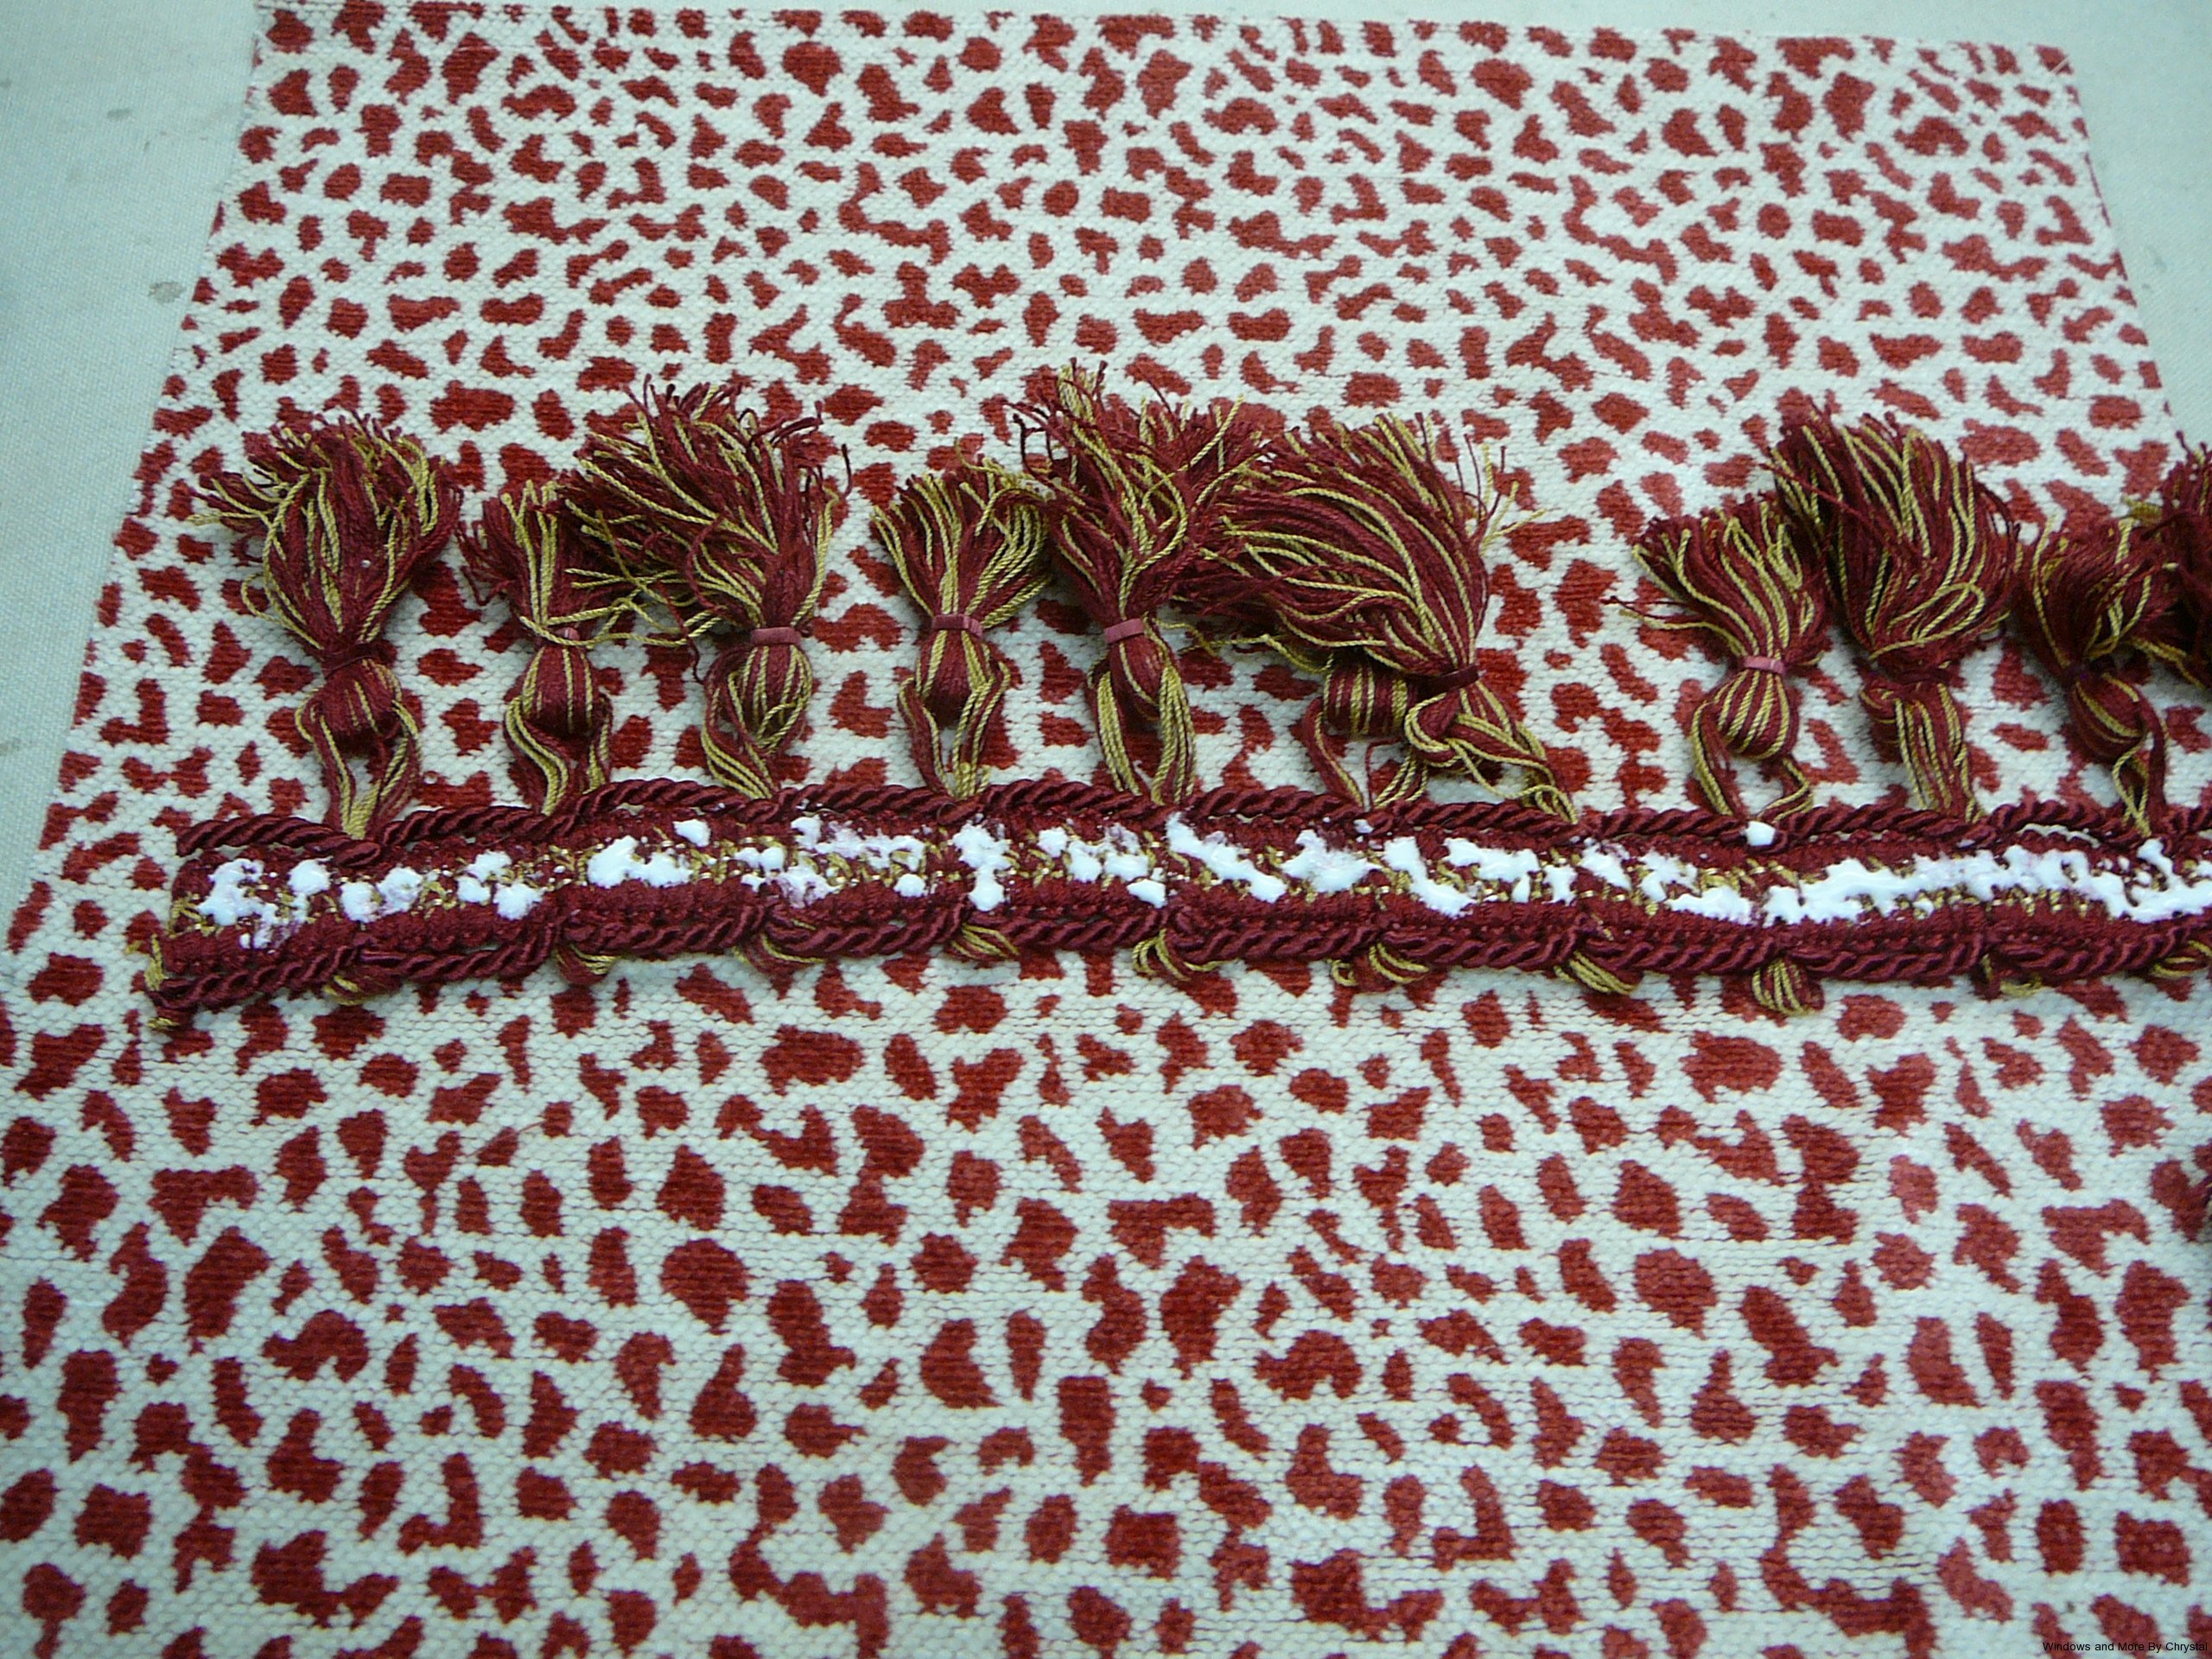
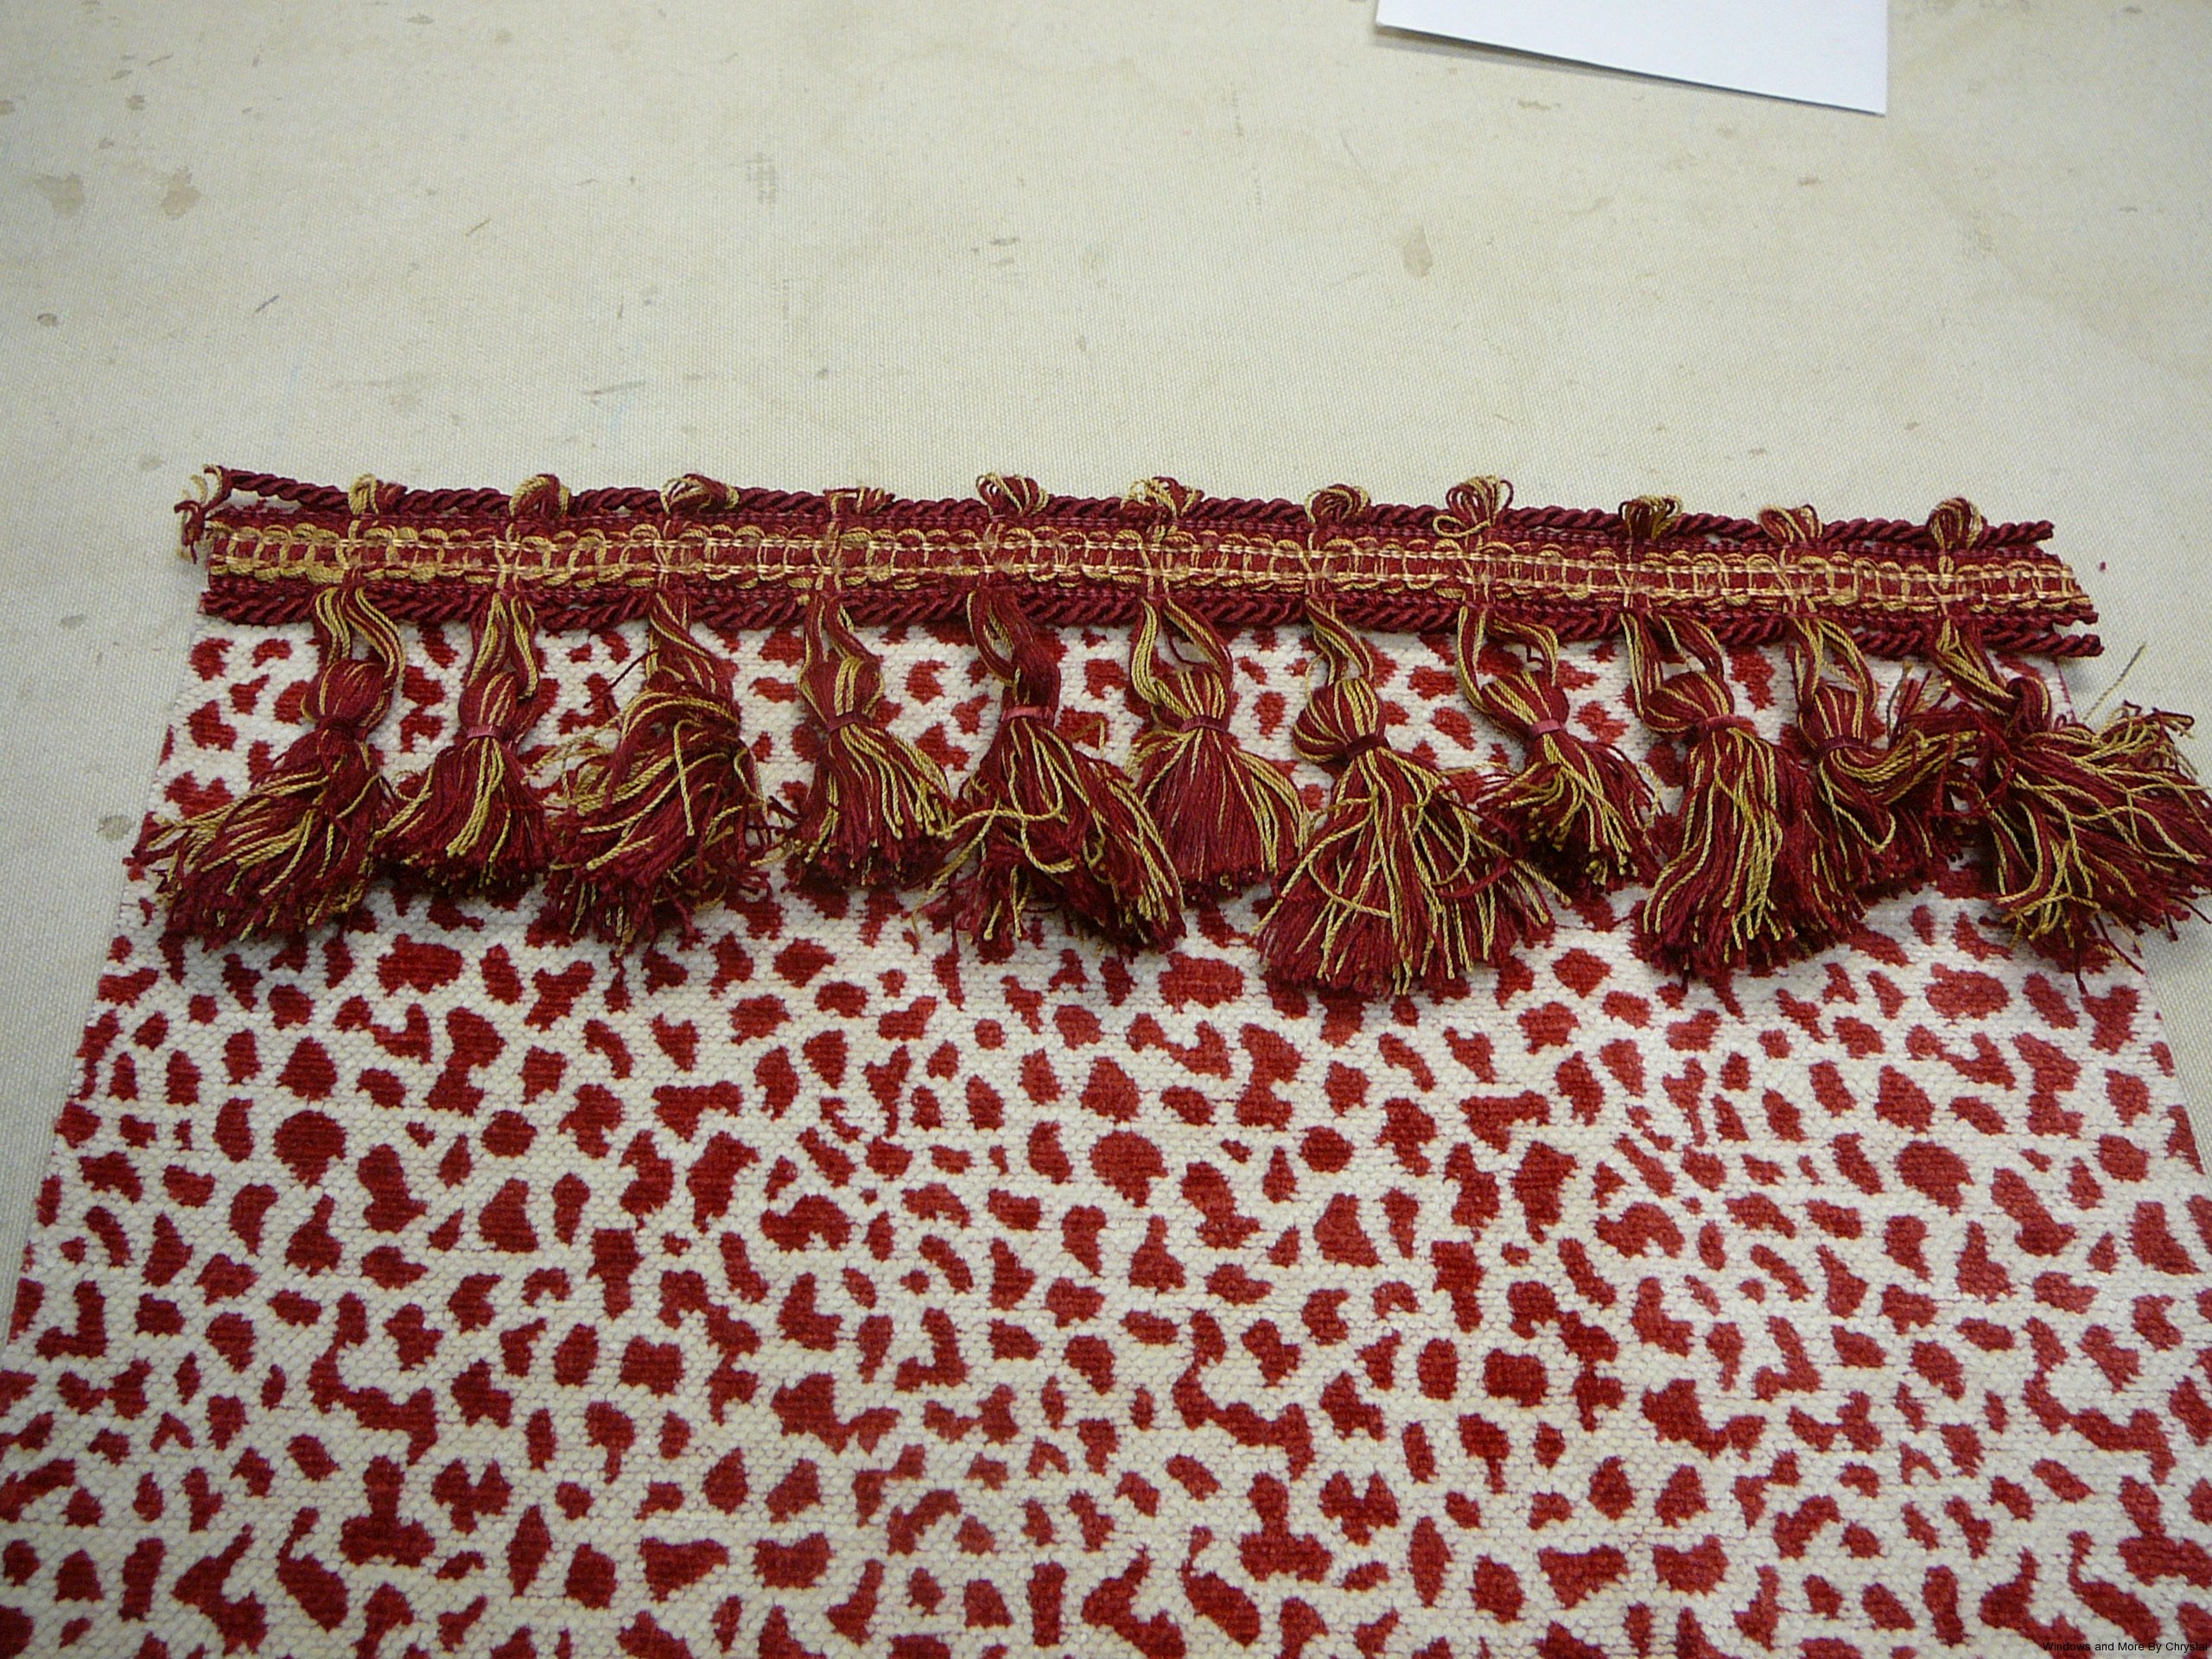
I then turned the fabric over, so the face side is up. Then I glued the fringe trim on to the top edge. You could place the trim lower down or wherever you think it would look good.
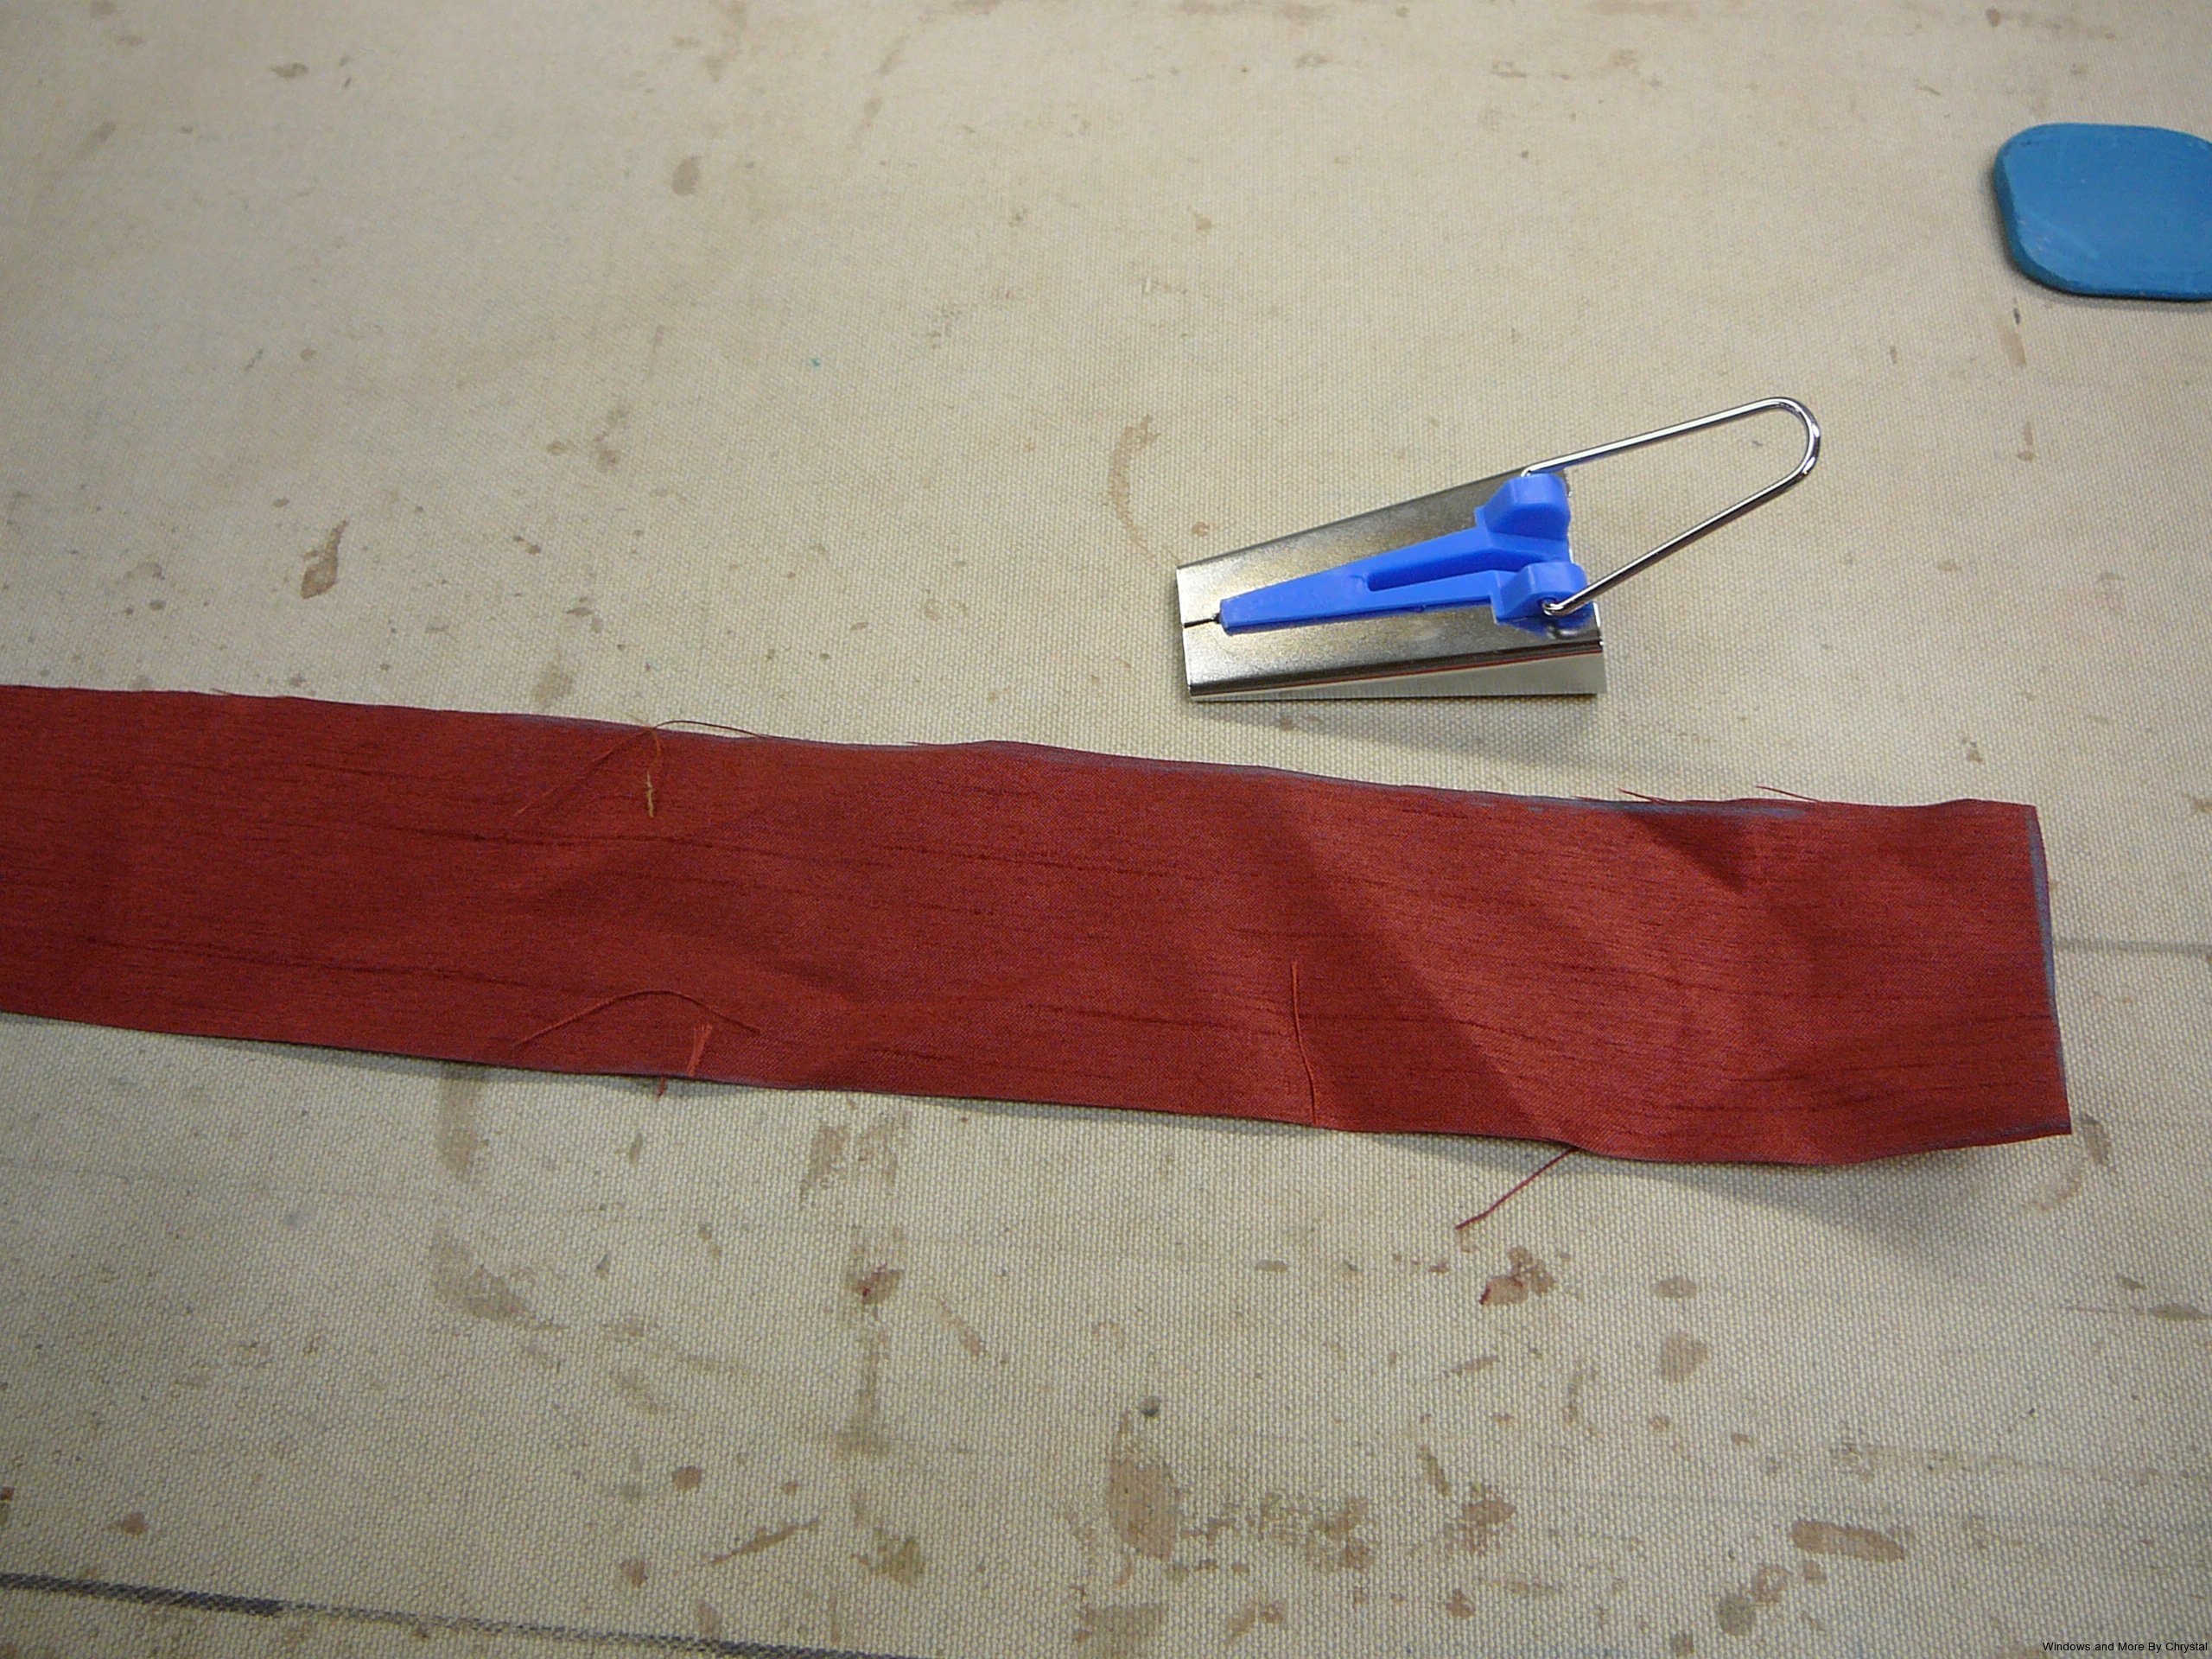
Making the tie ribbon. The first step is to cut a 2″ strip of fabric, however long you need to go around the bottle and tie a bow. I made mine a little to short and would make it longer next time. Use a string and do a mock-up one and measure the length you will need. I also did not cut my strip on the bias, but cut it straight with the fabric. I used a 1″ tape maker that you can purchase at just about any local fabric store in a variety of sizes. I used the 1″ and it makes a finished 1/2″ double tape.
Once you cut the strip you insert the tape into the tape maker and pull it through, it may take a couple of tries to get each side even, once you do anchor them with a couple of pins.
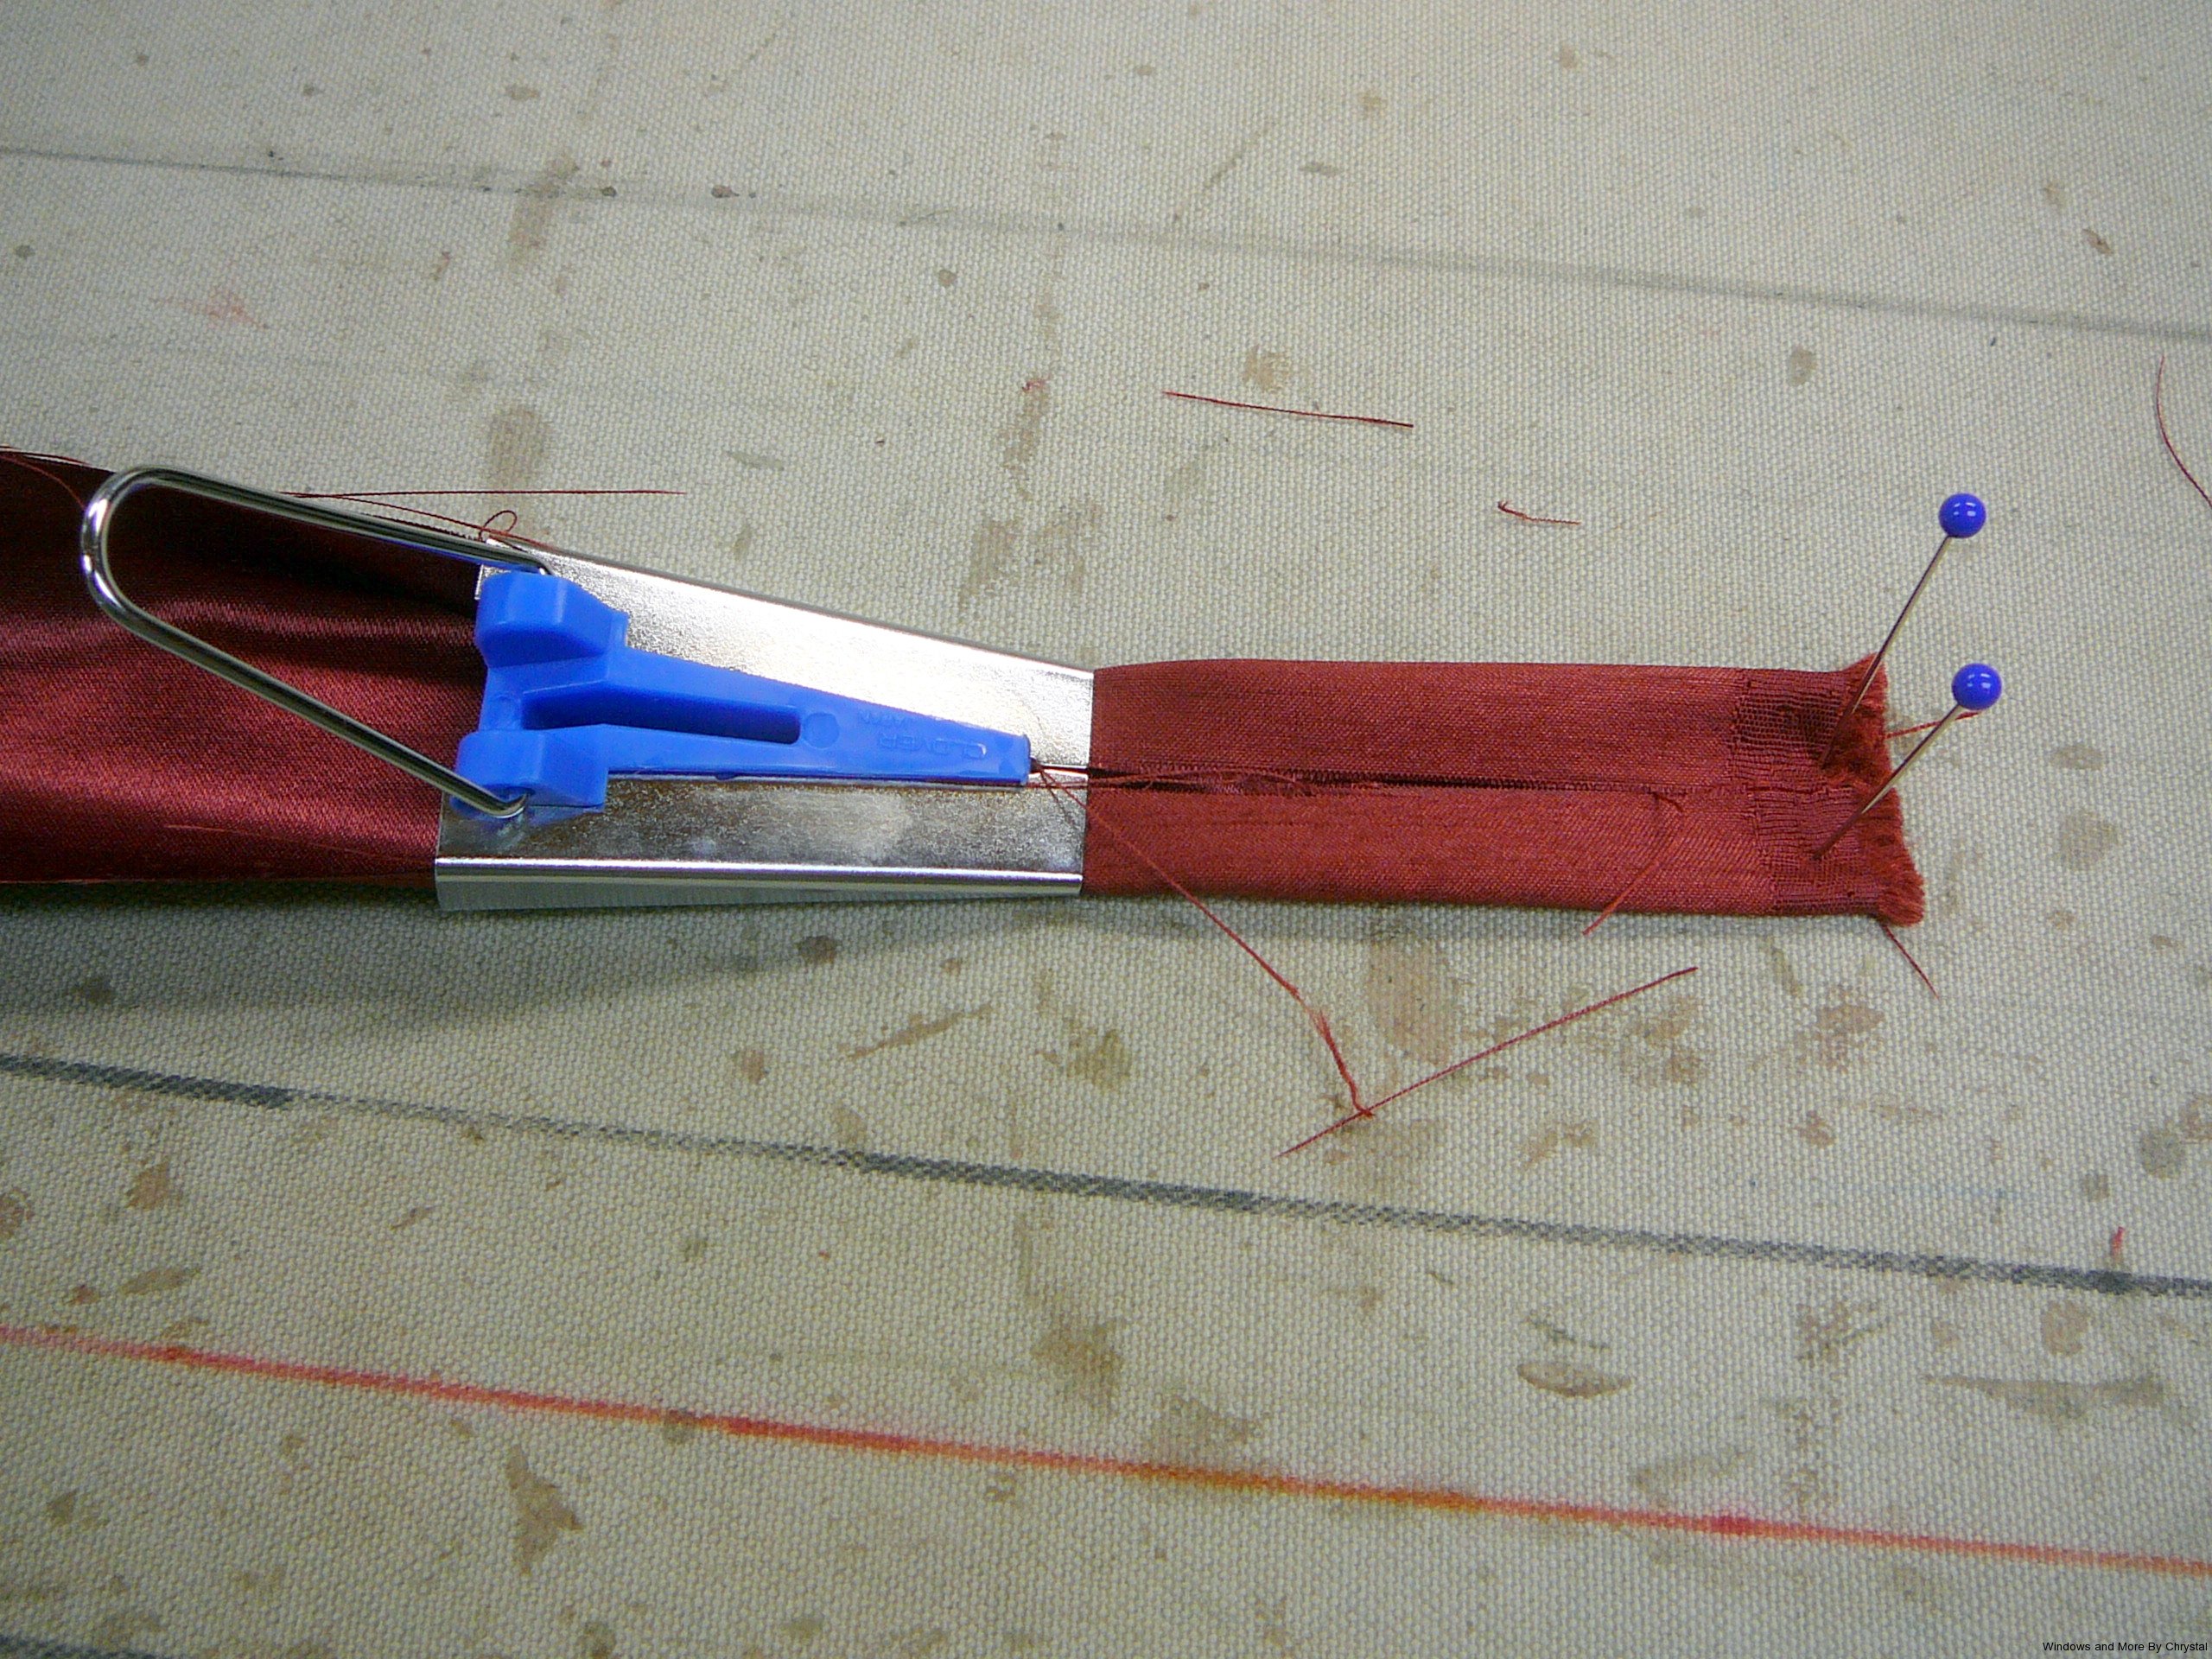
Then apply the iron to the tape as you pull the tape maker down the strip of fabric.
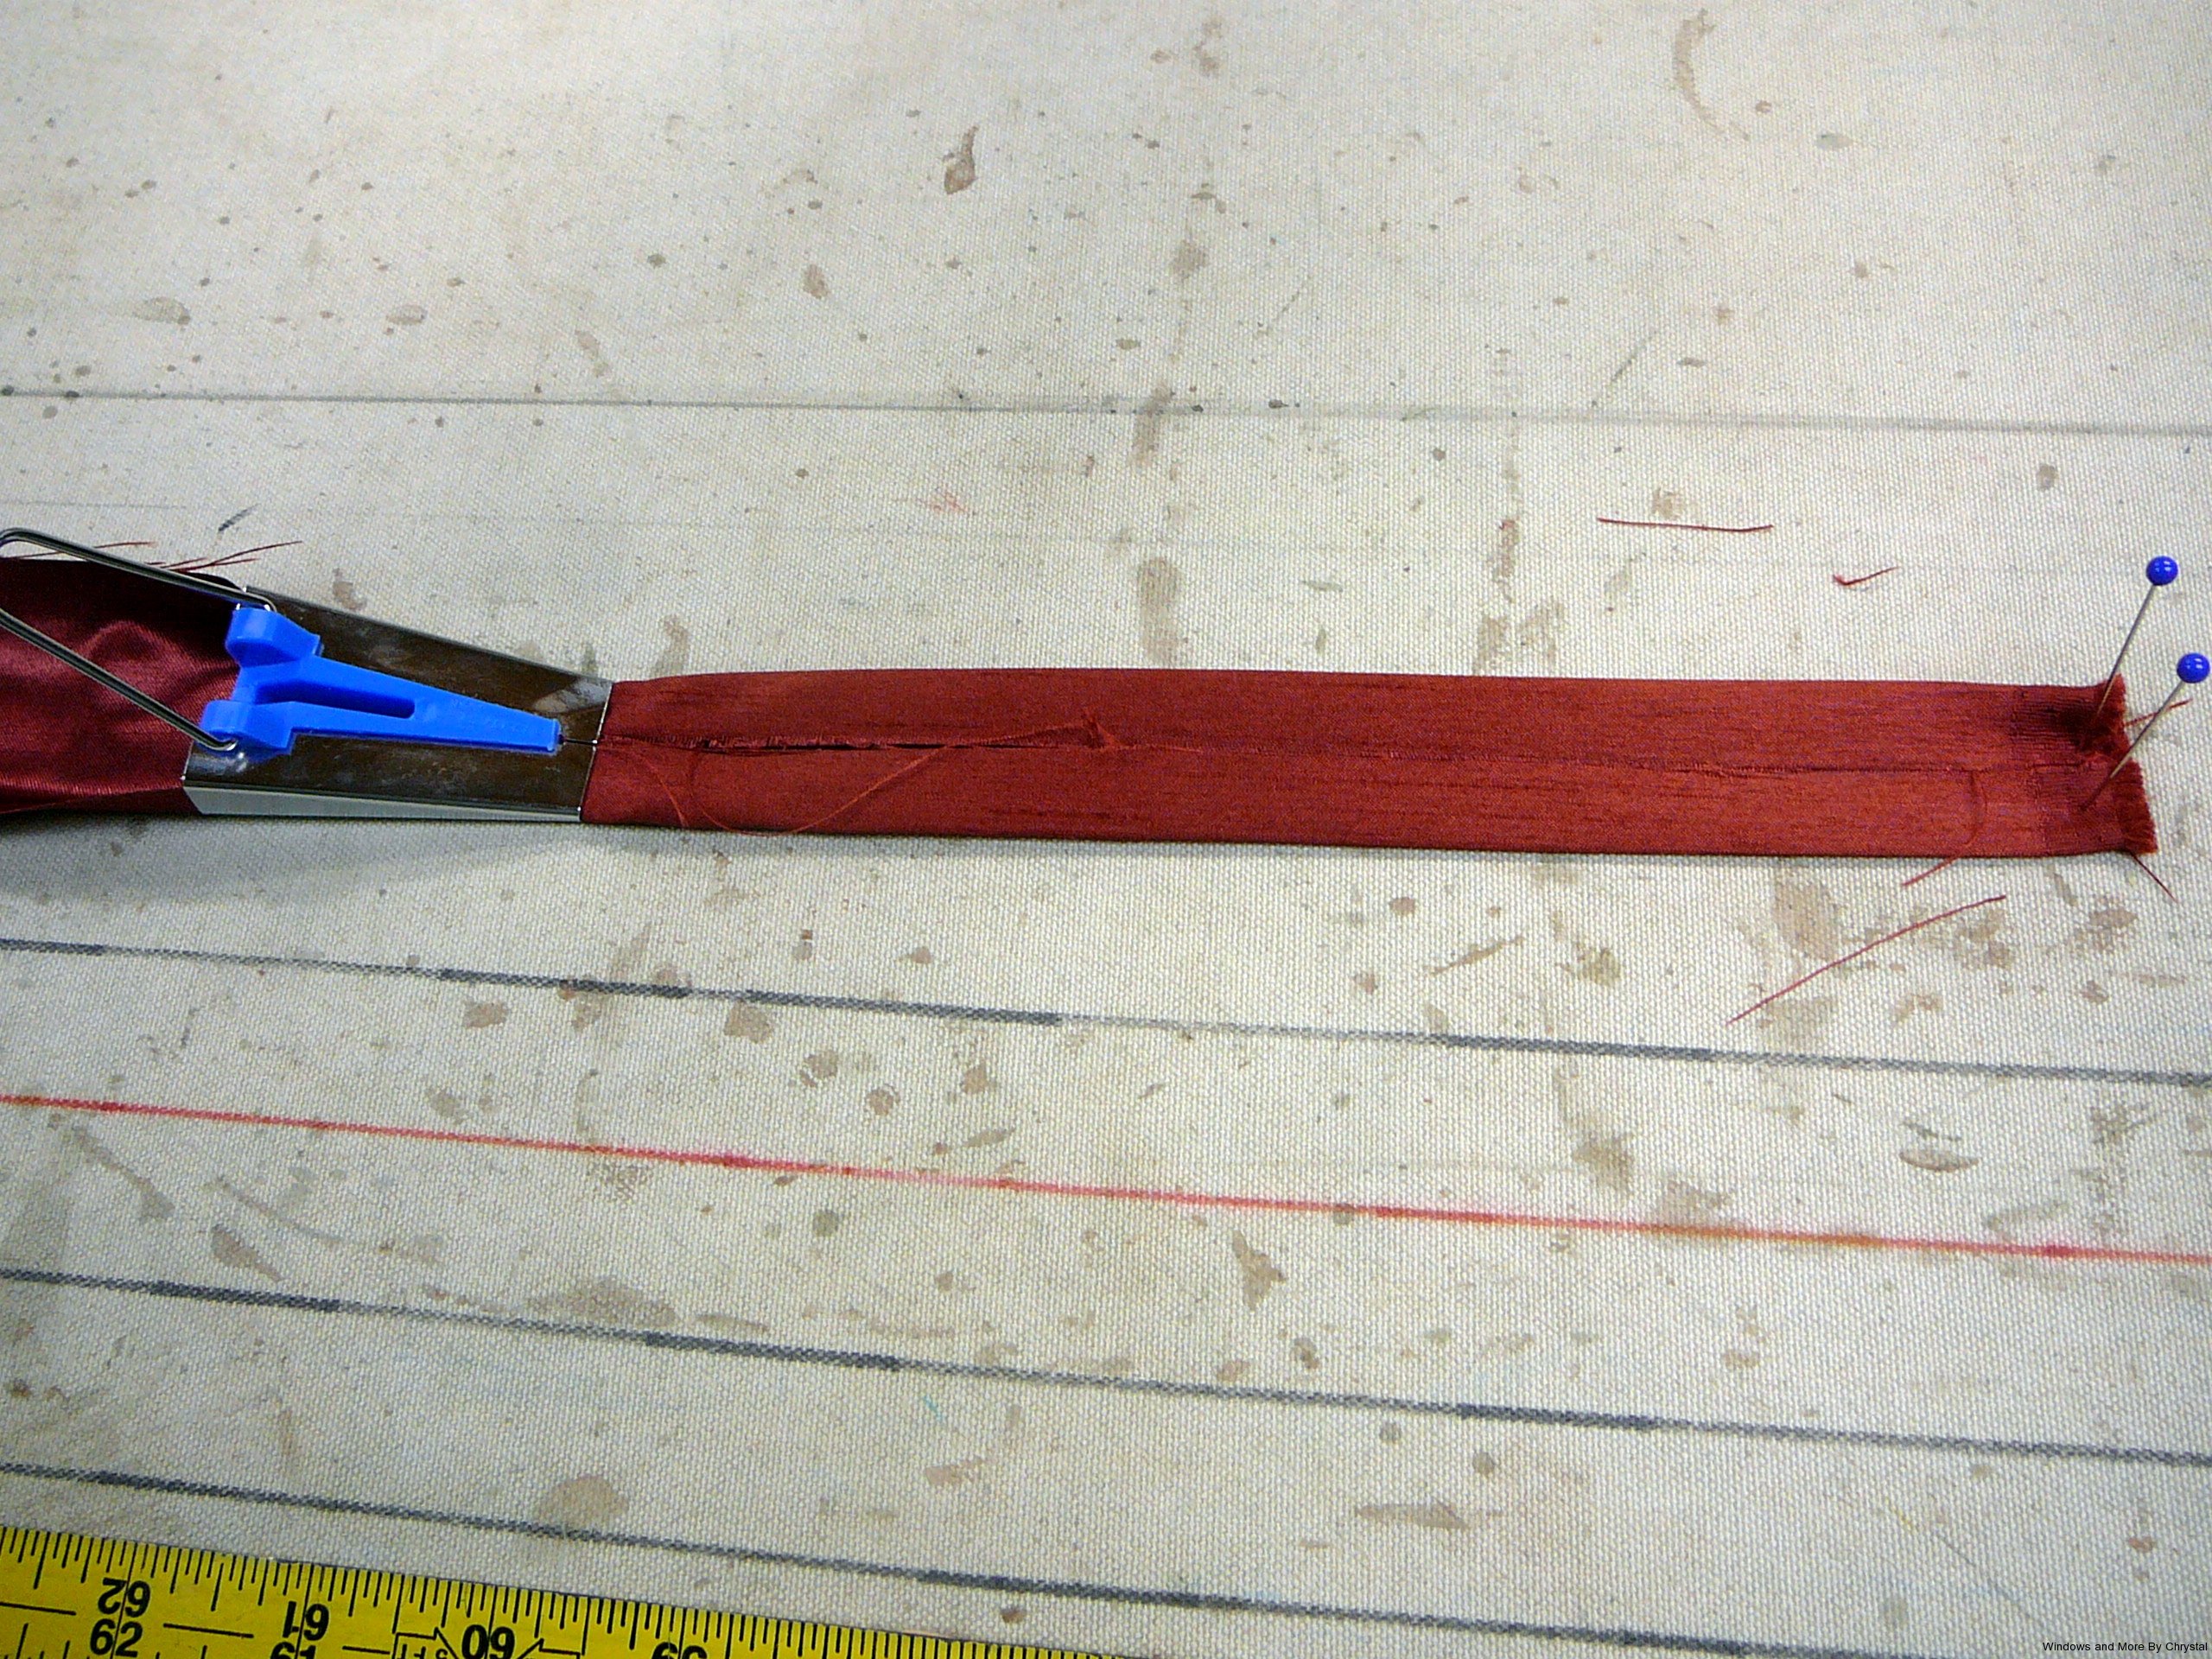
Next you can turn it again so no raw edges show. Don’t forget to turn the ends neatly also. Then you can sew it down or use fabric glue or tape.
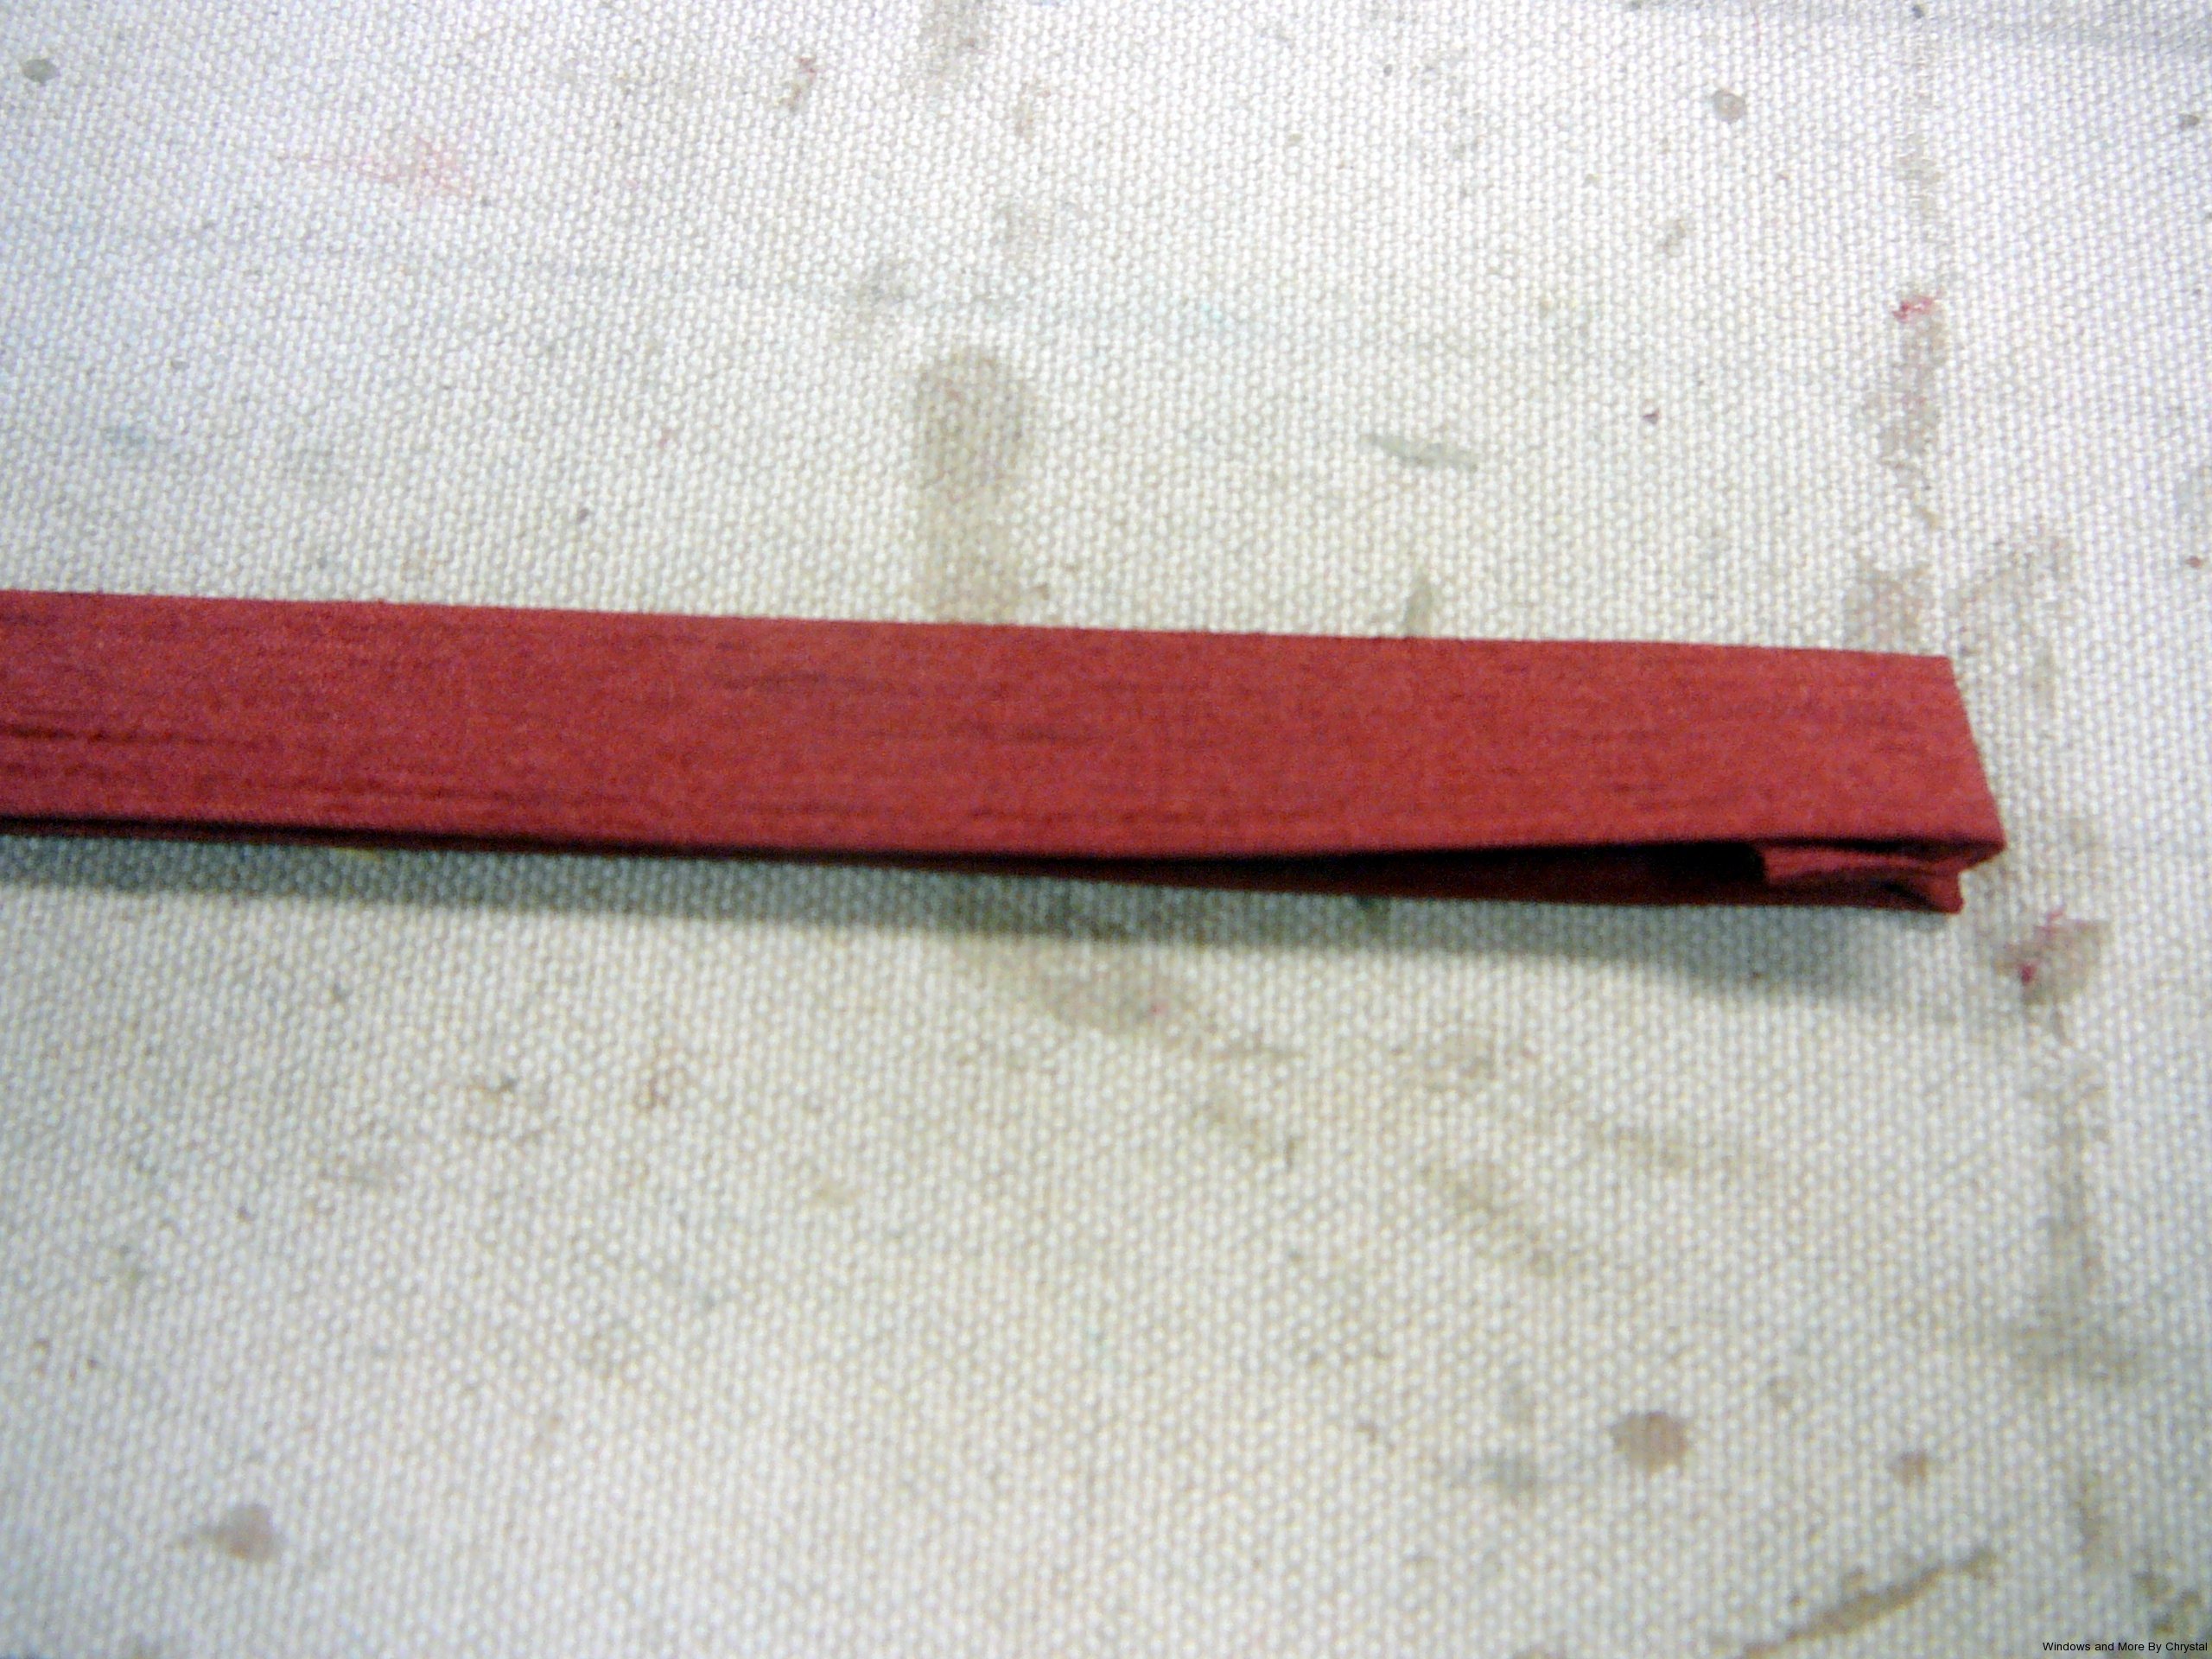
I used a tape product that is applied with steam and heat.
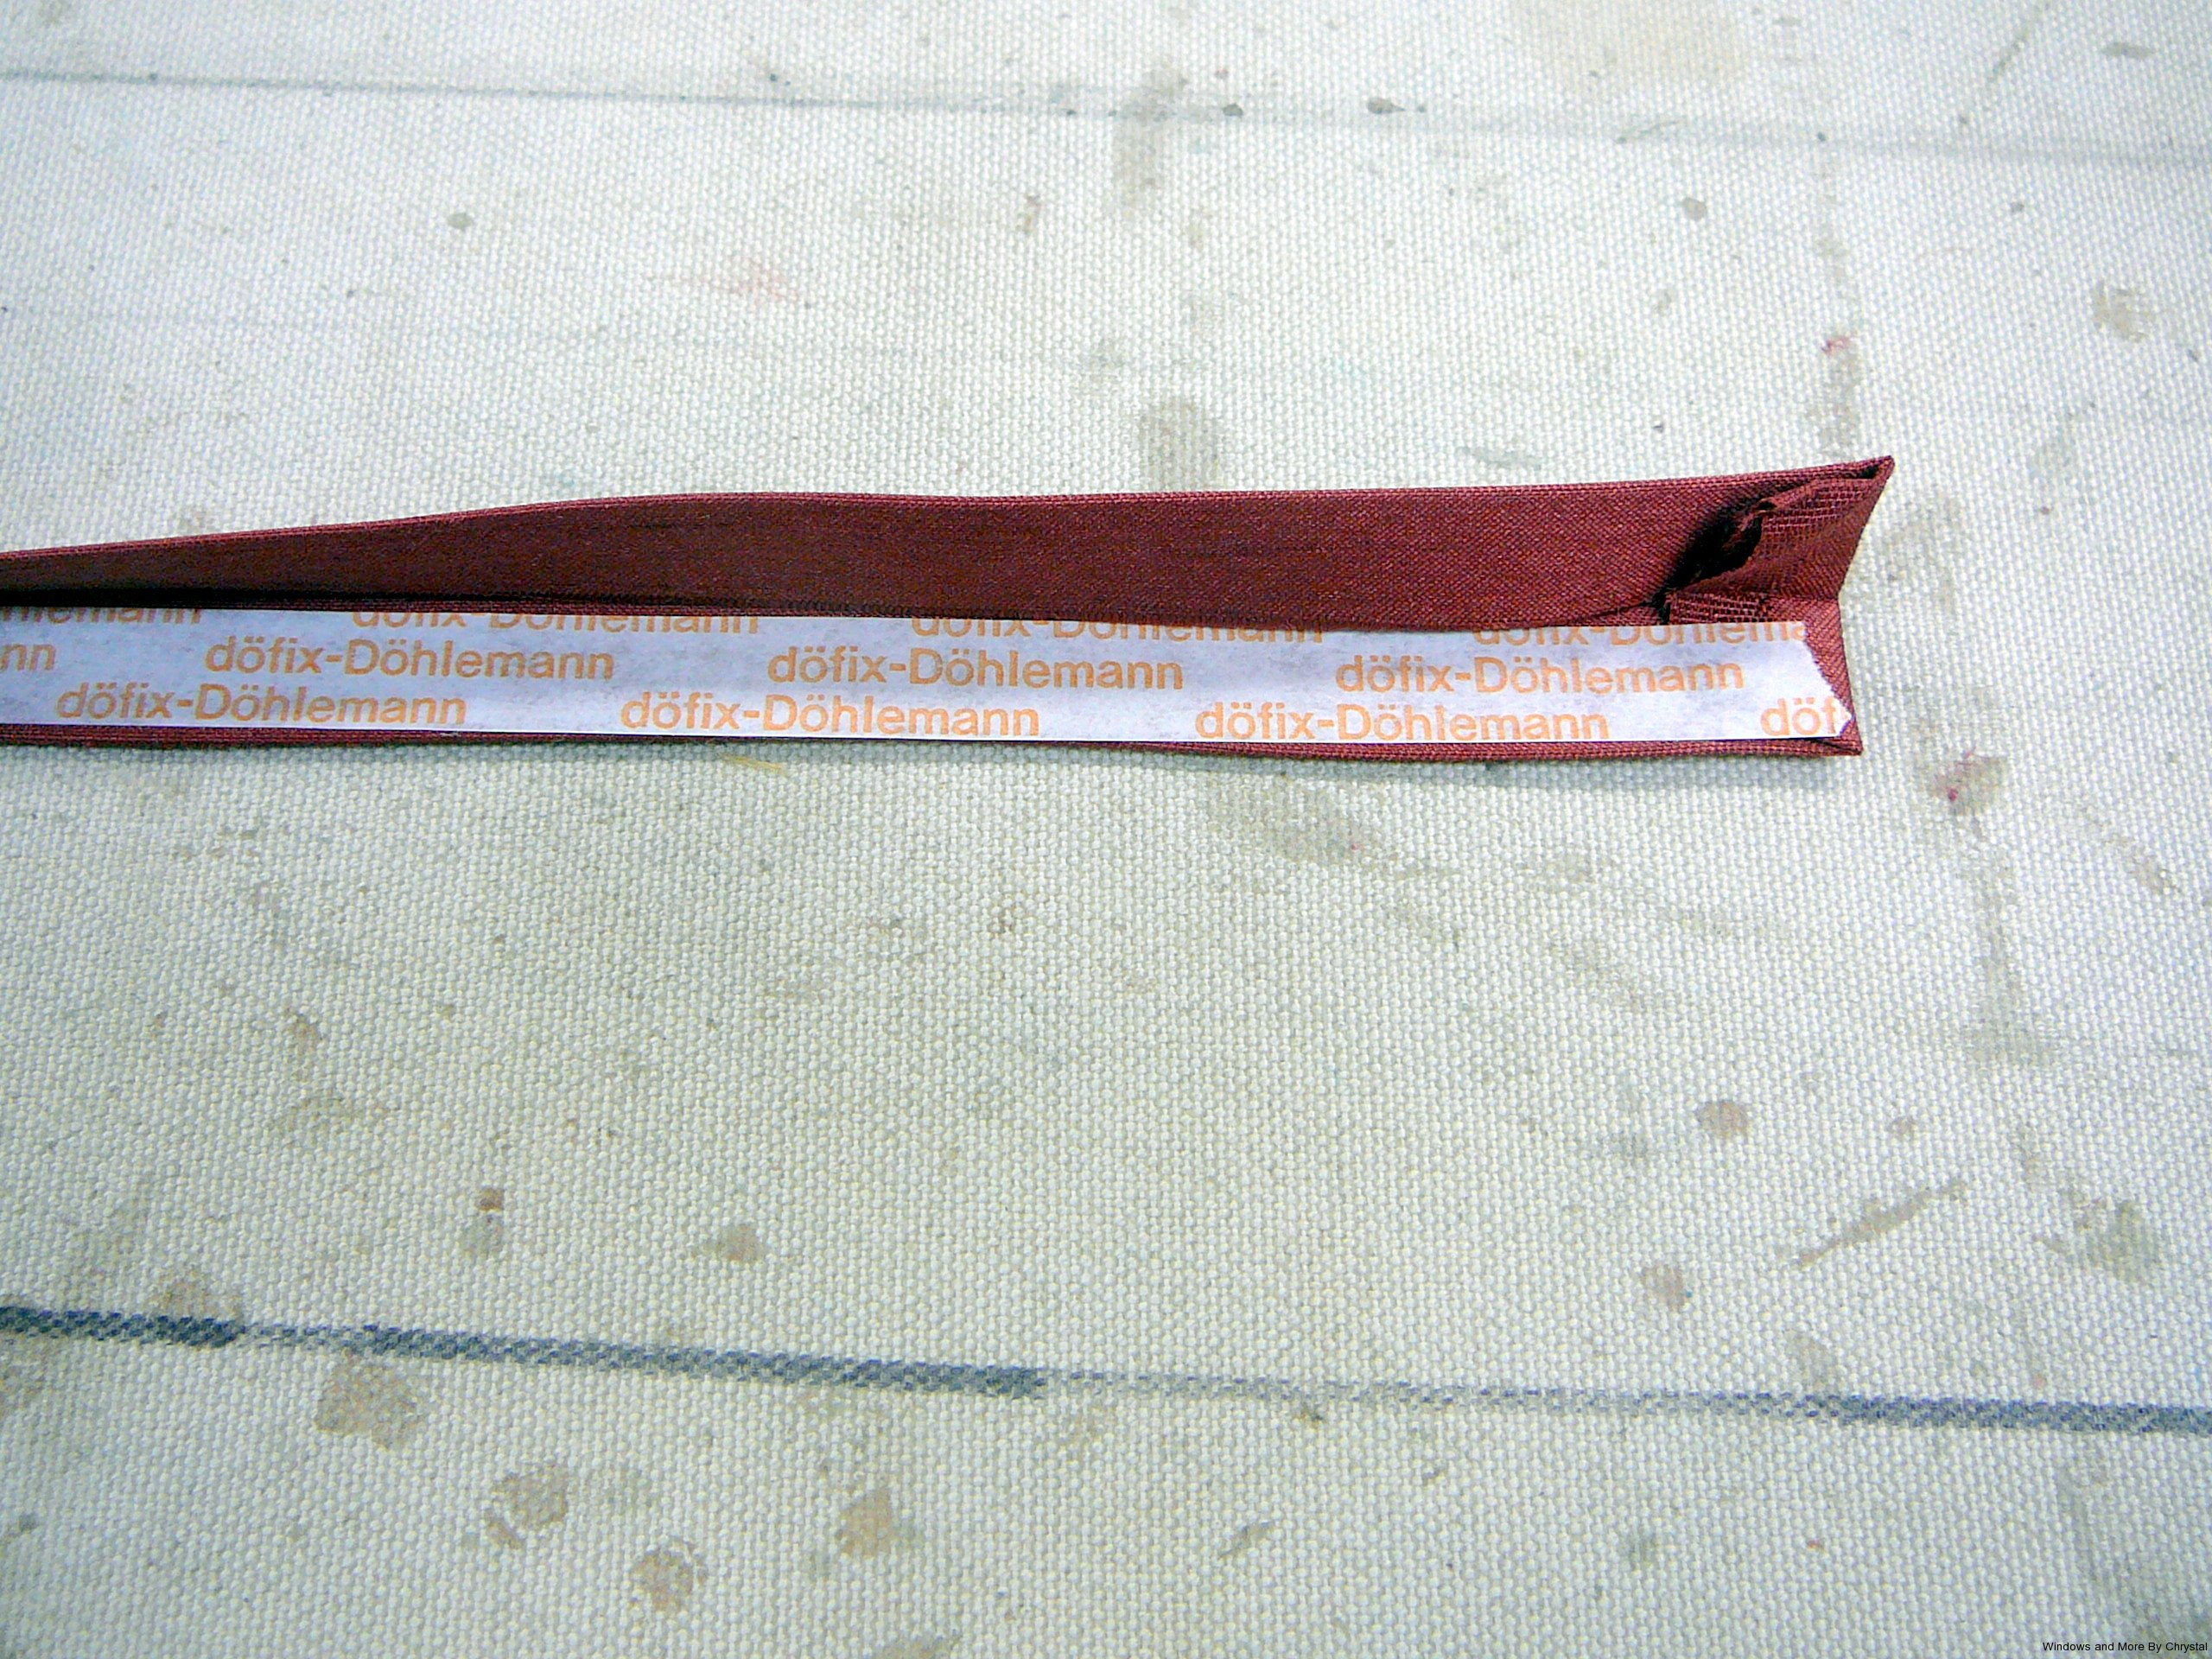
Then fold the tape in half and pin on the long raw edge of the fabric, pining it in place. I pinned it approx. 3″ down from the top edge. You can tack the tape down, leave in the pin or sew a quick basting stitch to hold it in place.
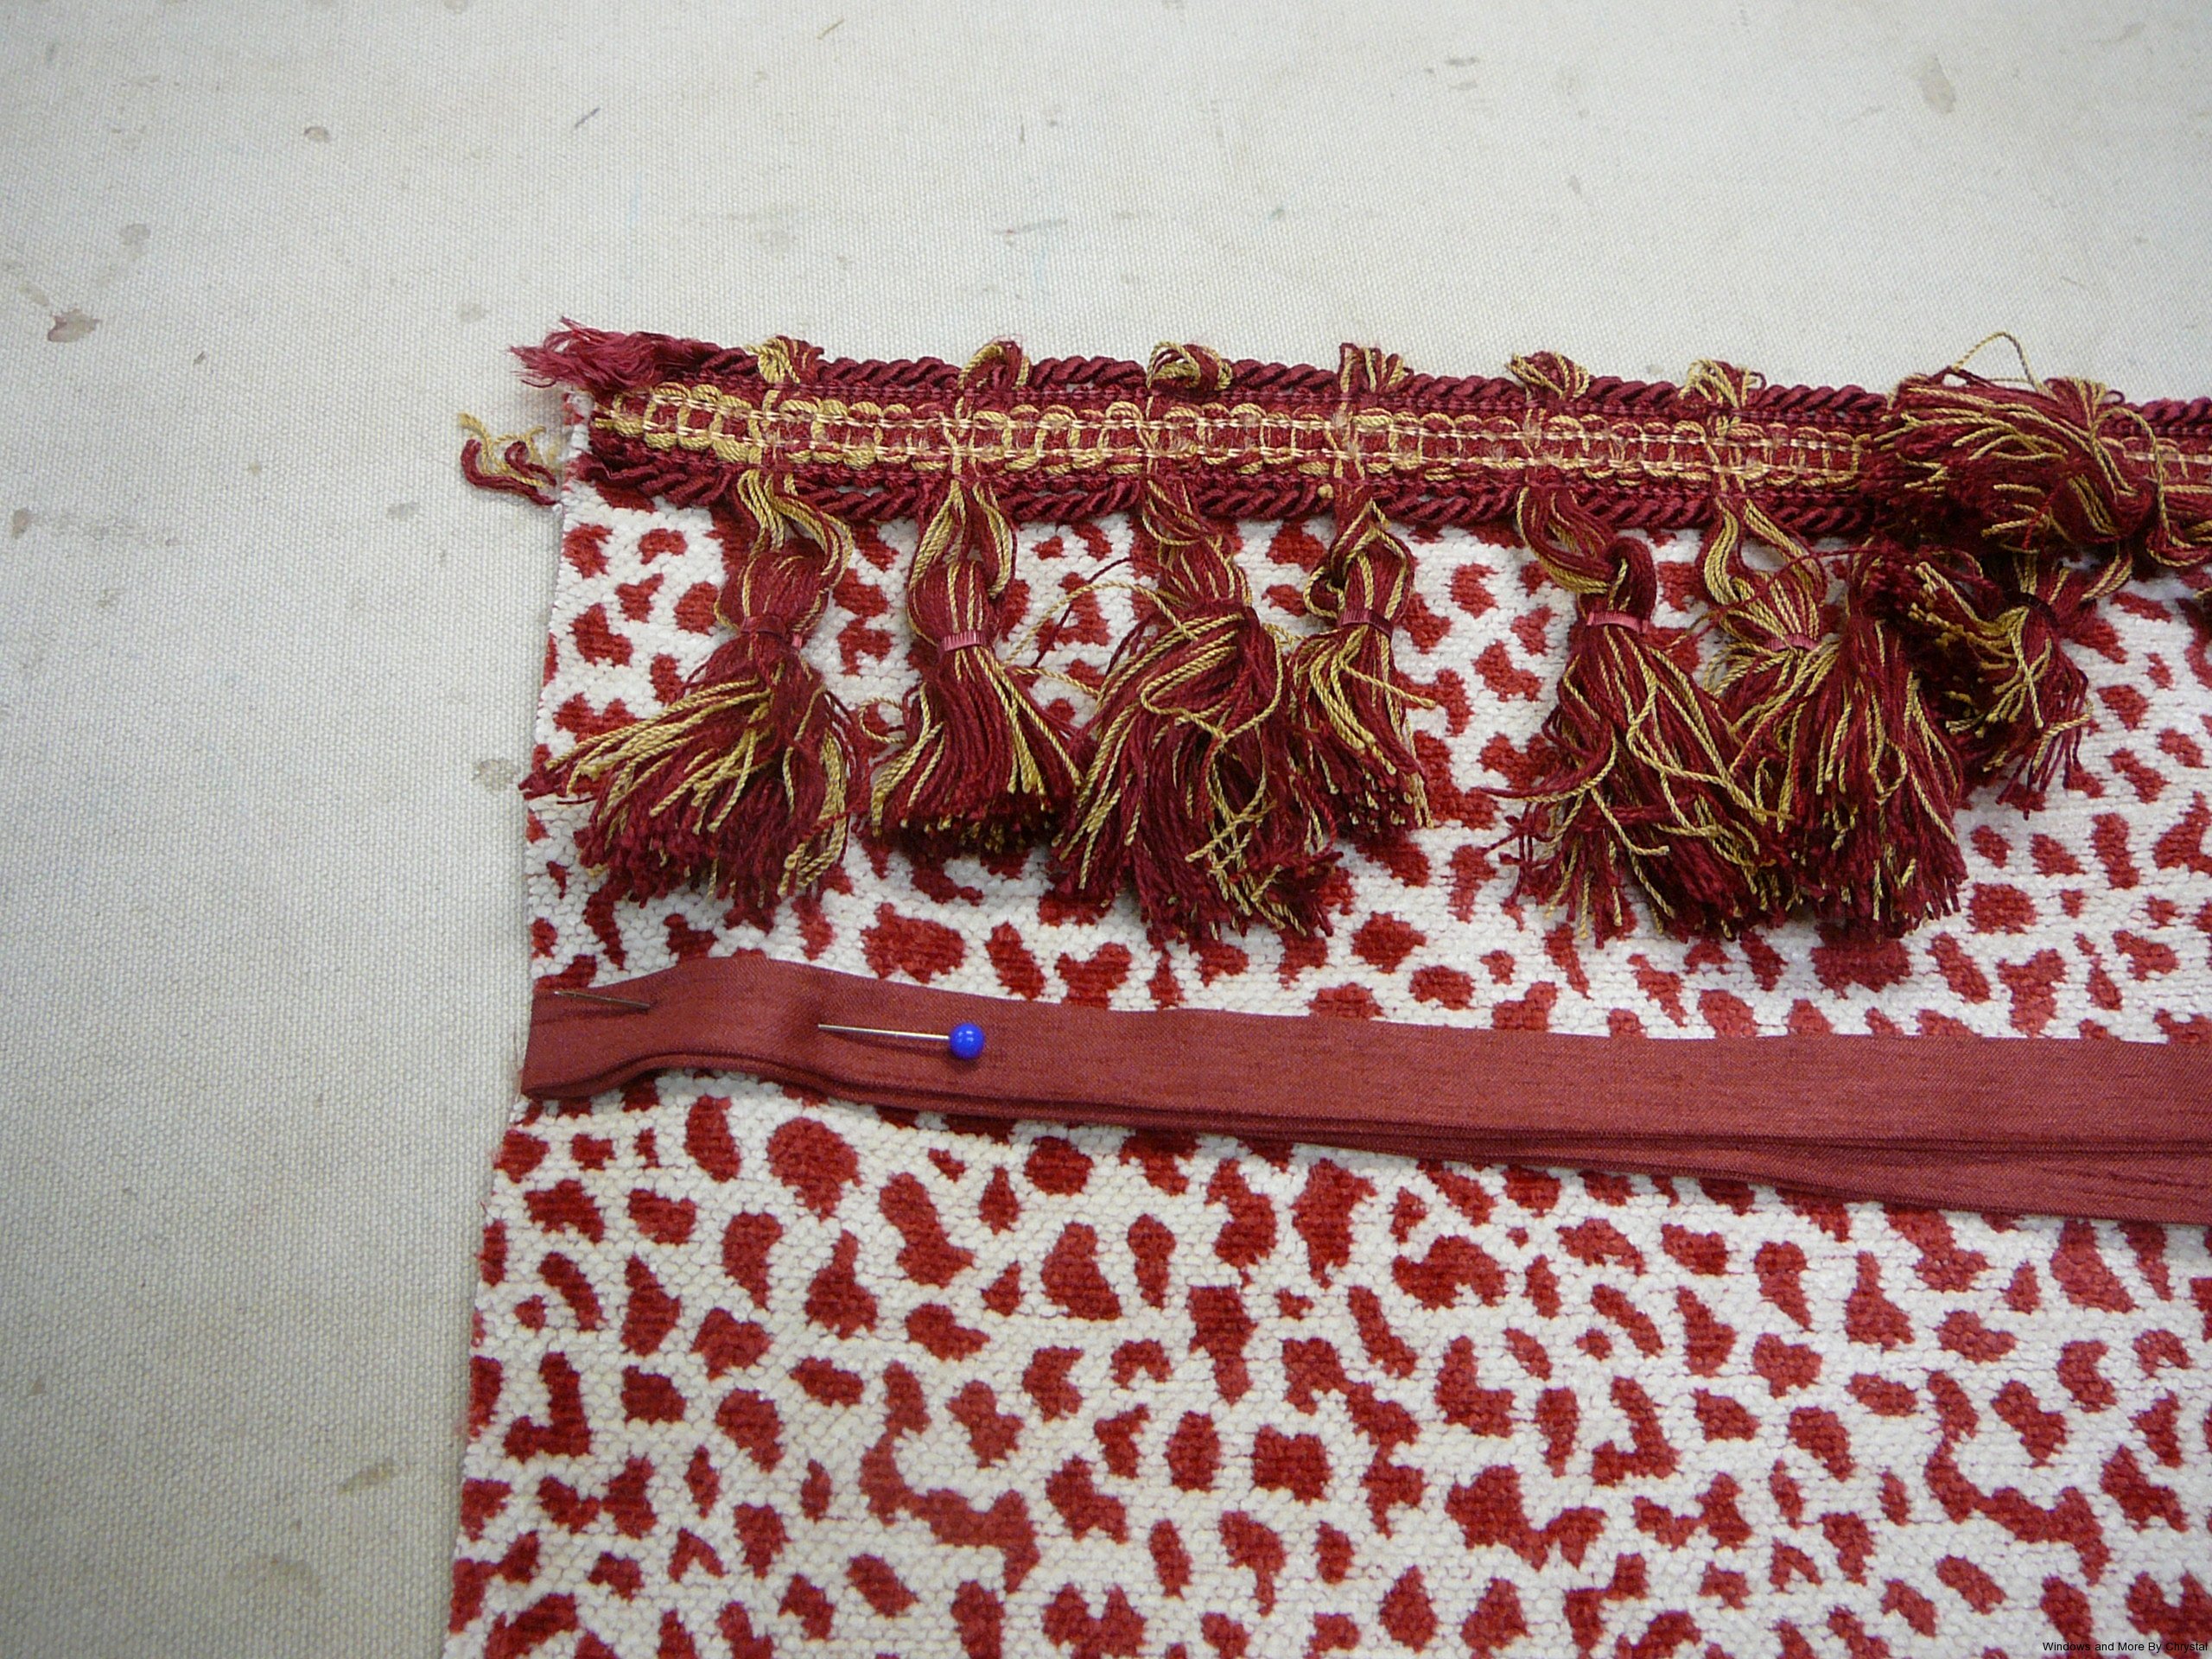
Fold the 2 long raw edges of the fabric together and pin in place. Pin along the bottom edge also.
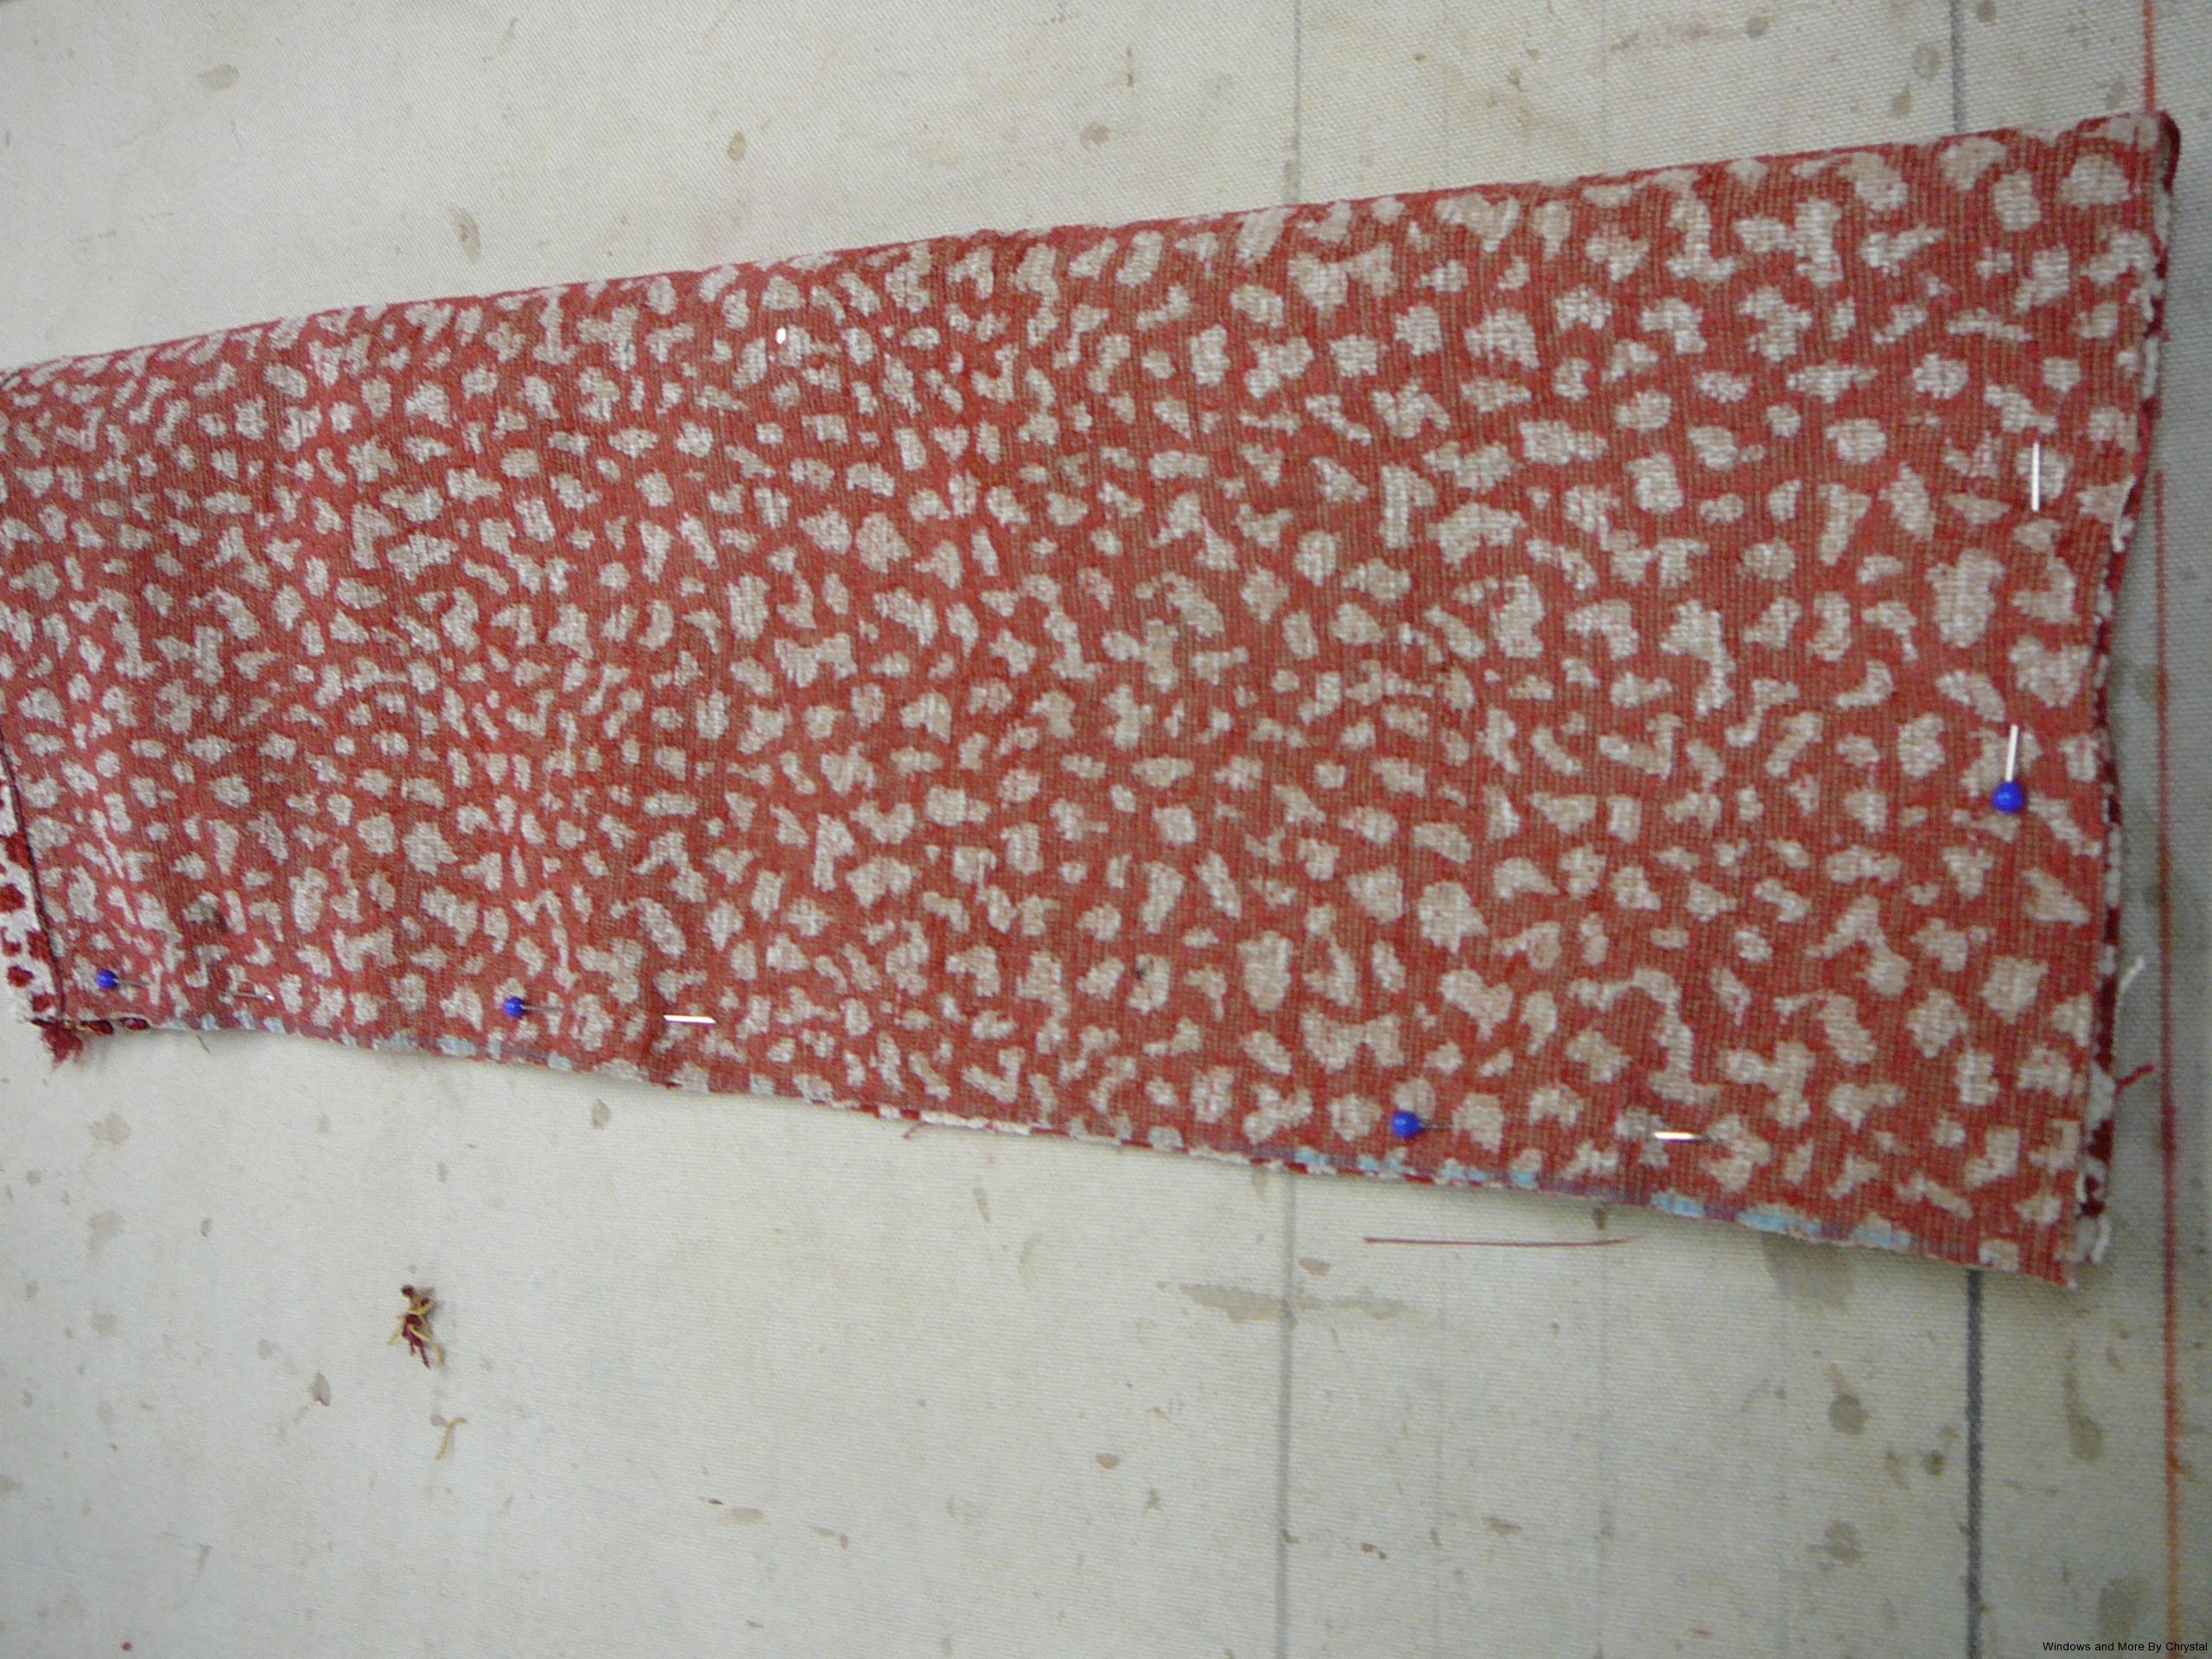
Then sew both edges. After you sew the edges then you need to make the gussets. The gussets are what makes the bag set nicer. It is hard to explain, but a lot of the instructions I found did not include this step and the bags were sloppy looking to me. A gusset is created when you fold the bag so the side seam is in the middle of the bag and you pinch the side seam and bottom seam together.
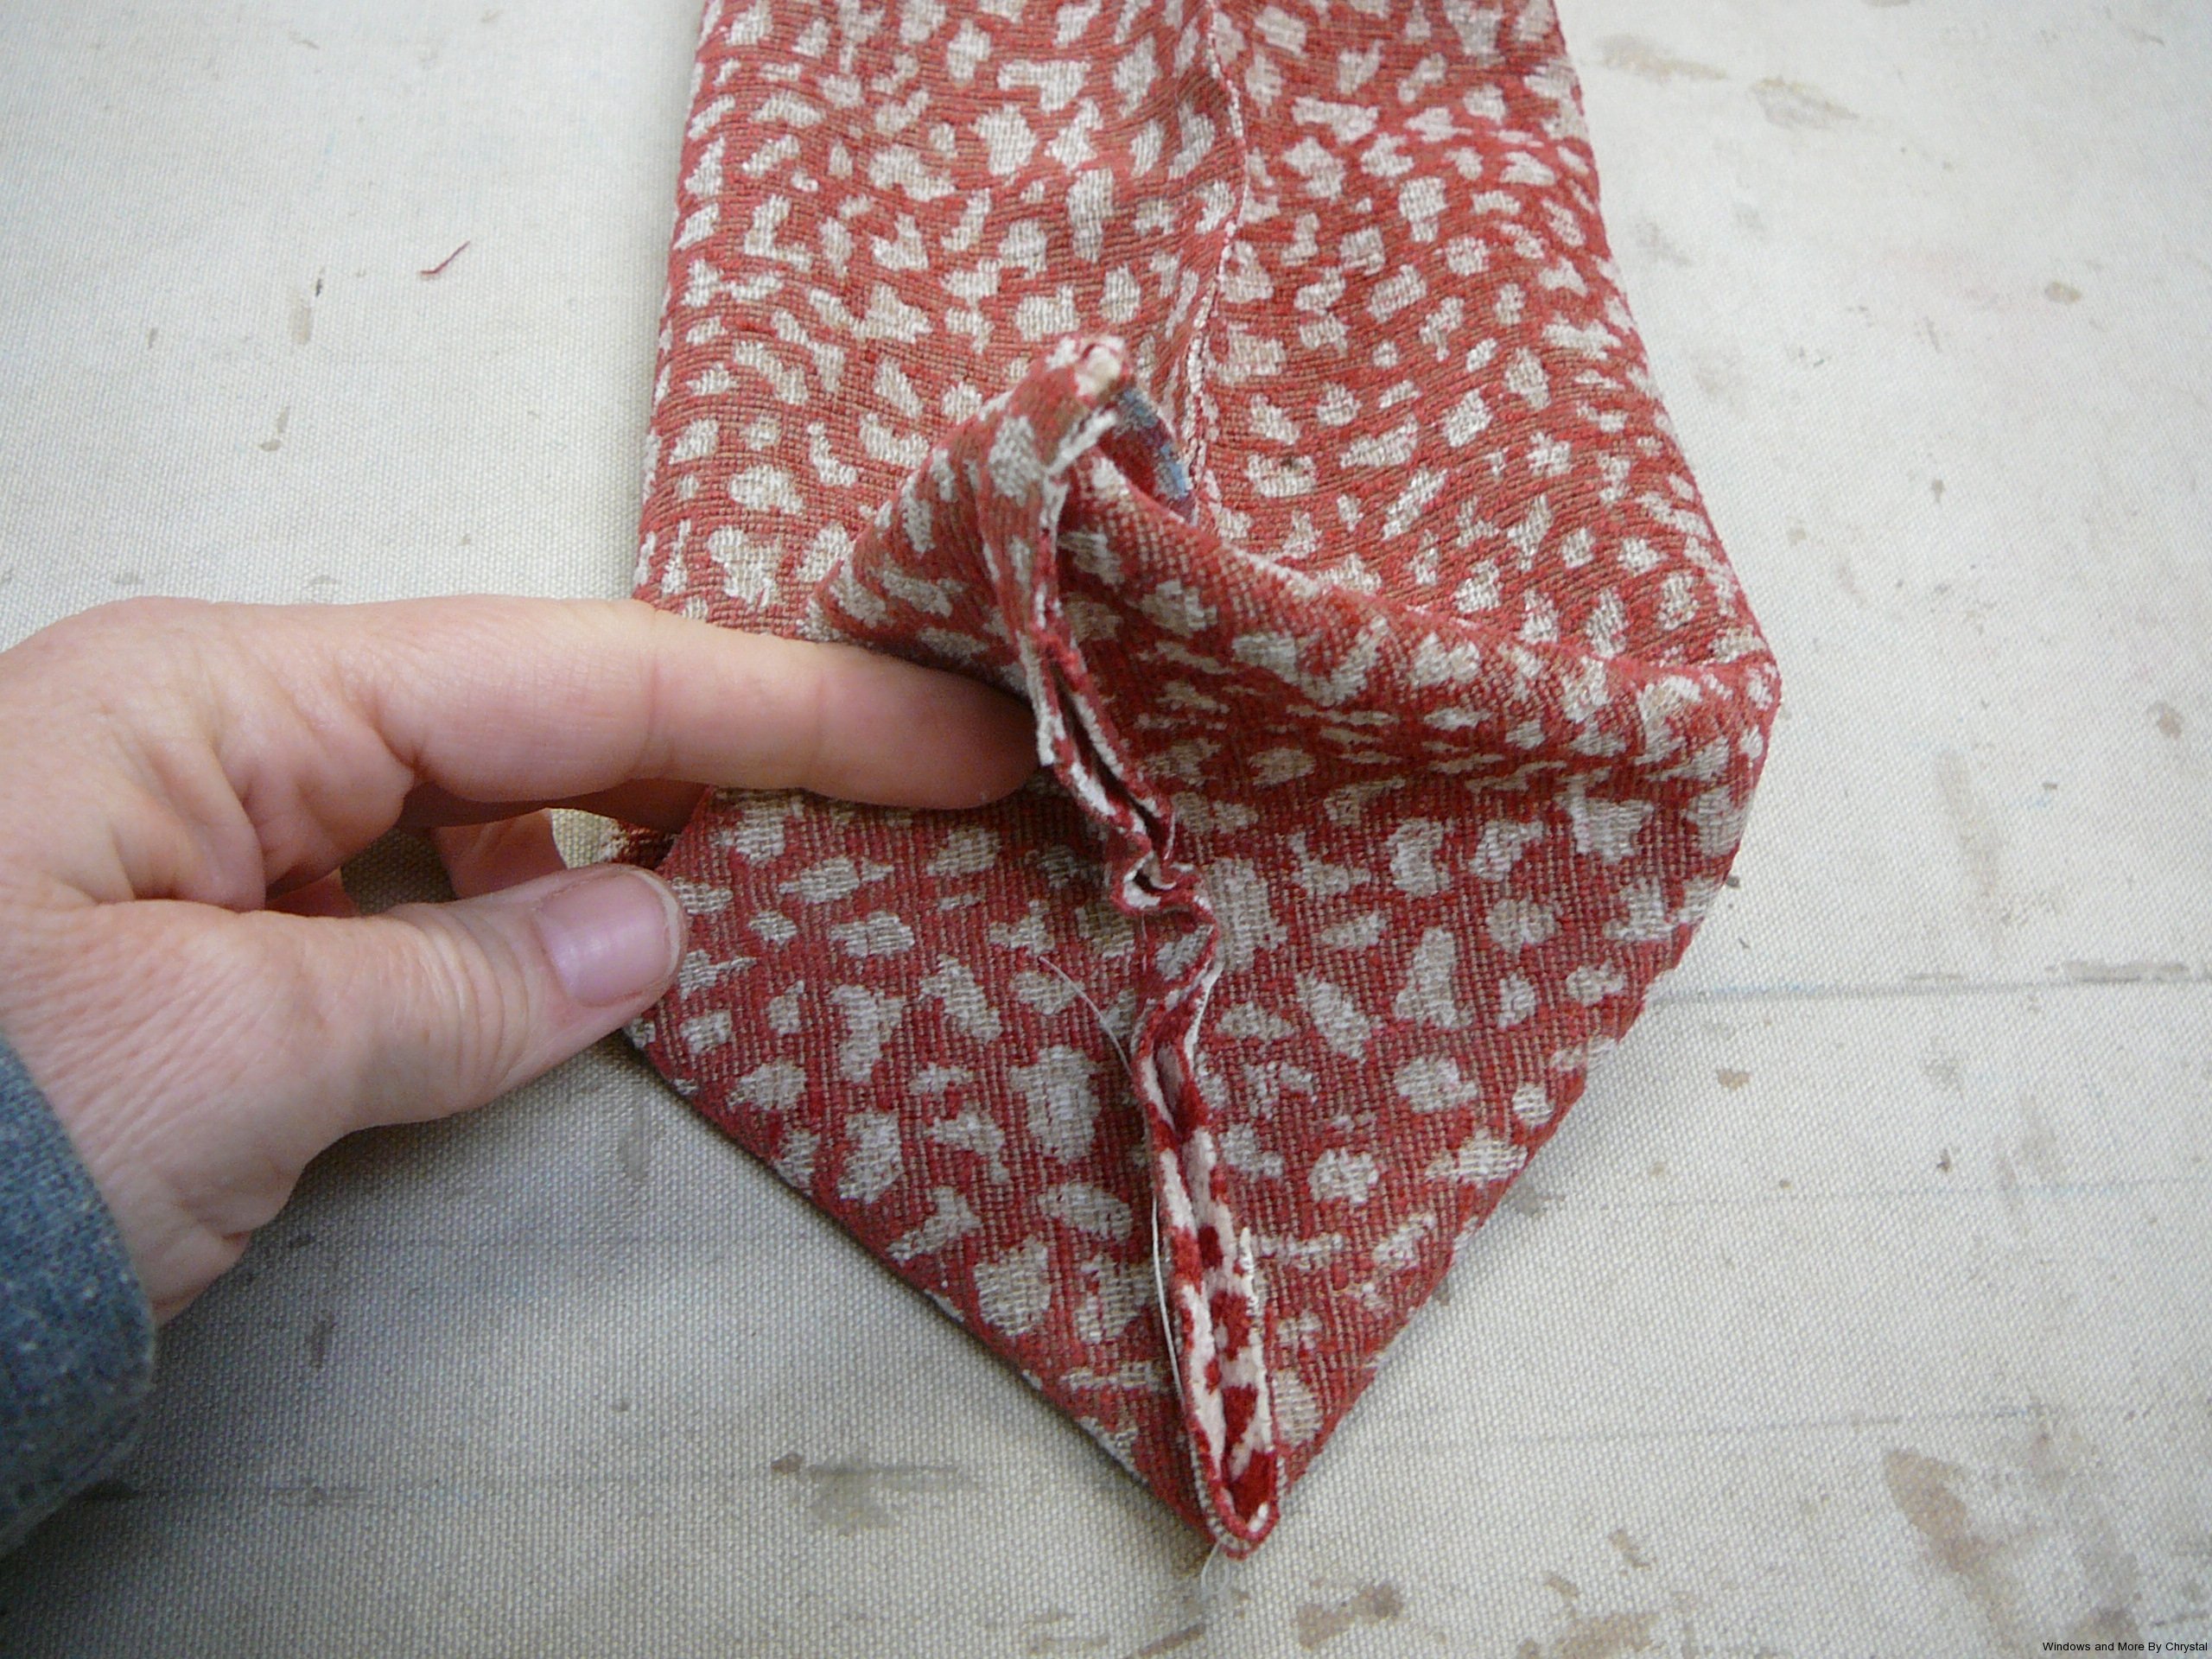
Mark in 1 1/4″ from the point and draw a line to sew on.
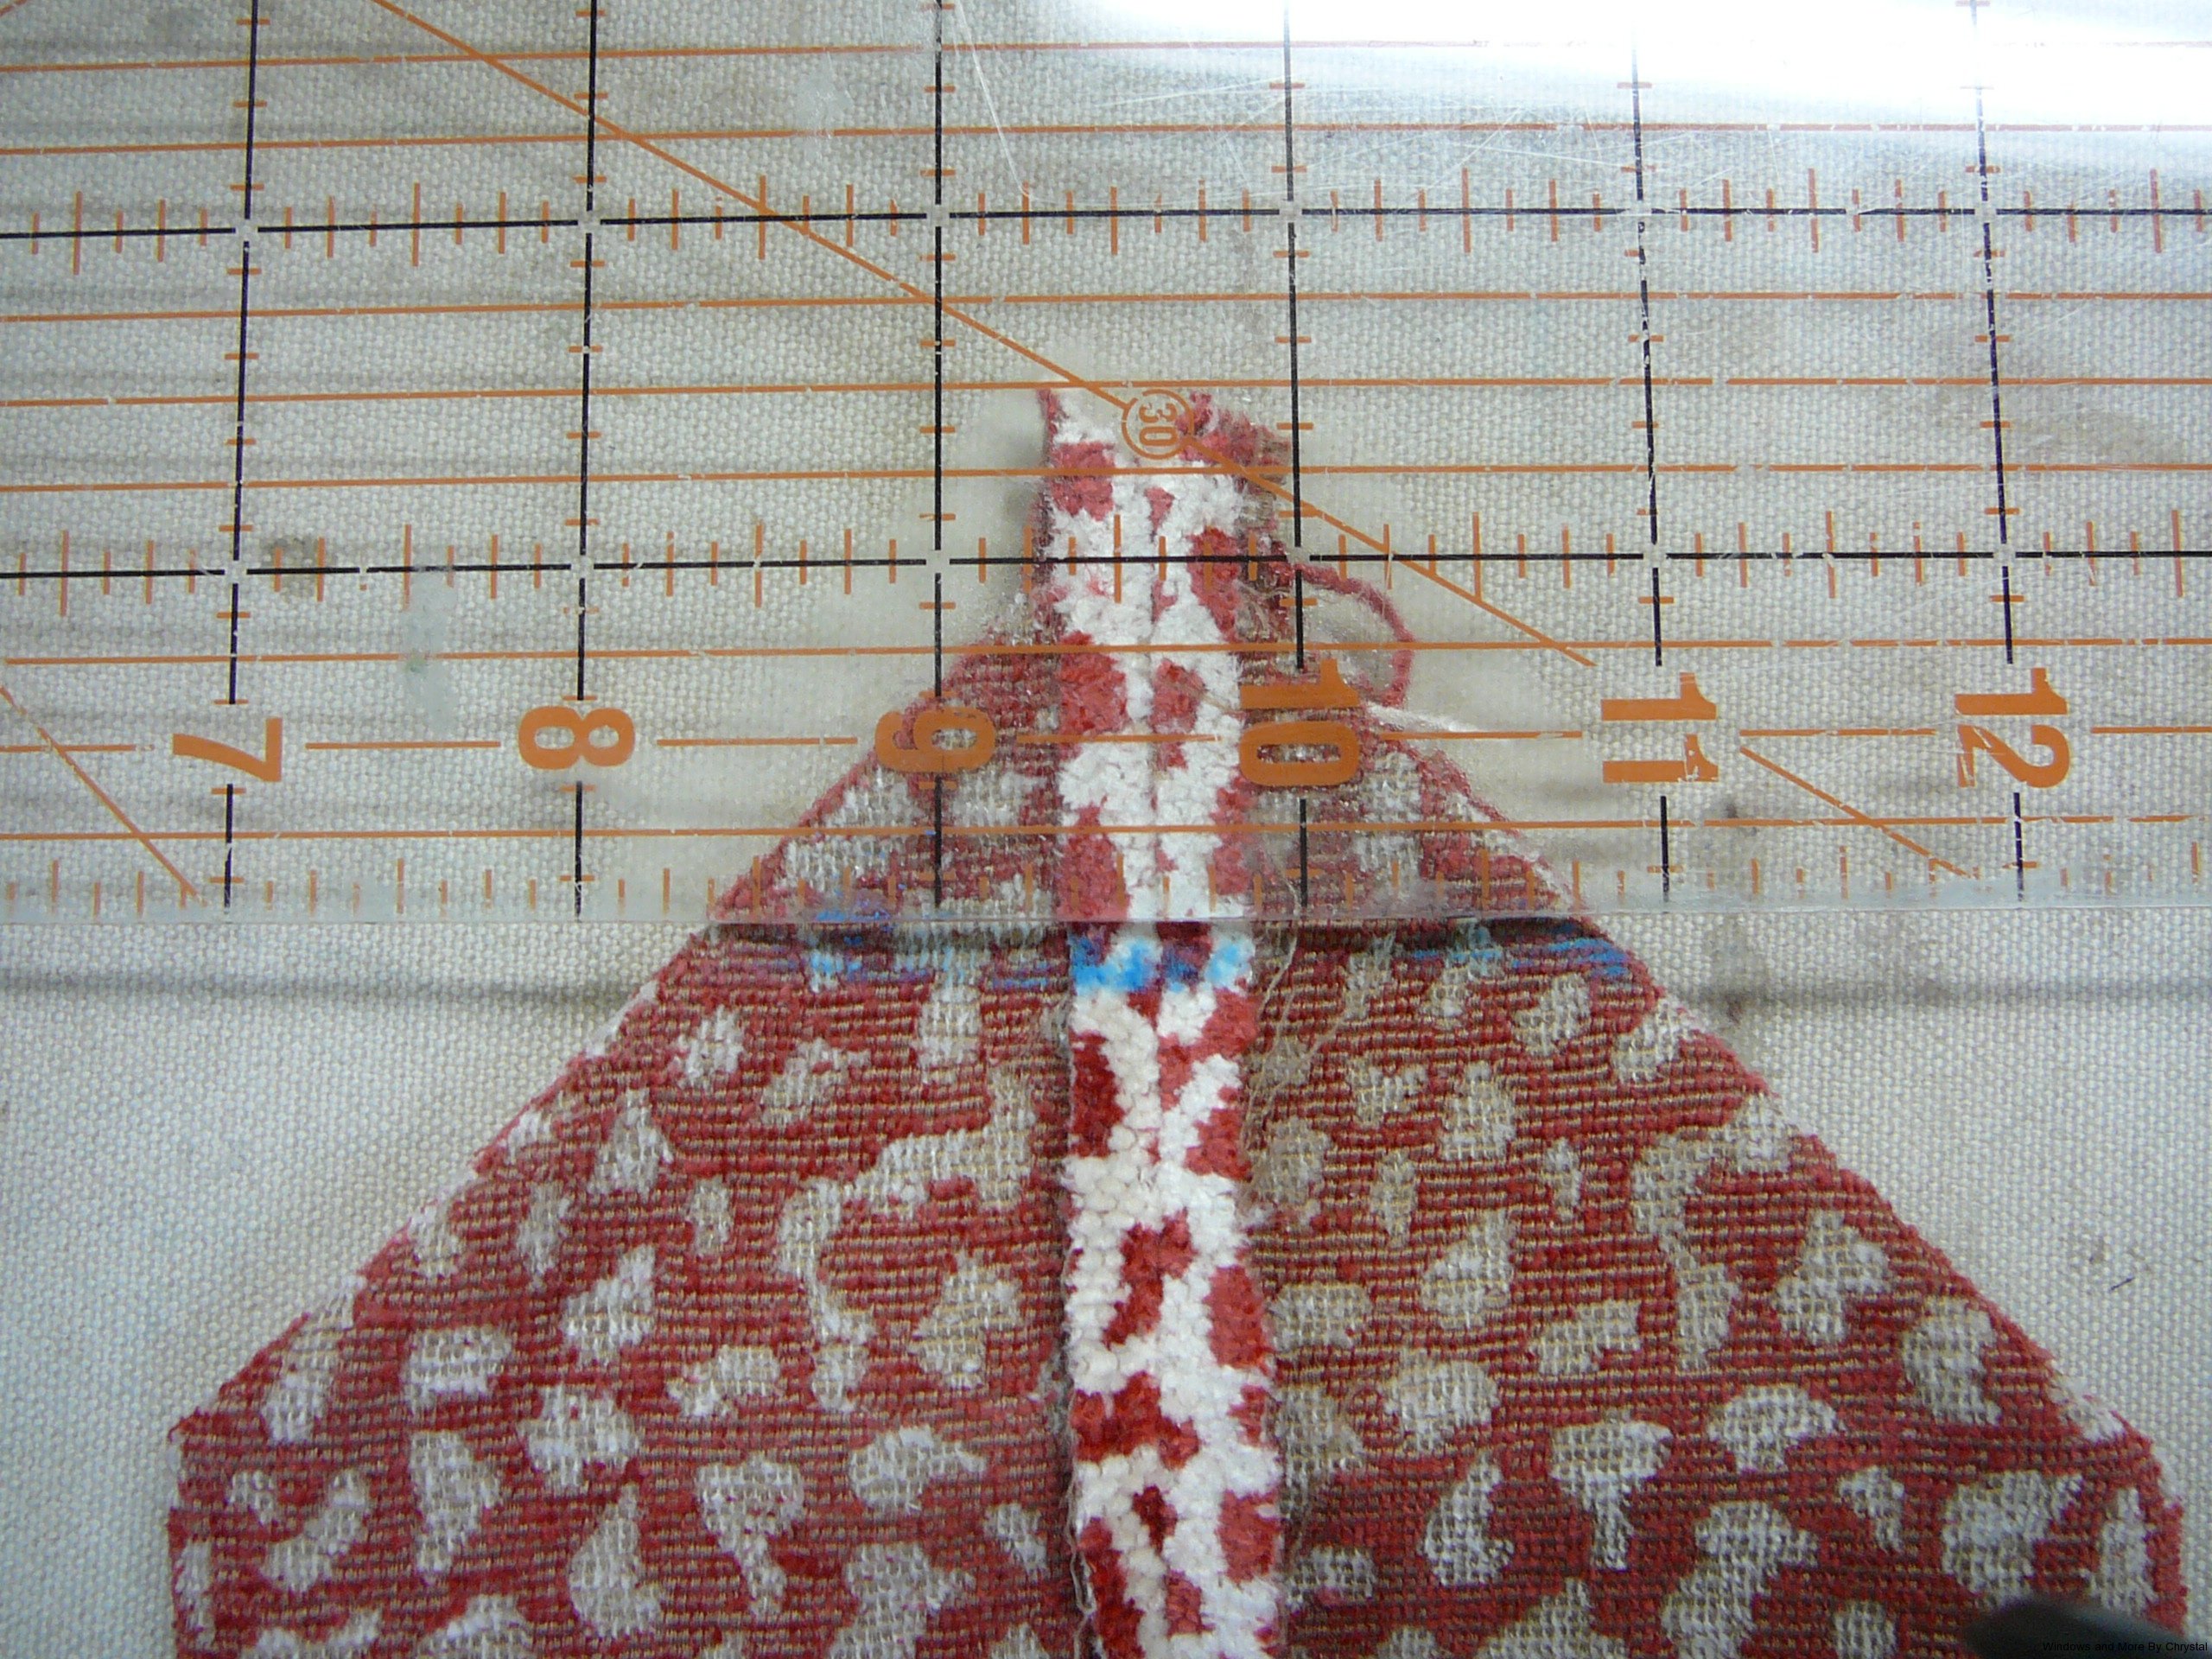
Sew along the line and repeat the process for the other side.
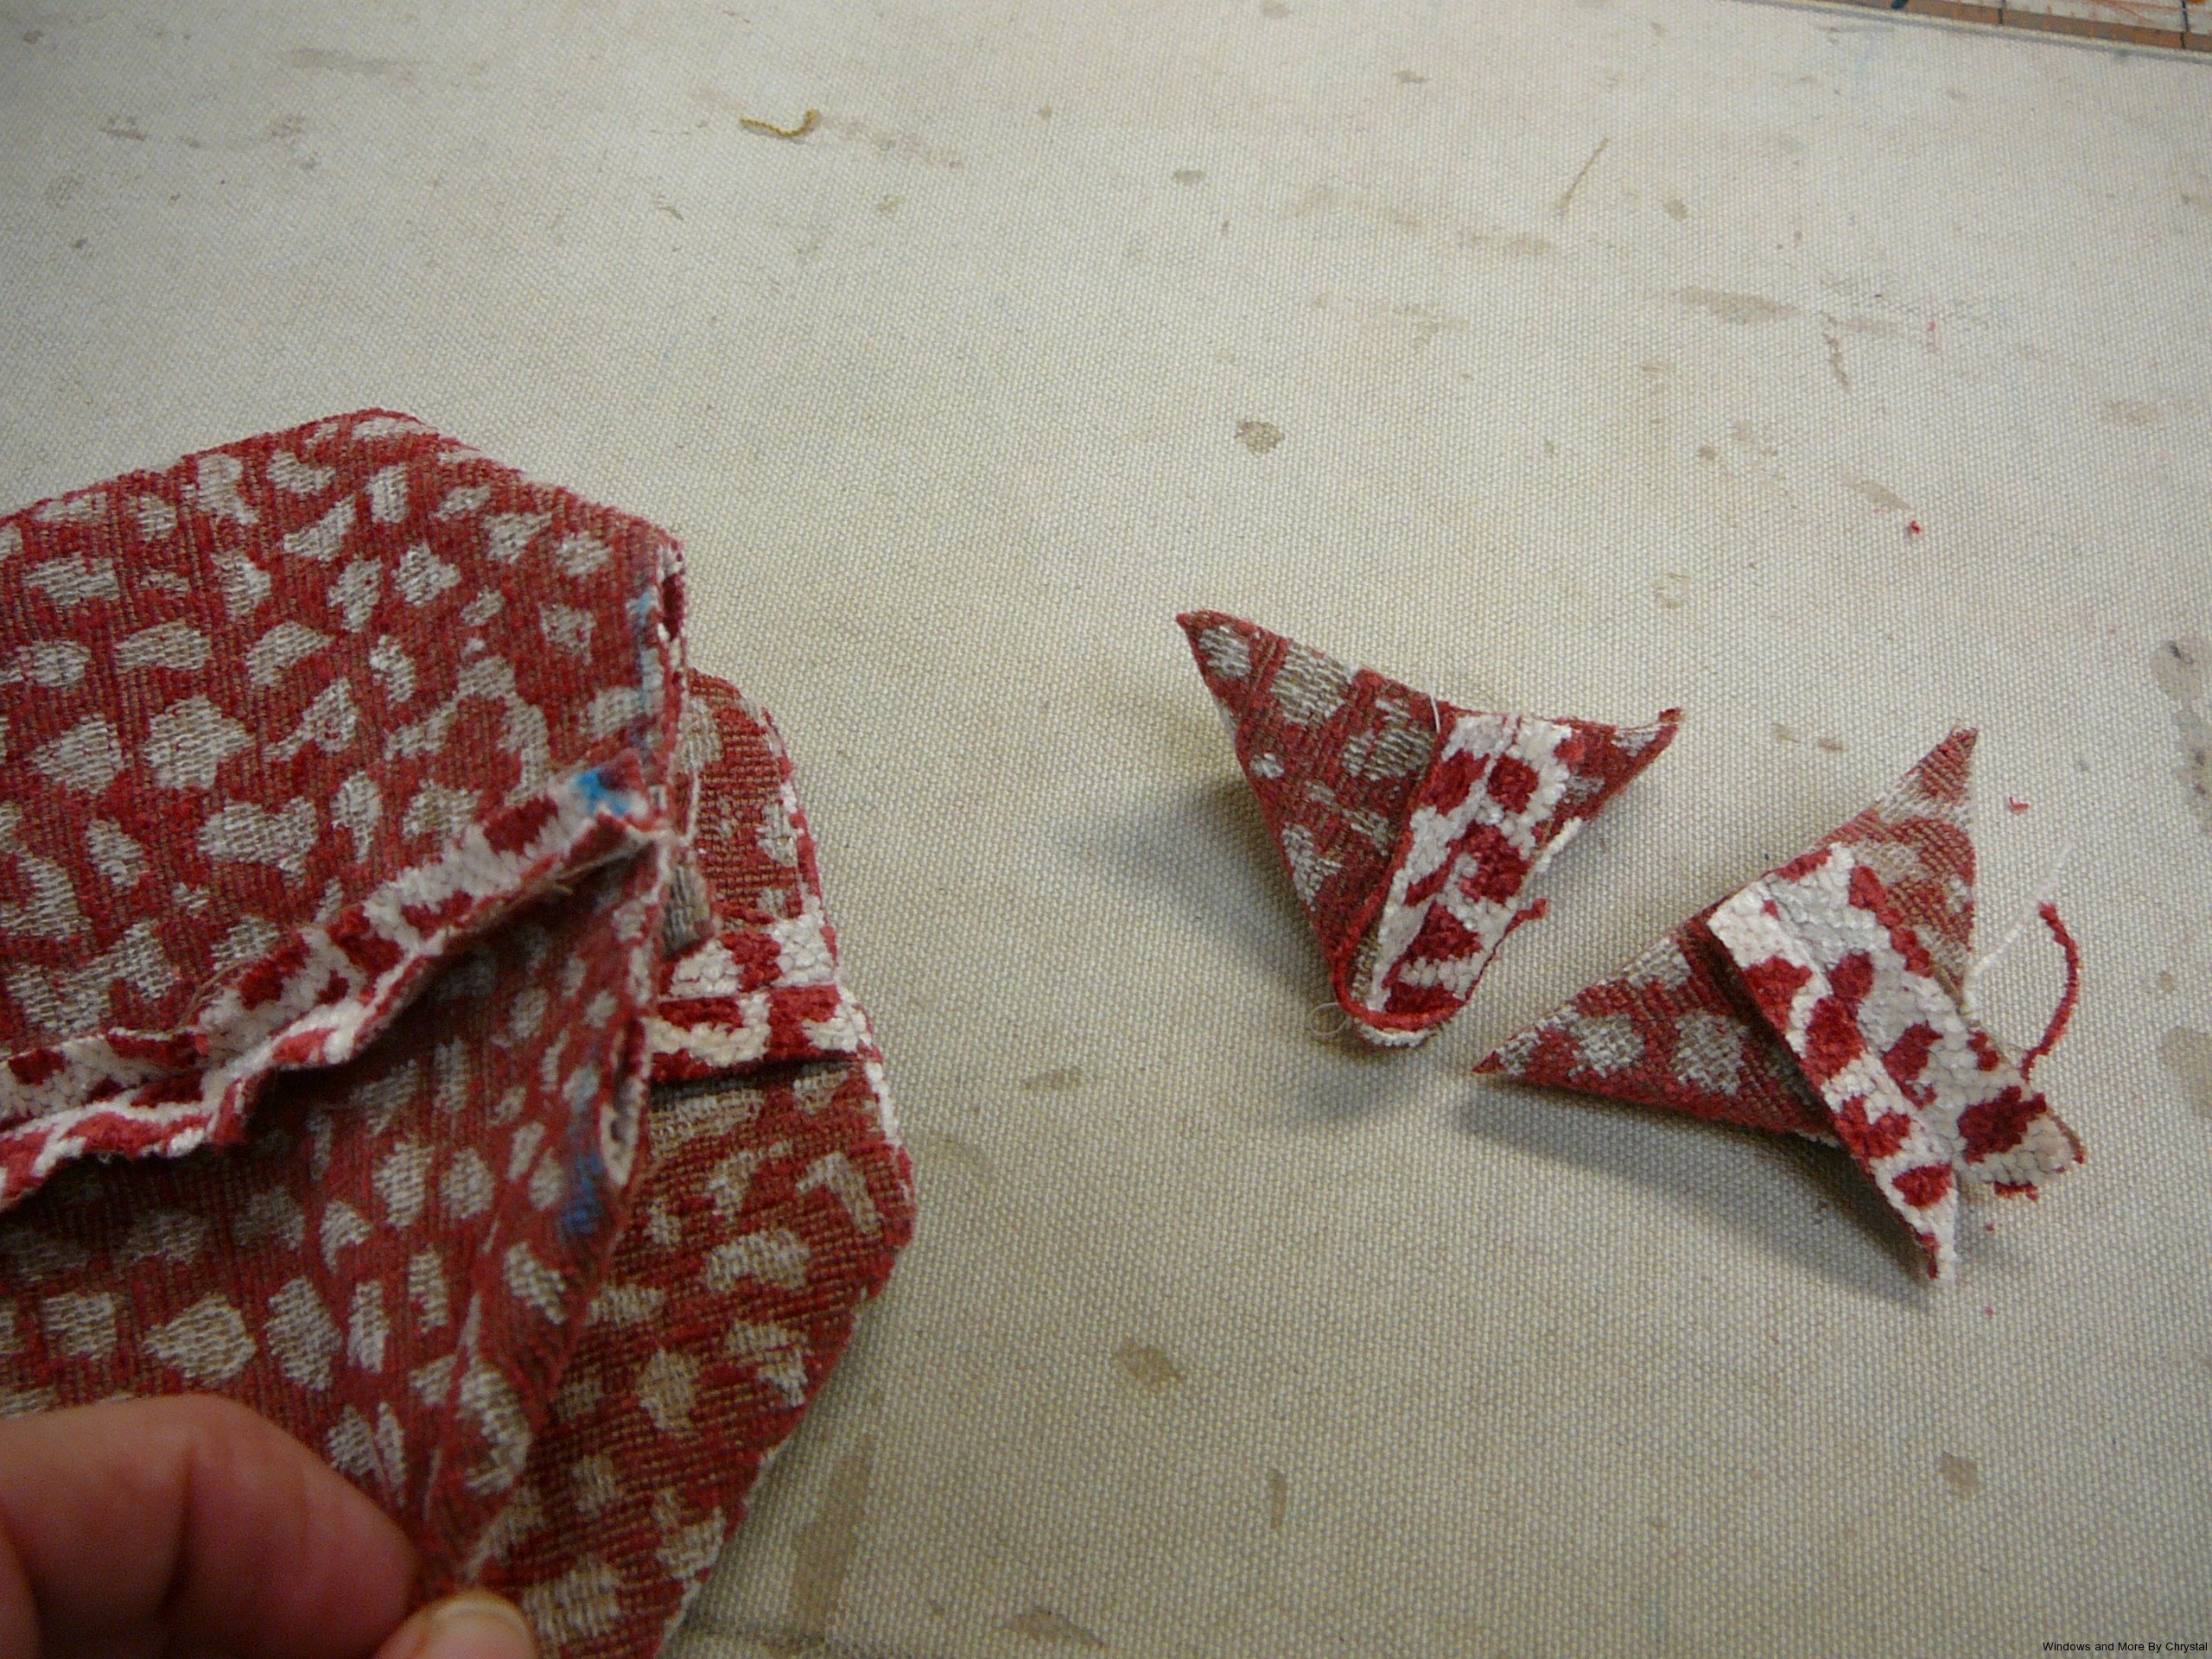
After you have sewn trim close to the seam line.
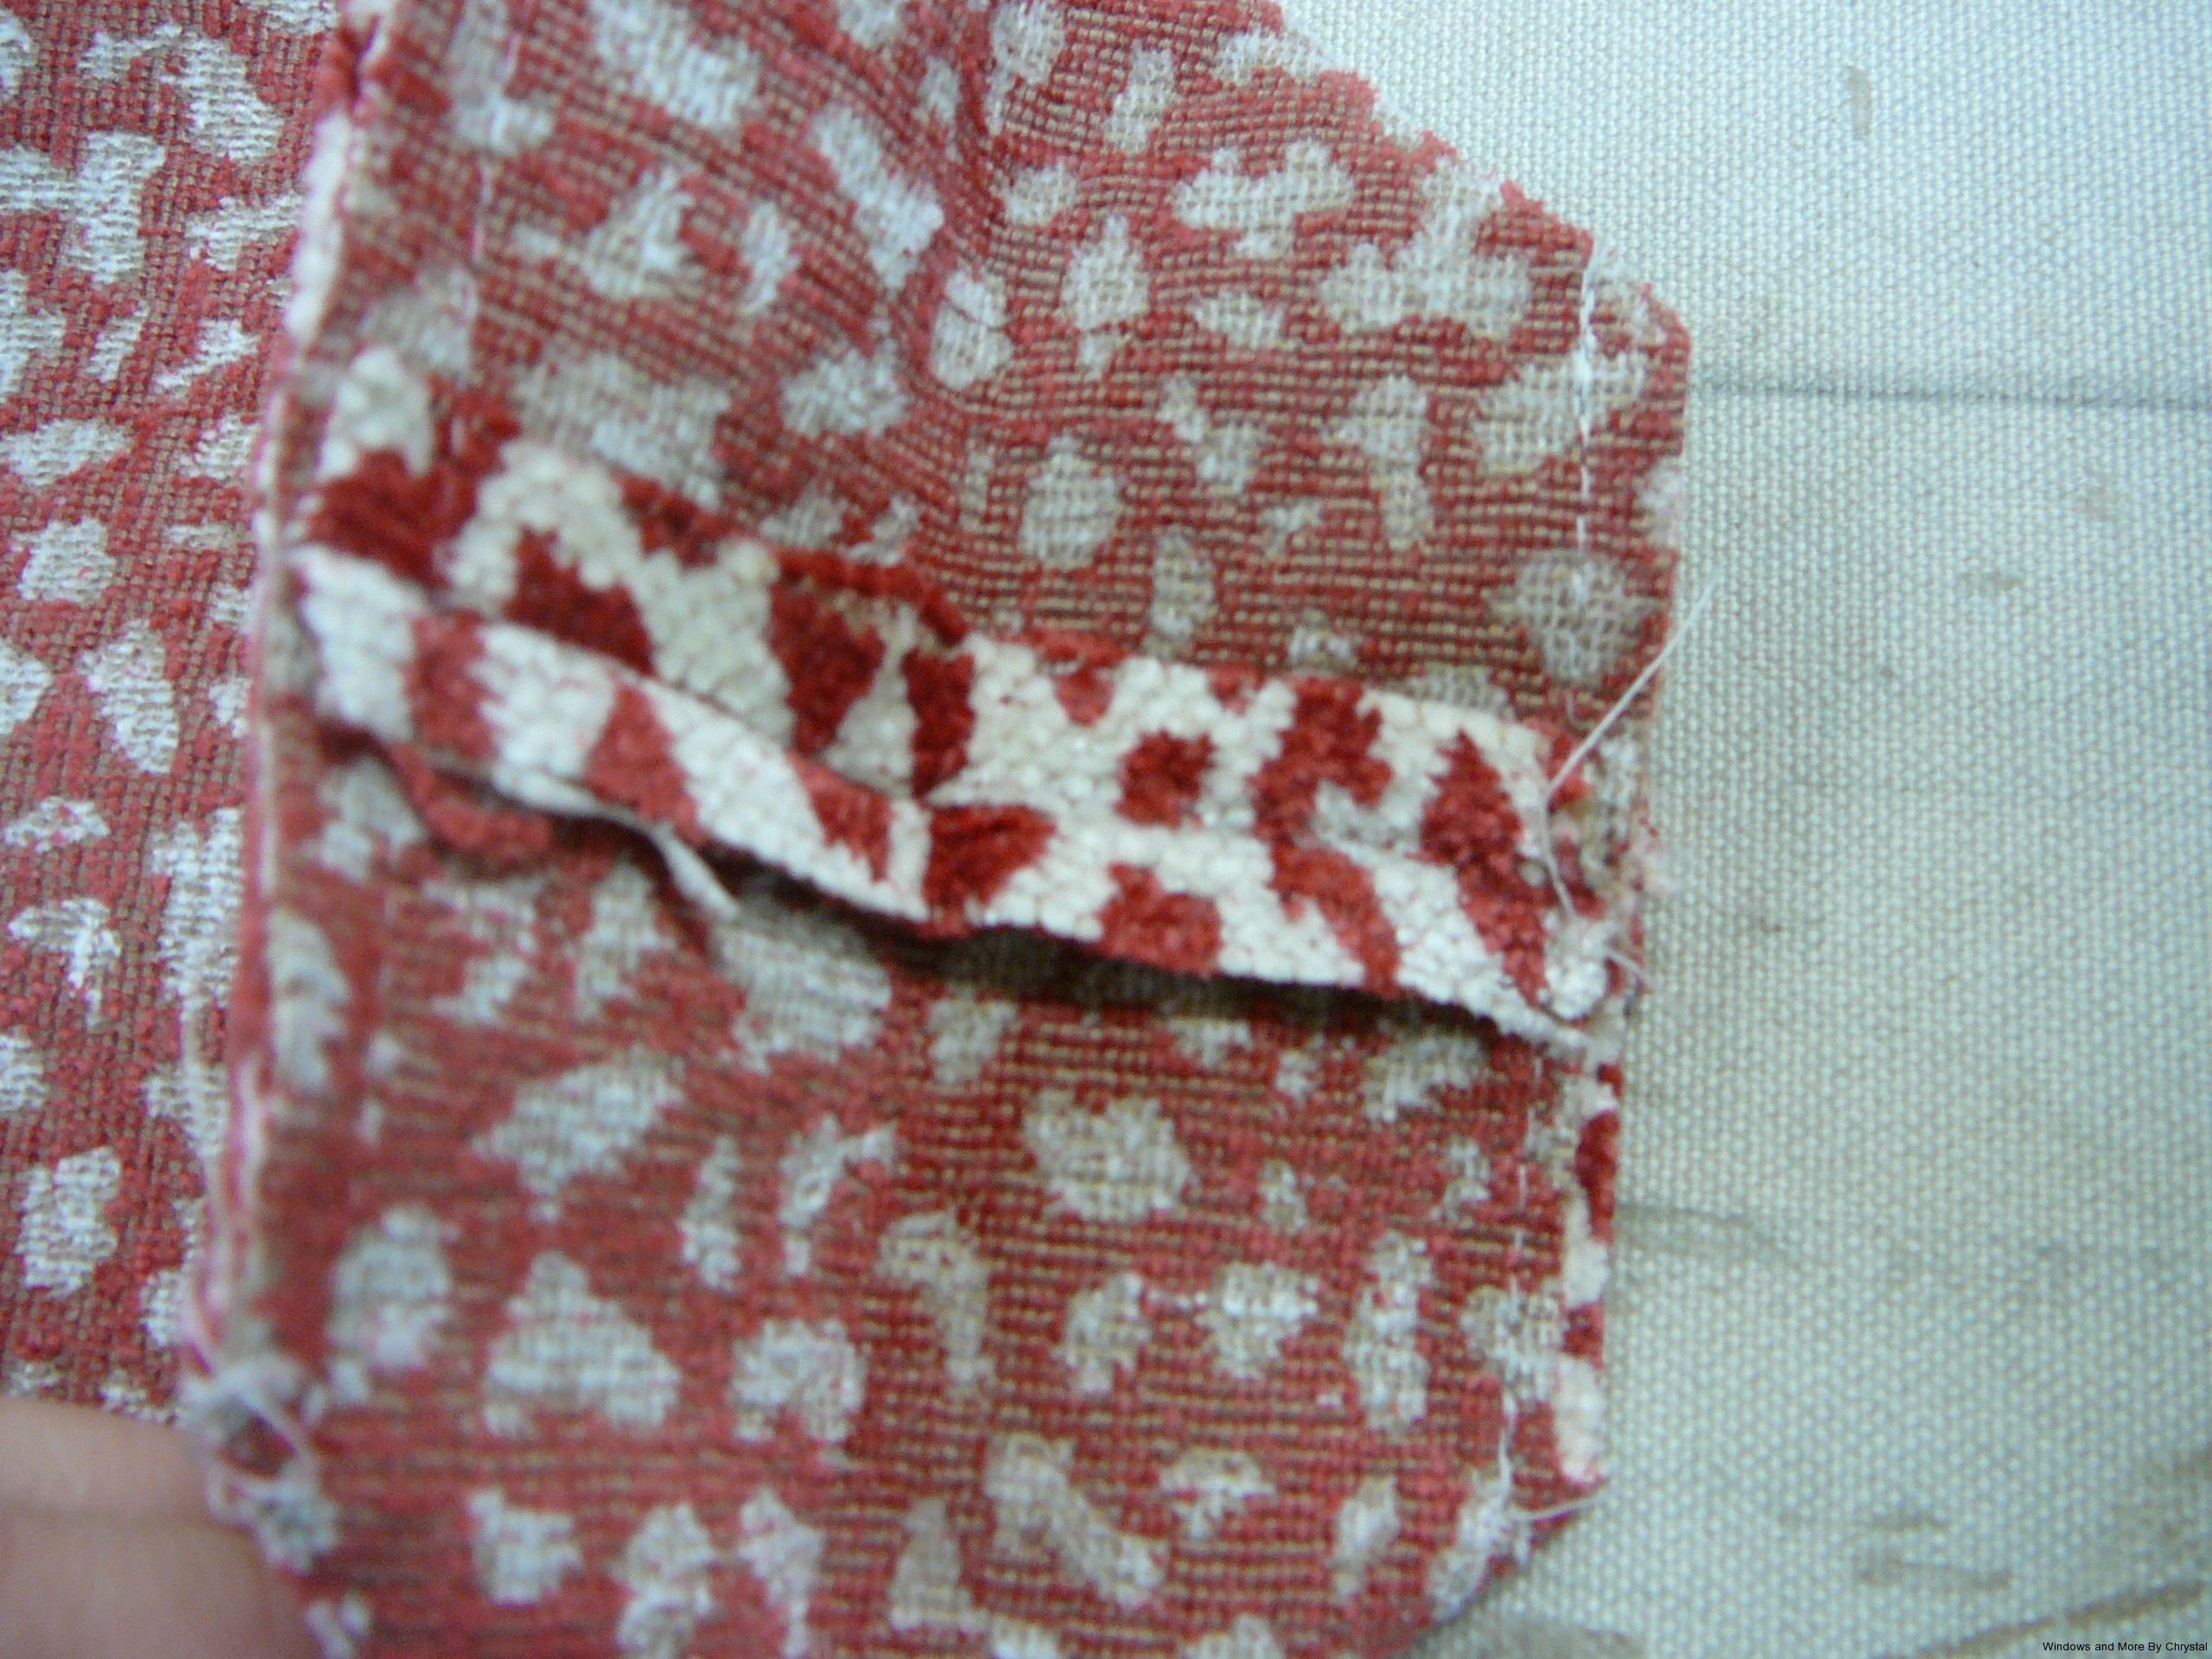
Turn inside out.
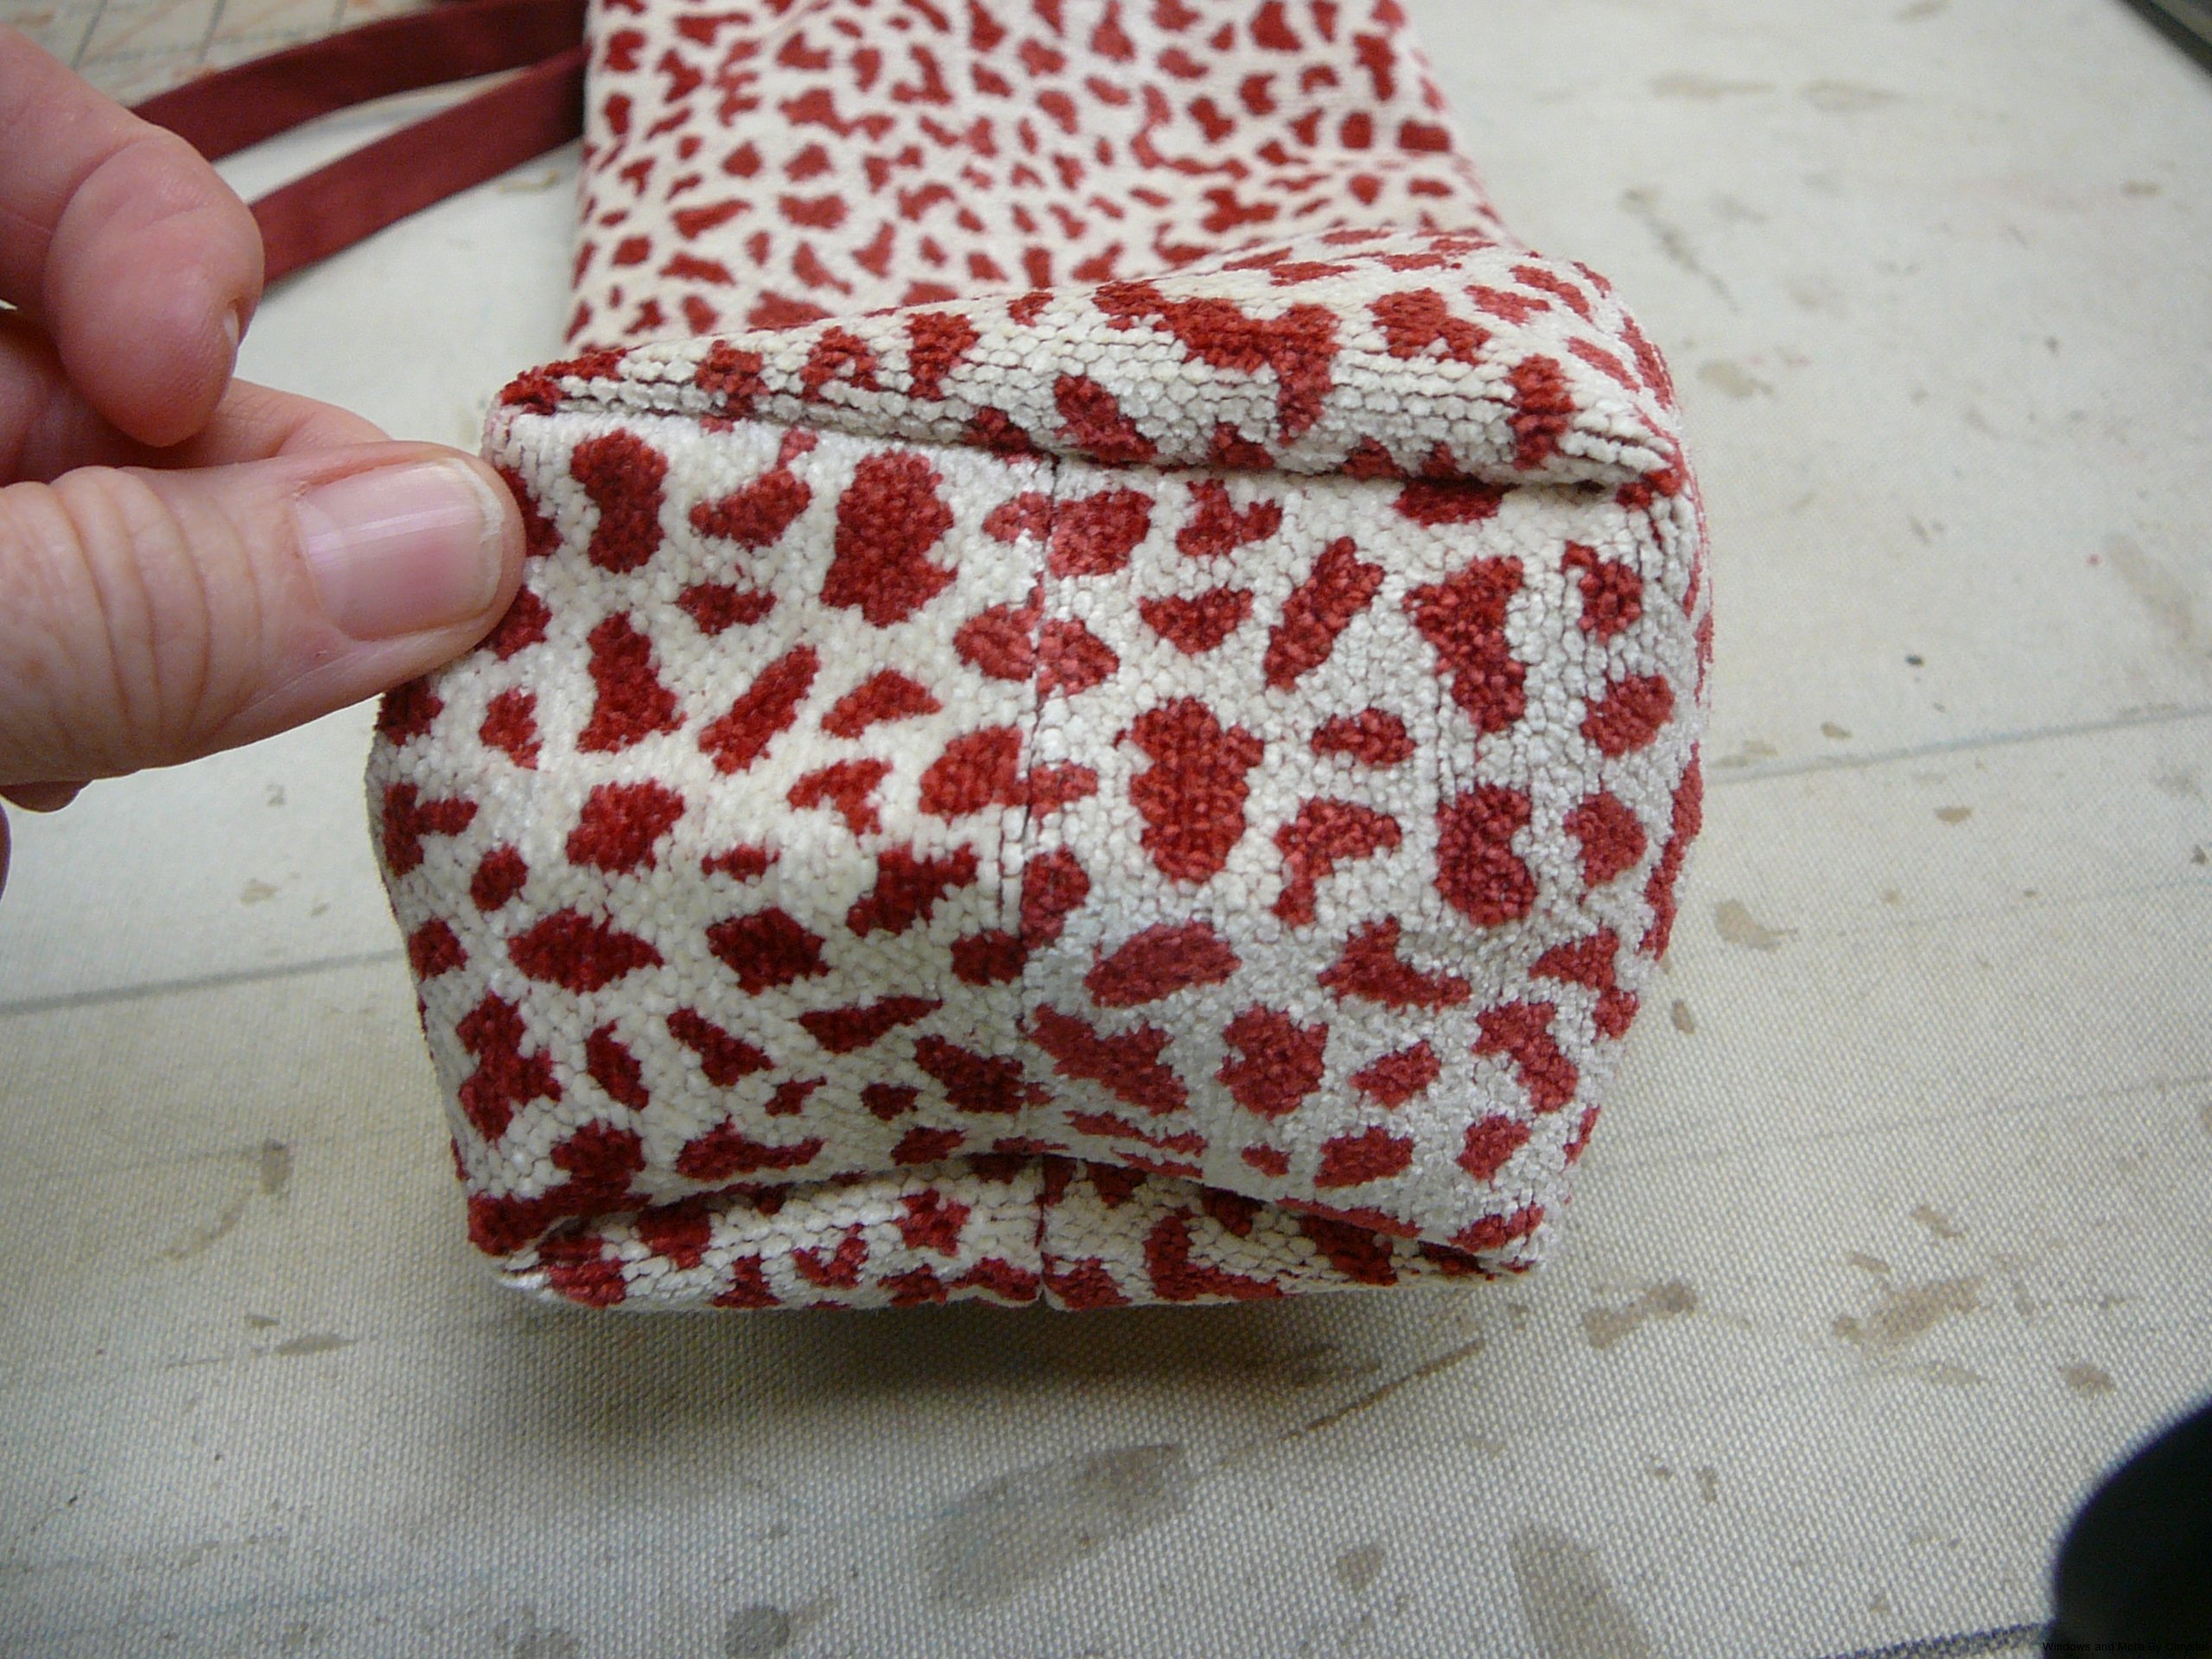
Walaw a neat bottom for your bottle!
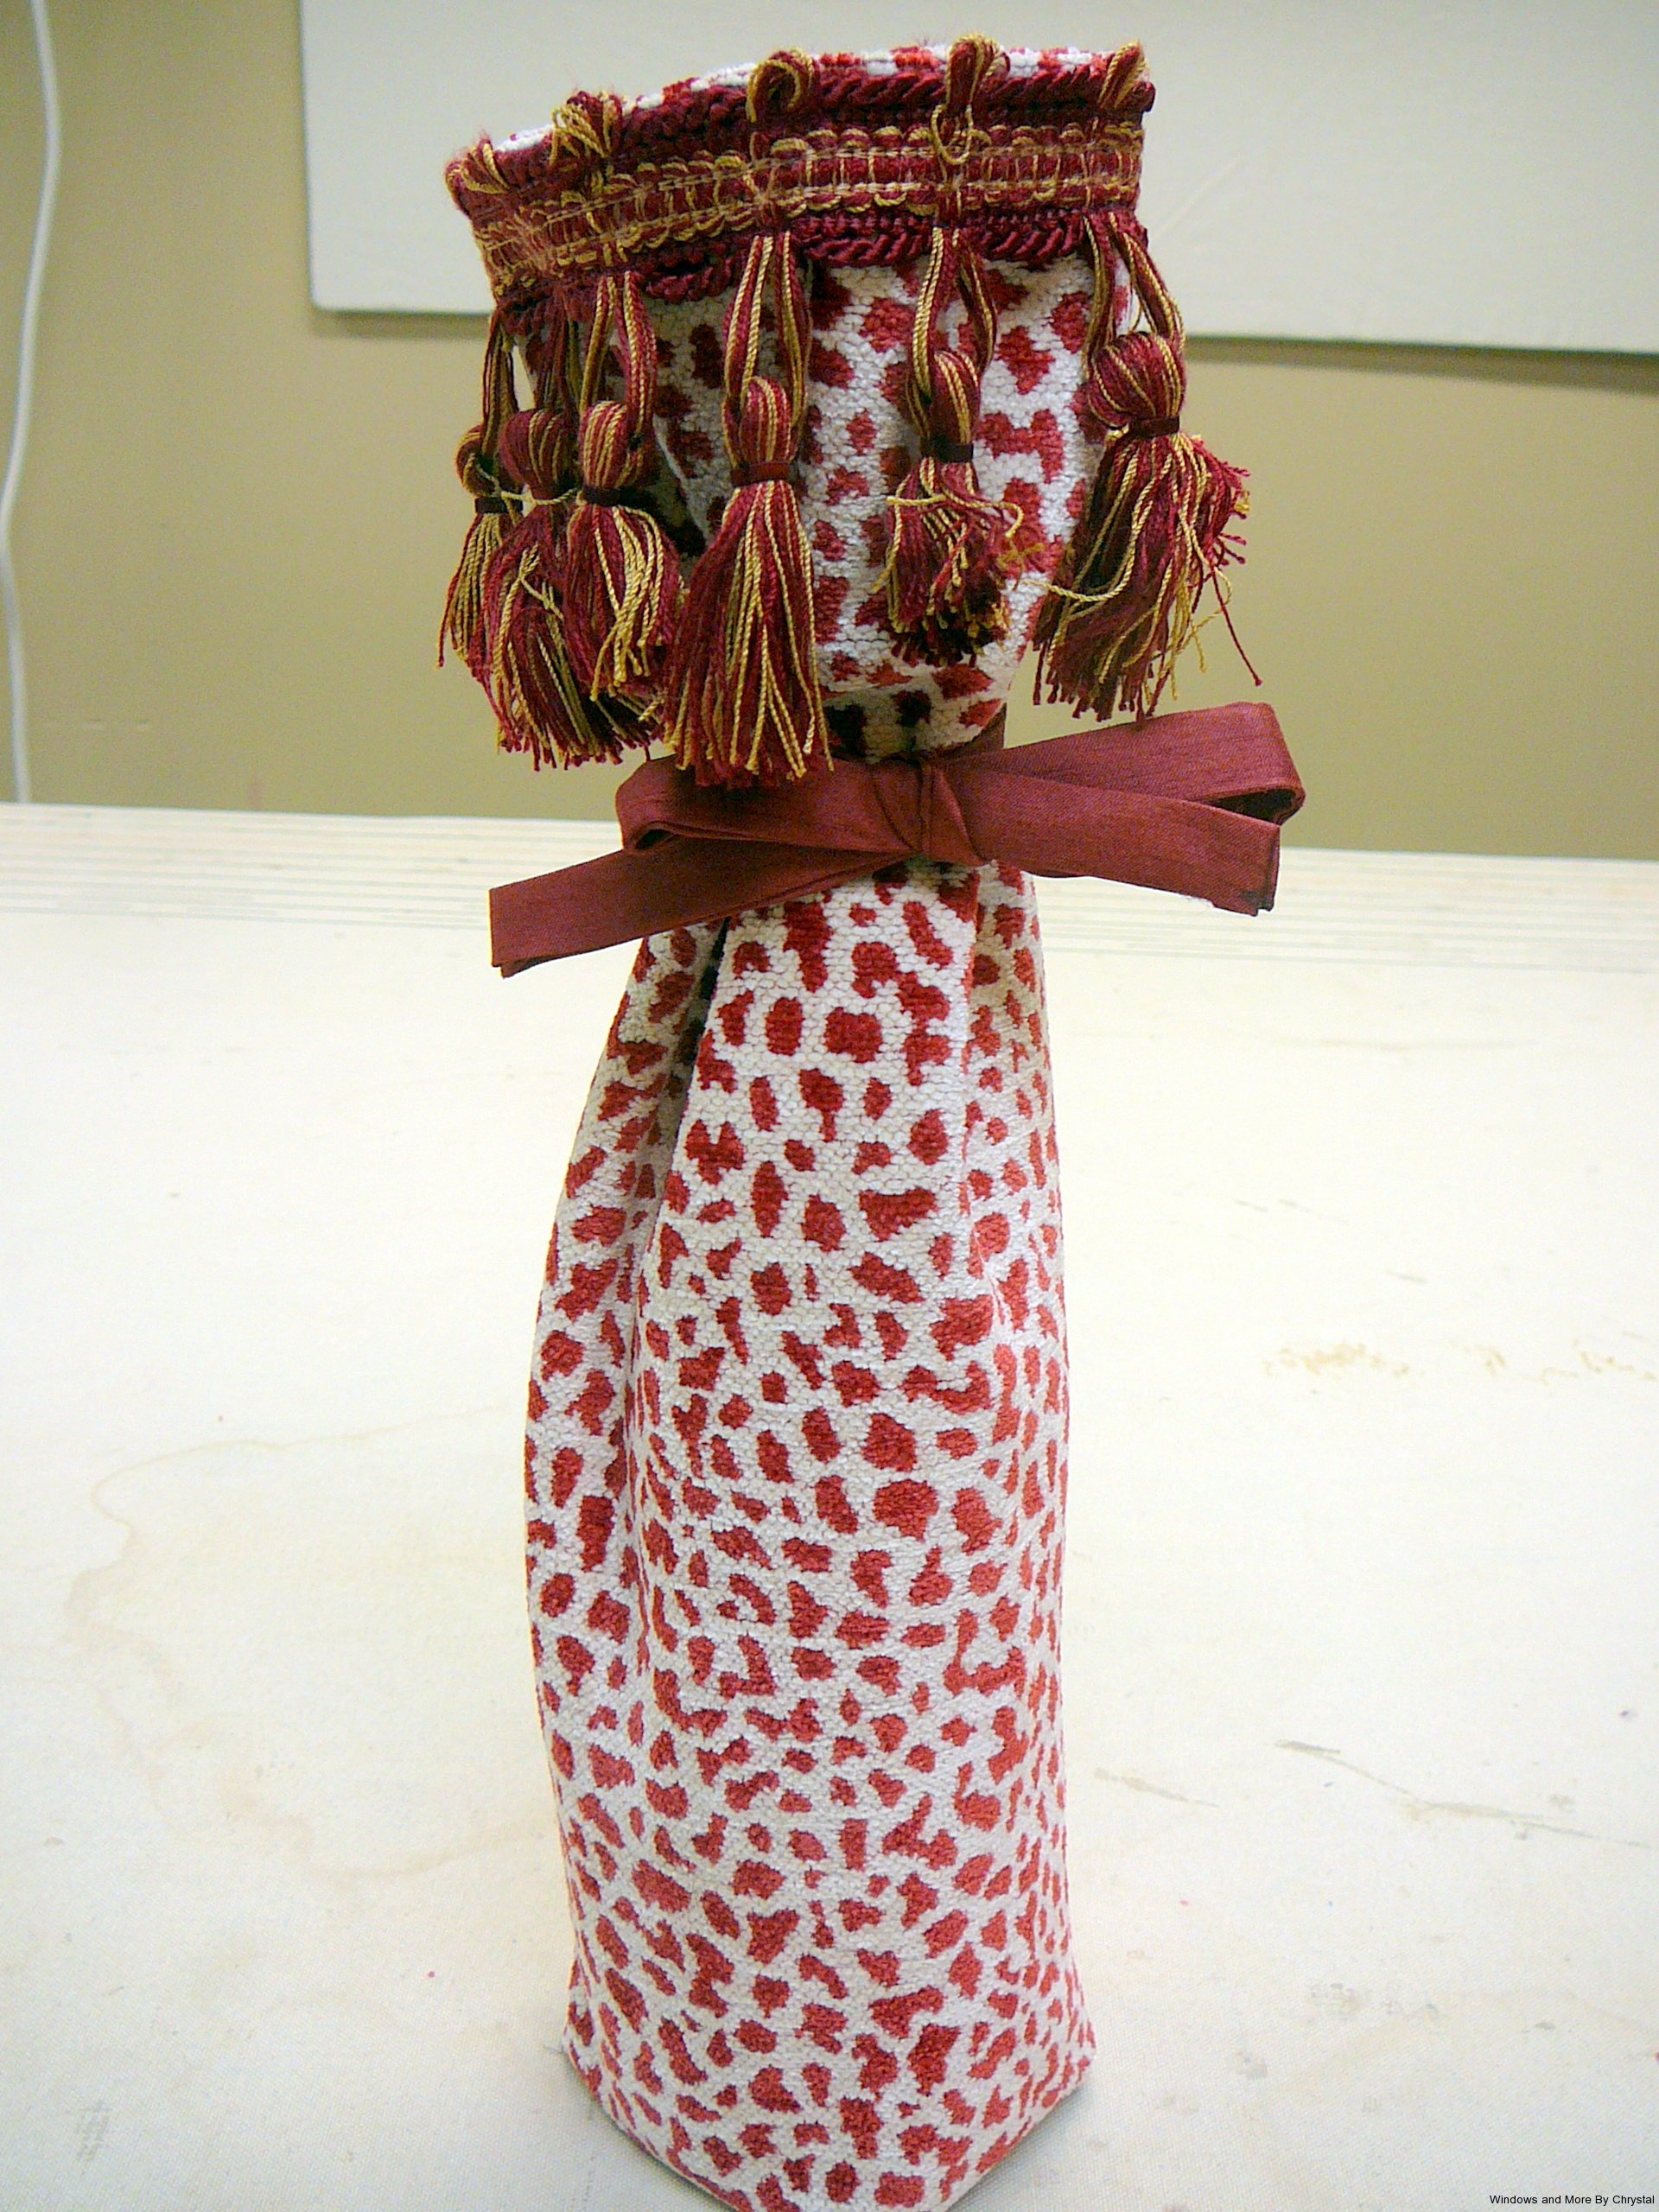
So that is how you make a Wing bottle gift bag. I also slipped the gift certificate down the side so everything fit nicely. I made this in about 15 minutes with just a few scraps that I had, so it was a simple way of making a gift special. I hope you enjoyed the tutorial and found it somewhat helpful. This doesn’t have to be for just the holidays, it makes for a great hostess gift, birthday gift etc. And you can personalize it to the person you are giving it to.
Thanks for stopping by and I hope to be better about writing or posting more blogs! Tell next time! 🙂


1 Comment
Leave your reply.