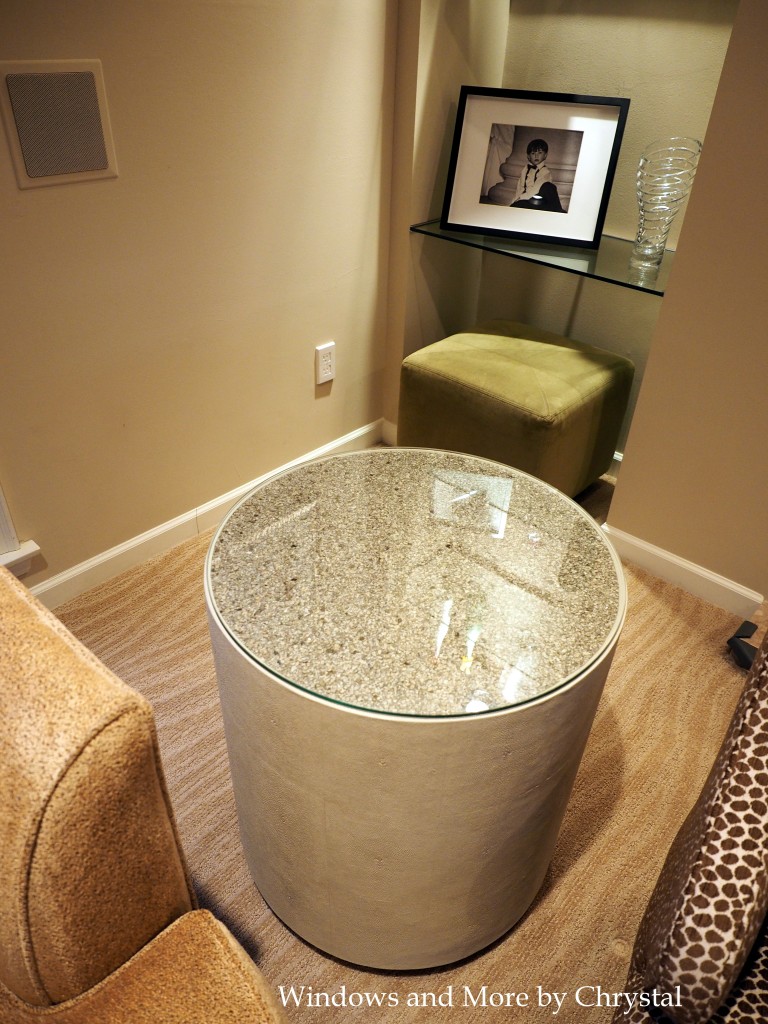
If you remember this post, and all the projects I had to complete, this was one of them.
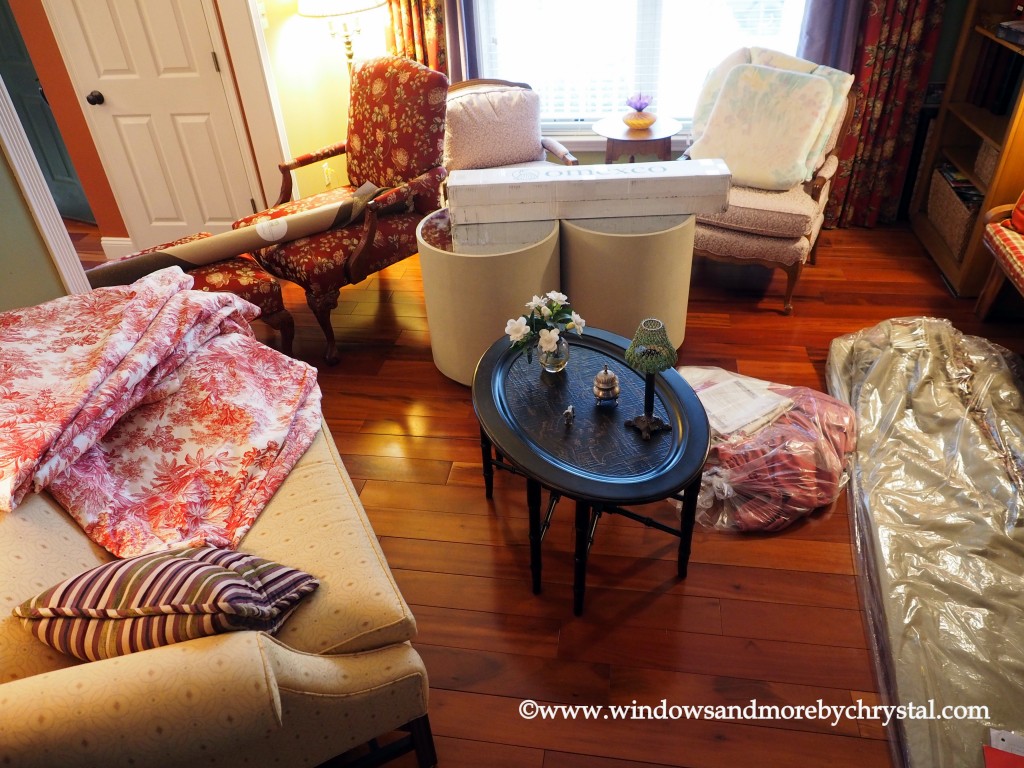
There they sit in the middle of everything with the wallpaper on top of them.
To start at the beginning, while I was installing this cornice, for one of my designers, she asked me if I might be able to help her with a project.
I of course said yes!. The problem was the mirror top on the end tables reflected big round spots on the ceiling, when the can lights in the ceiling were turned on. The client had used some very nice textured Mica wallpaper in the bar area behind some shelves and really liked it, so they decided to use it on the end table tops.
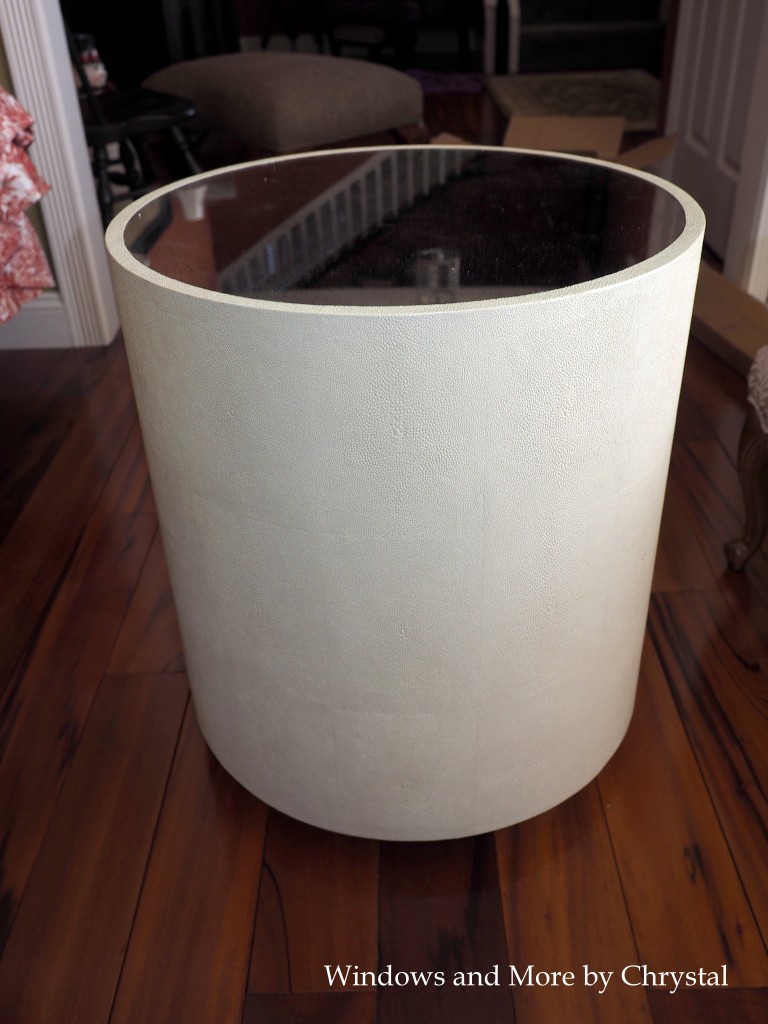
The end tables were a modern round table that looks okay at this vantage point, but as you can see in the next picture they do reflect everything.
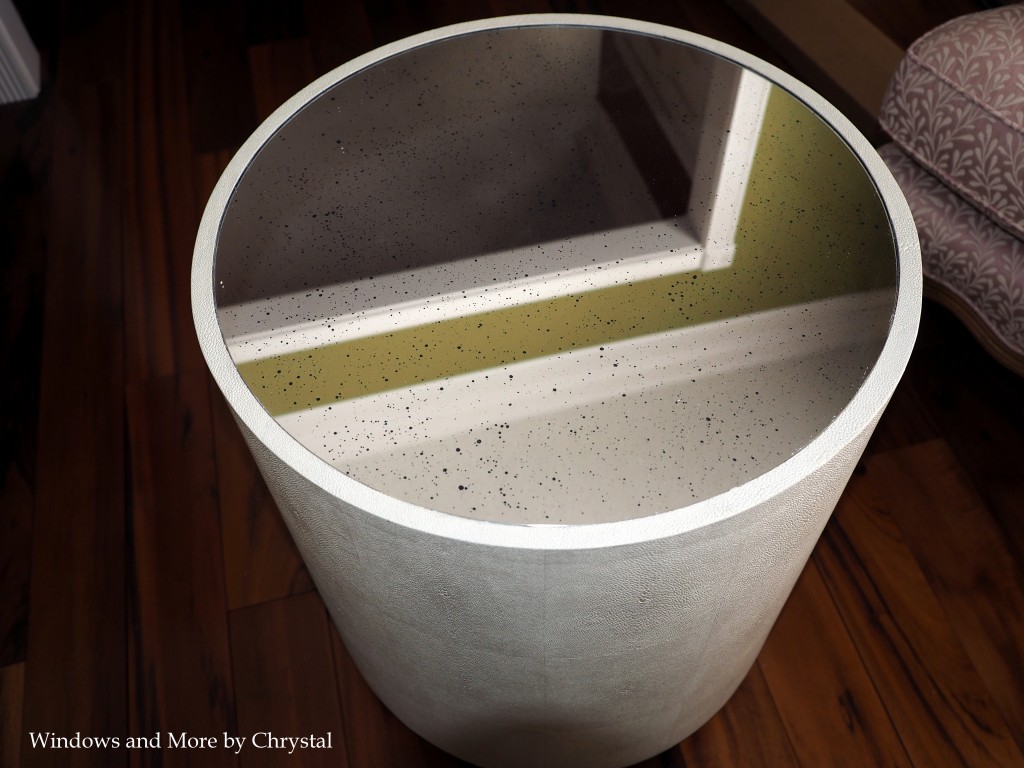
So I contemplated on how I was going to do this, after all it was expensive wall paper, and I am sure the end tables weren’t cheap either, and I didn’t want to ruin them. I finally said okay I have to get this done and just leapt in with both feet!
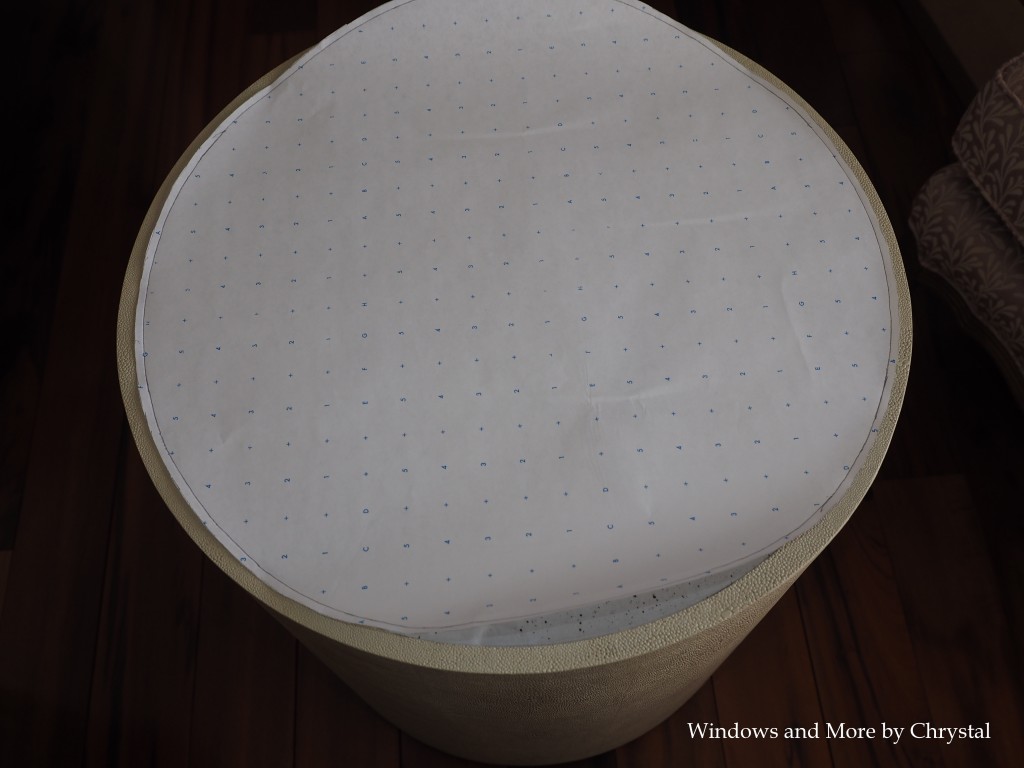
I first made a pattern by laying pattern paper on the top and tracing the mirrored part. There was a slight indent where the covering of the end table overlapped the mirror, so I used it as my guide.
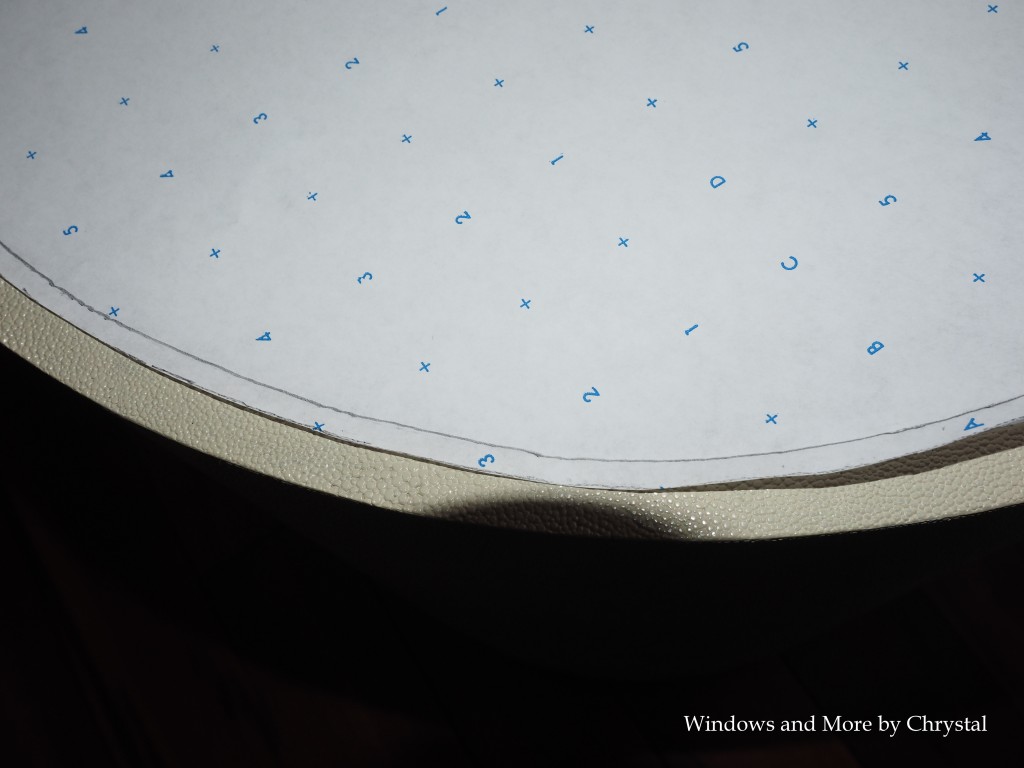
Then I added on to that so when I cut the wallpaper I wouldn’t have any mirror showing. Then I used my Frog Tape to cover the edge of the table and used a bonding/sealing primer over the mirrored area. I went to my local Sherwin Williams and asked what I should use.
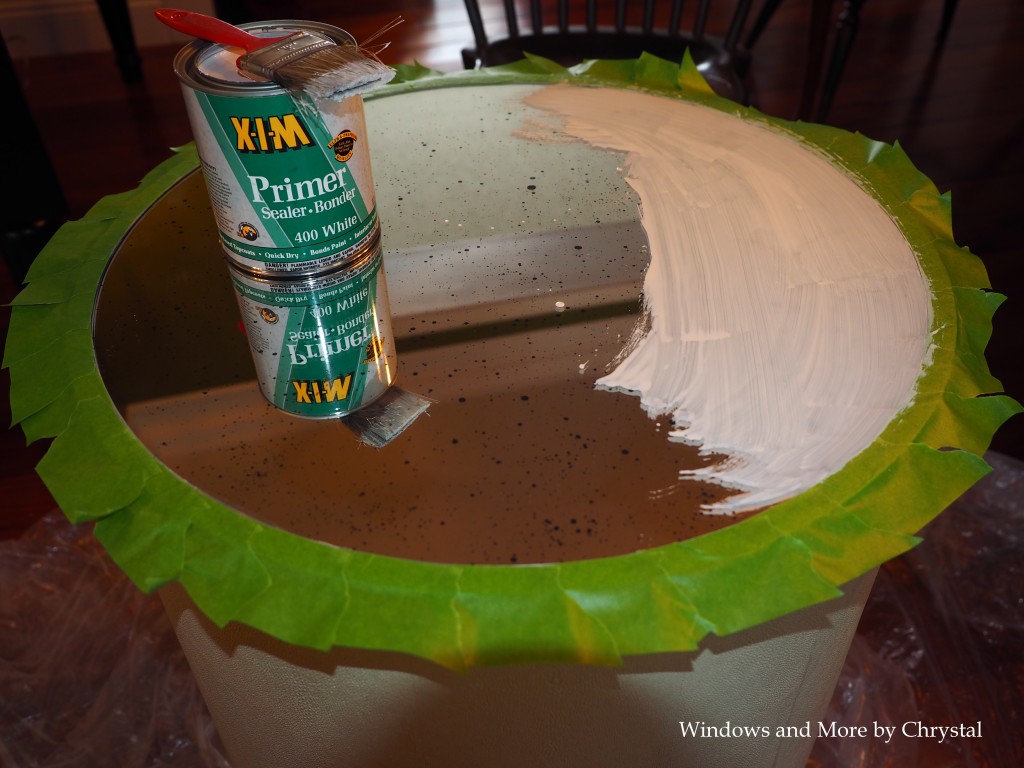
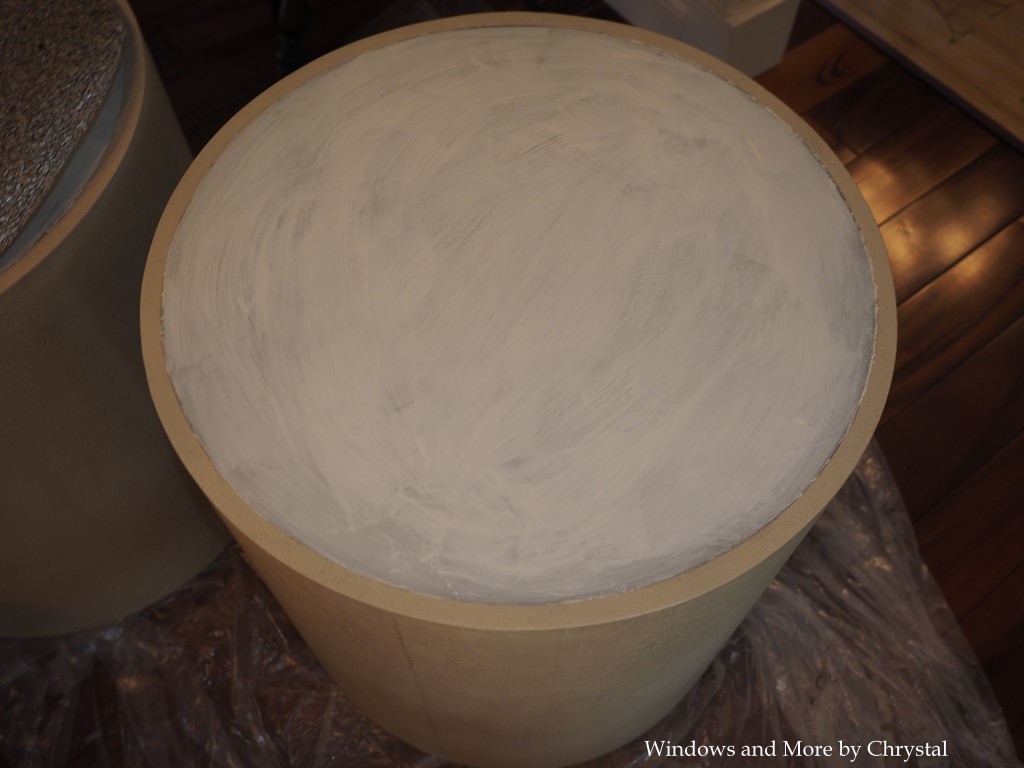
I just used a cheap brush to spread it on. I did go ahead and put a quick second coat on, just to make sure I had good coverage. The primer did not take very long to dry.
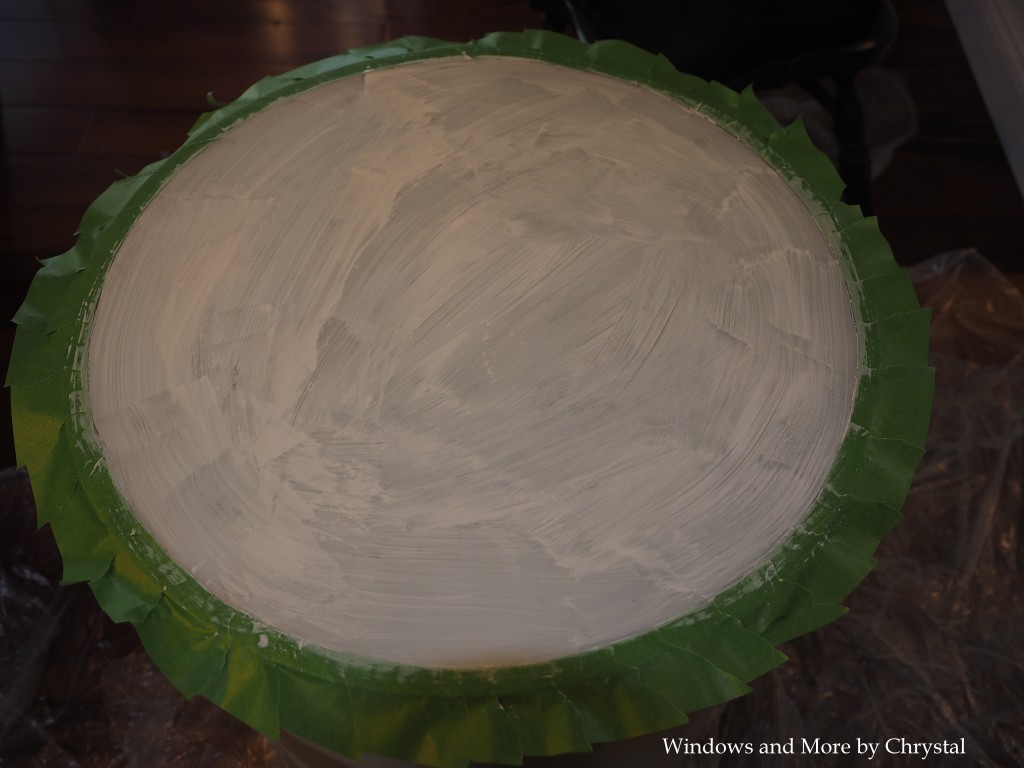
So once the primer dried I removed the tape.
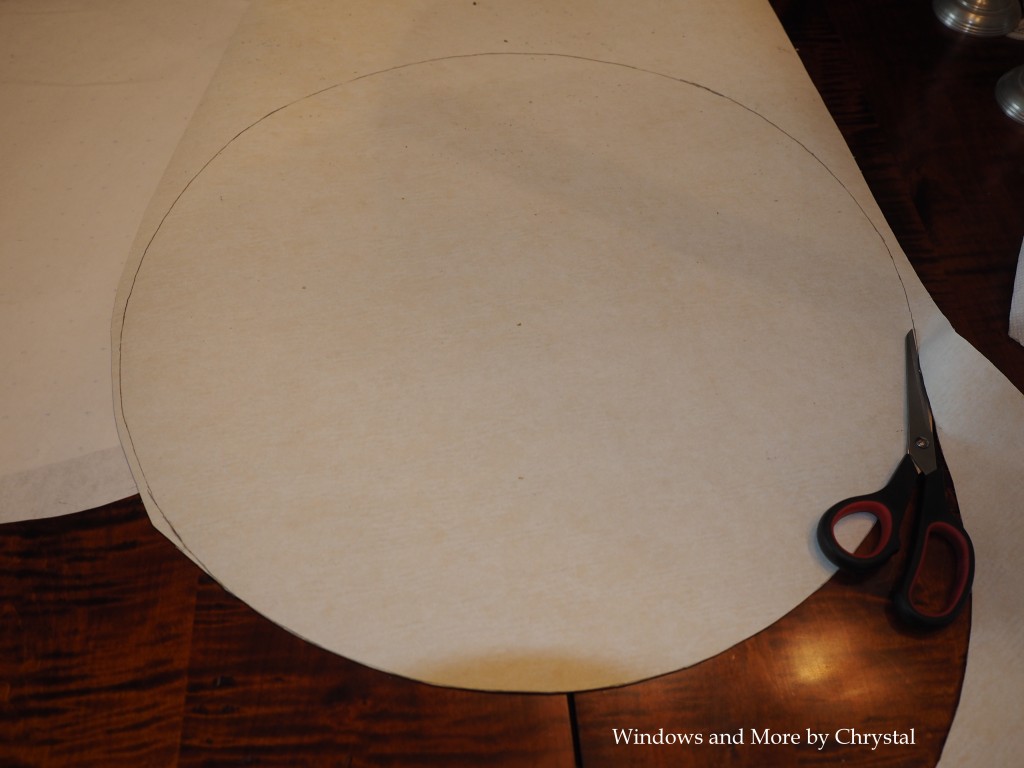
Next I drew my pattern on to the back of the wallpaper and cut it out with a good pair of scissors. This was not your average wallpaper, because it was very heavily textured with actual chips of mica on it. I was very careful to get a clean-cut.
I dry fitted it, to make sure it fit the way I wanted, and it gave me a chance to practice how I wanted to put it on the table, once I had paste on the back of it.
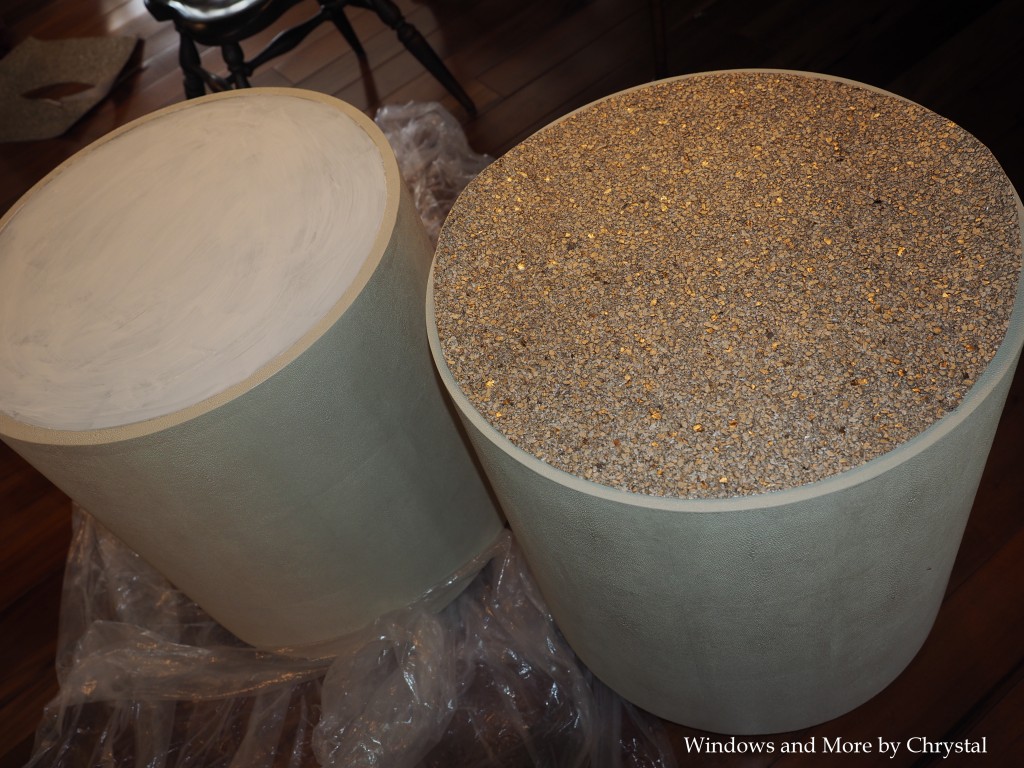
And yes if you have noticed I am doing this in my dining room. I was actually watching Tobi Fairley’s live cast while I was working on the tables.
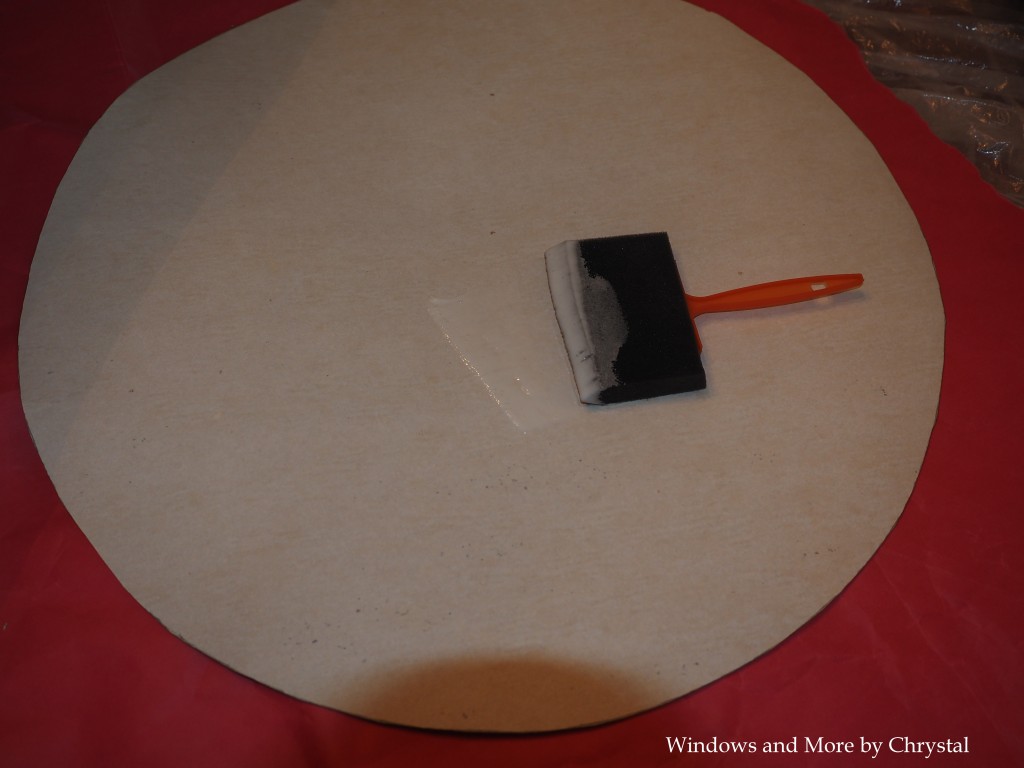
Next I added the wallpaper paste to the back of the cut out paper. I just used a cheap foam brush to apply it. I didn’t use a ton of paste, because I didn’t want it leaking out over the edges, but I also made sure to get the edges real good.
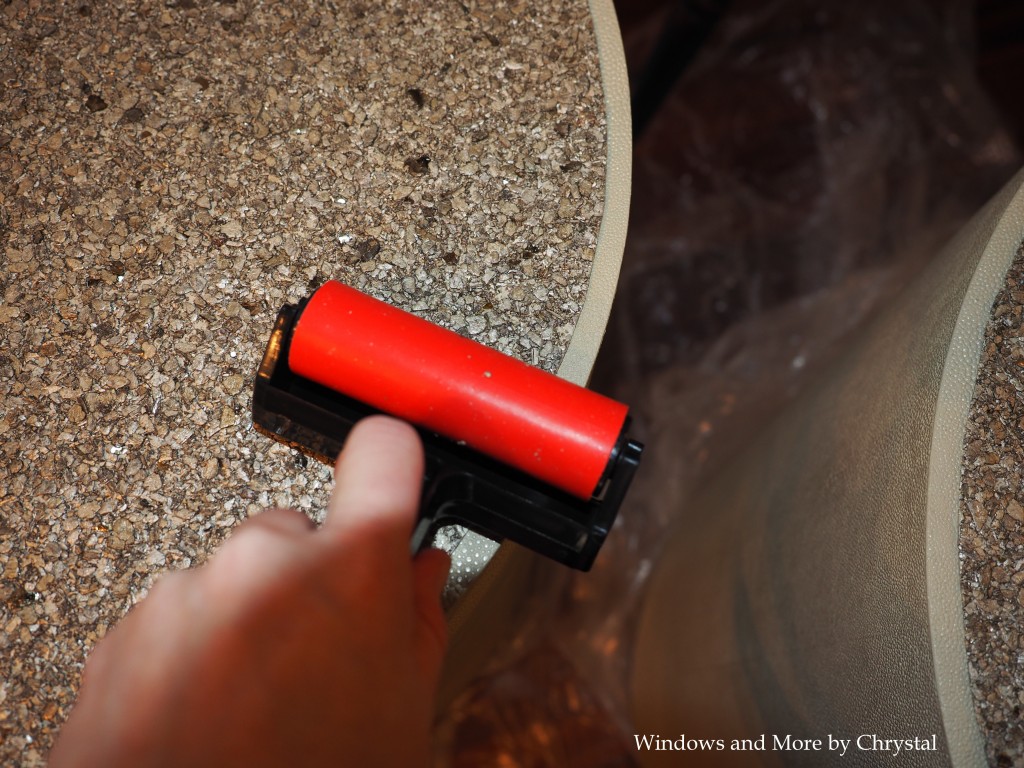
Once I had laid the wallpaper on the table top I smoothed it out and rolled the edges with a roller I already had, it was actually a Mod Podge roller, but it did the job.
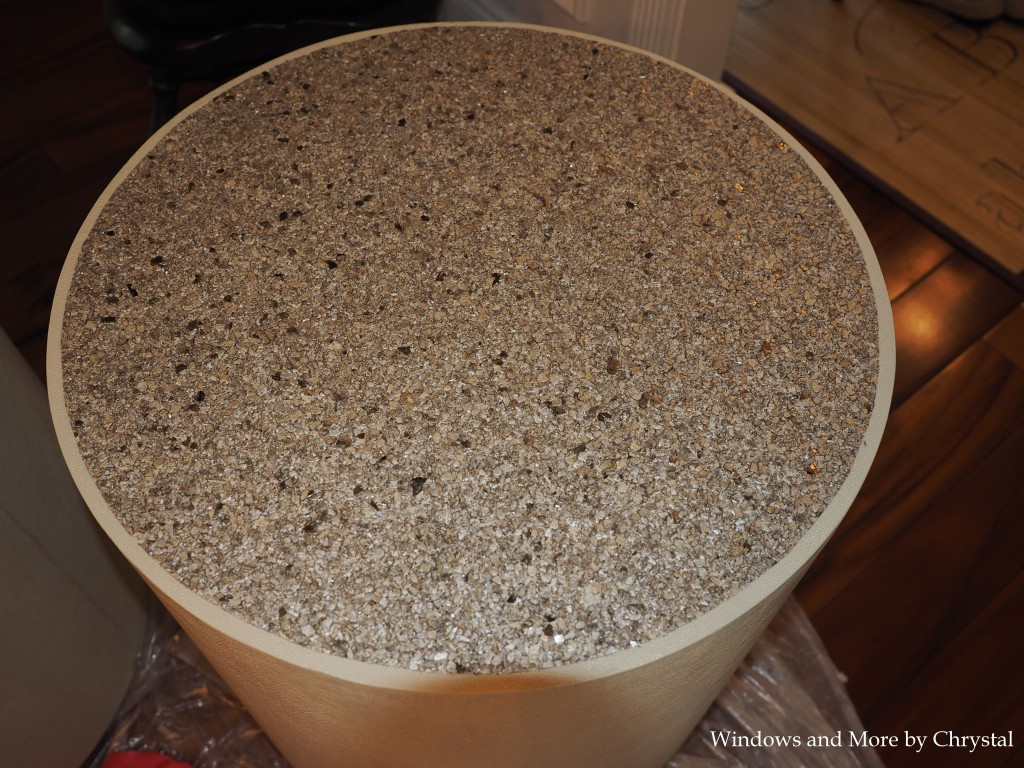
Then I let them dry!
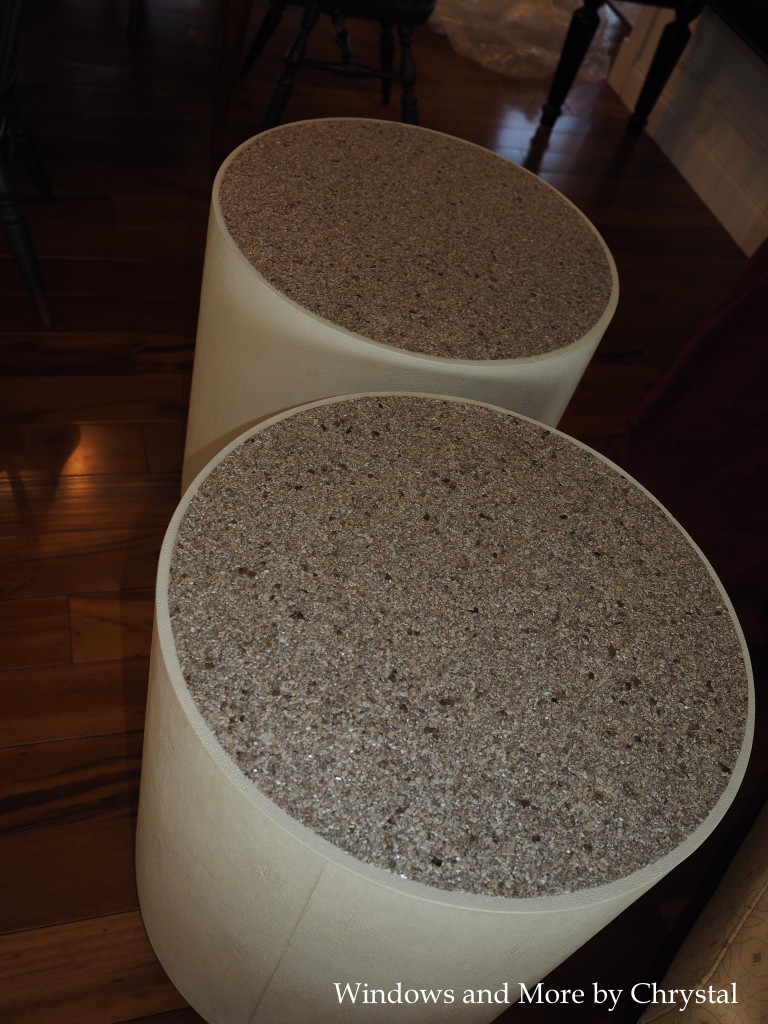
Once they were dry, I called the designer (JCR Design Group) and told her they were ready.
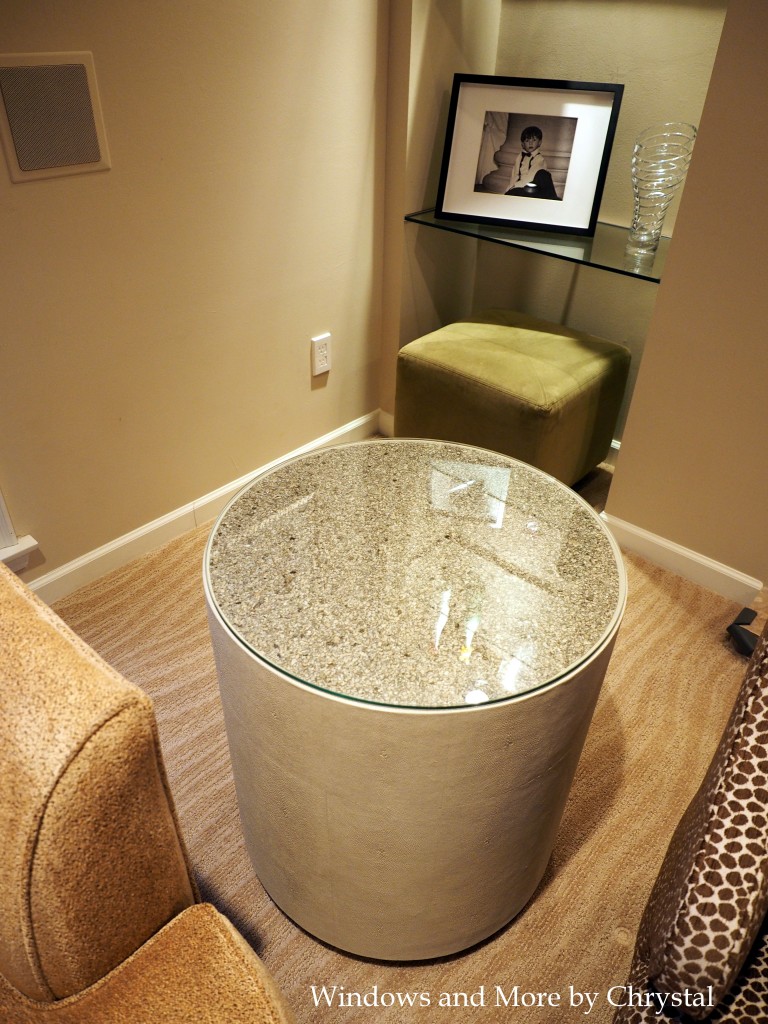
We delivered to the client, and Jenny(designer) had the glass tops ready to put on the tops. The client was very pleased at how they came out.
So if you have a piece of furniture that you’re not exactly happy with, think outside the box, maybe it can be modified to work!
P.S. Sorry about my head shadow showing in some of the pictures, lighting wasn’t great, and I don’t claim to be a professional photographer! 🙂



1 Comment
Leave your reply.