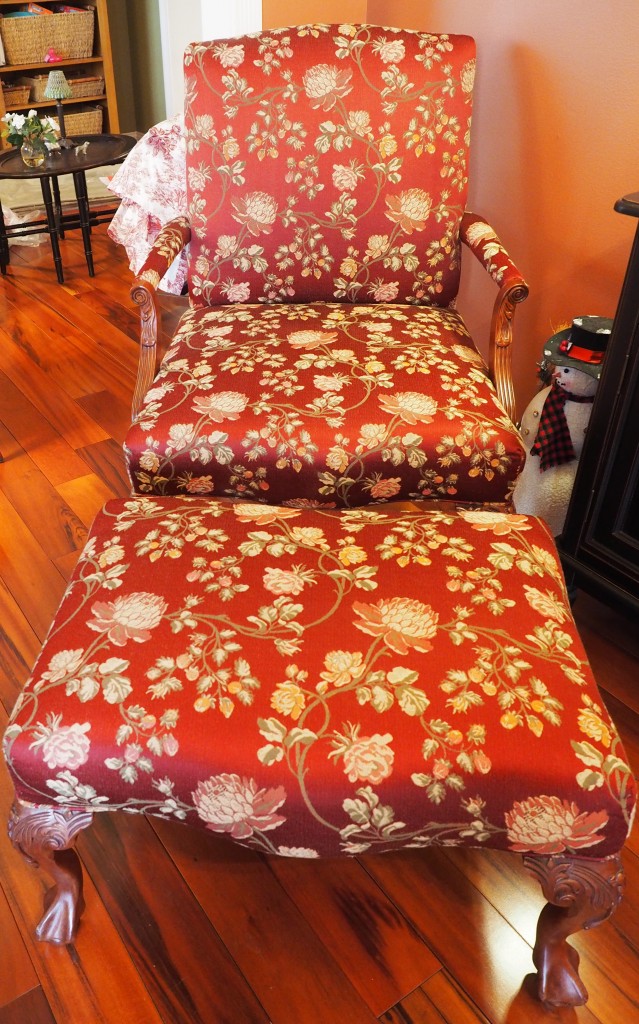
In this post I am going to let you in on more than one subject, how to take apart a chair and how to tell if a piece of furniture is not an expensive piece from the outside. I am going to use this chair for our example. If you remember it was featured in this post as one of the jobs I need to work on. I also featured it in this post with before and after photos.
I am going to apologize up front for some of the following pictures, they are not the greatest and they may be hard to figure out at first. The reason the photos are taken at odd angles is I am taking them as I take the chair apart. Which is one of the steps that is very important in taking a chair apart. Take pictures, a lot of pictures, of everything, as you take it apart. I start by taking close up pictures of different parts of the chair, especially parts that I might not be familiar with.
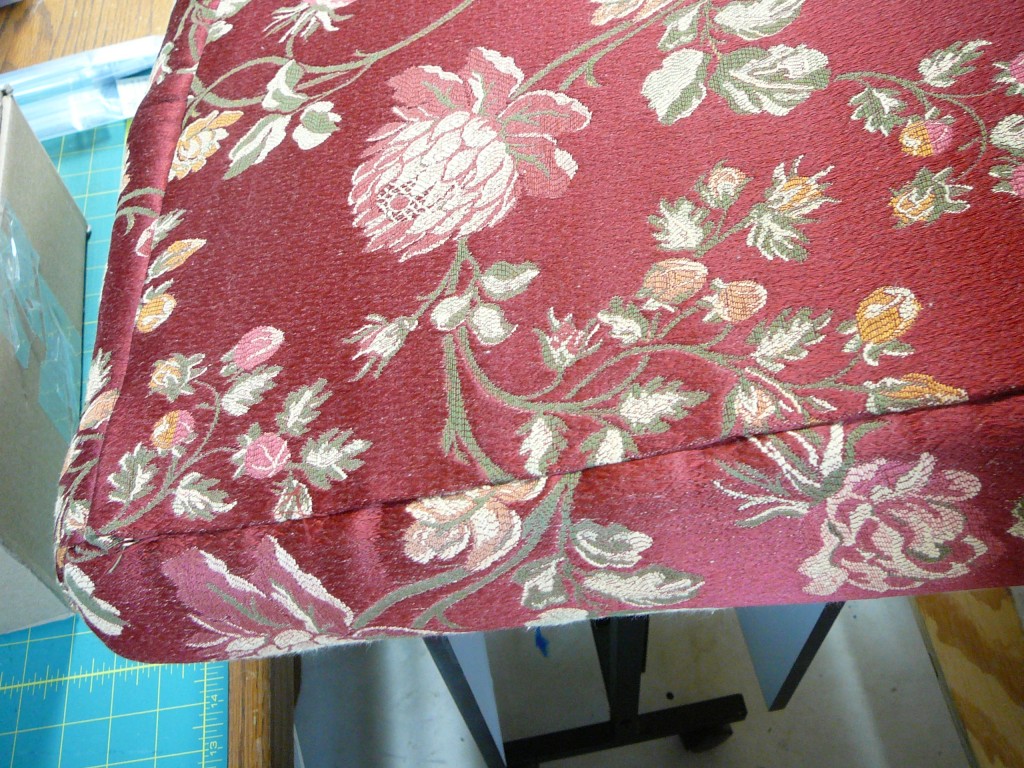
This first photo is the back of the chairs back. In this photo I wanted to point out the lack of cording. There should be cording around the edge where the two fabrics meet. This is a sign of cheaper upholstery techniques.
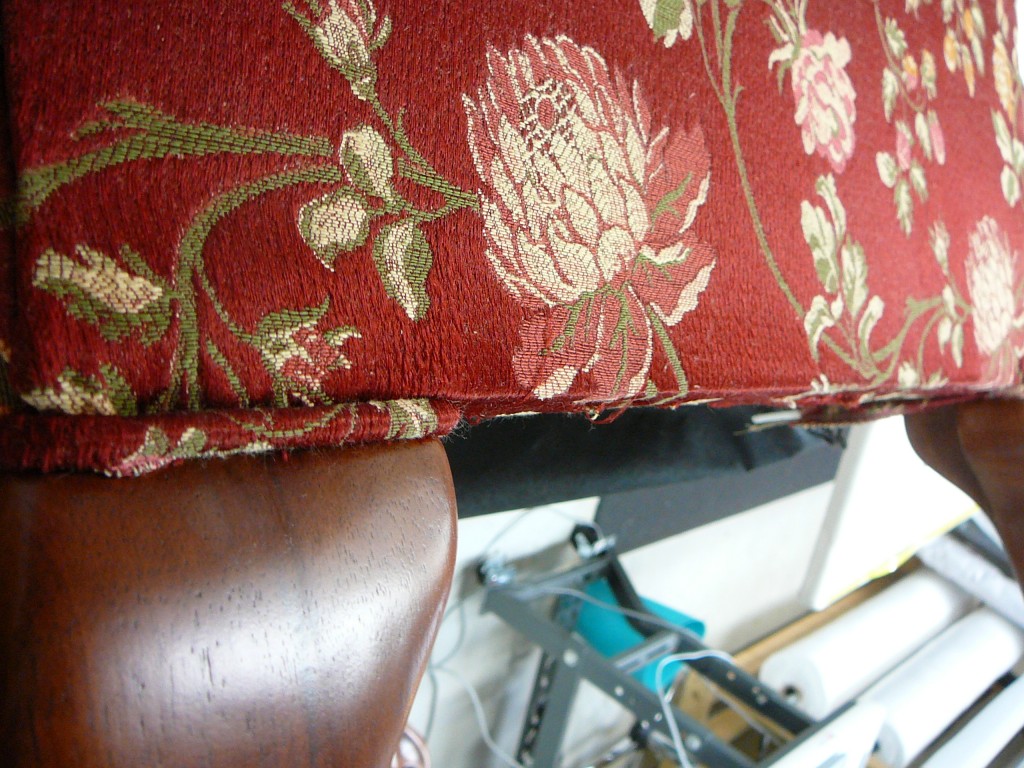
This is a photo of the bottom of the seat where the leg meets the seat. As you can see the cording stops at the leg, they do not continue it to the back, another sign of a cheaper chair, it would have taken very little more time just to run it all the way around the chair. This is in the back so someone decided it wasn’t important, but lots of chairs sit out in a room and should be finished as such.
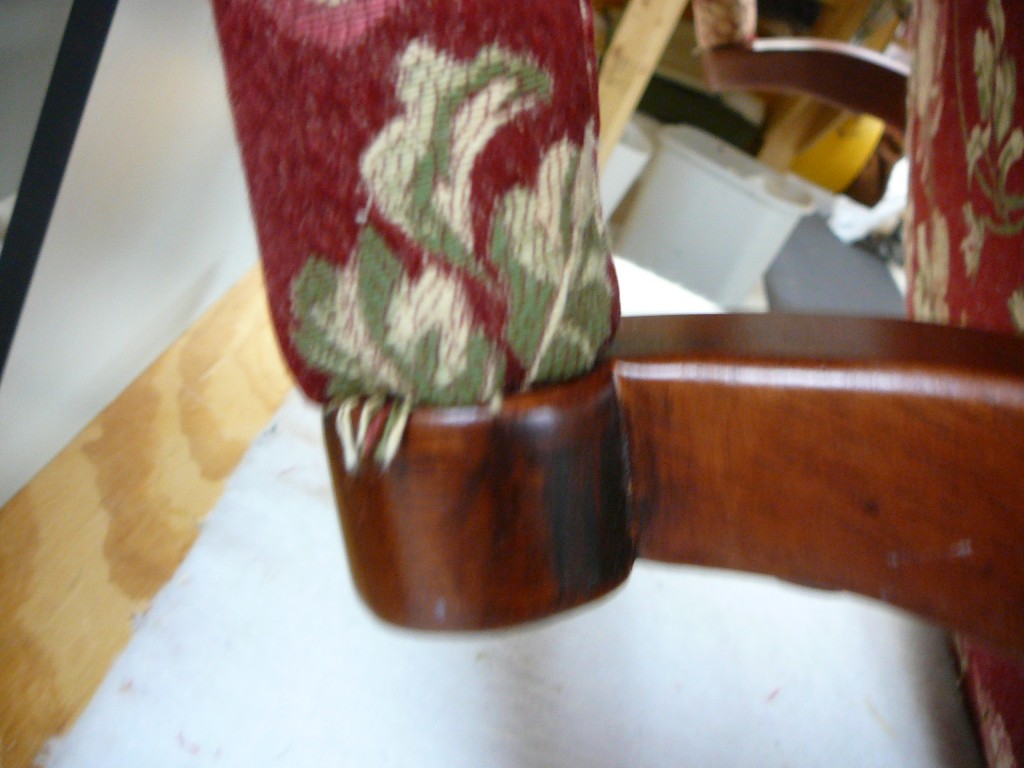
Sorry for the blurriness! This is the front of the arm, where it meets up with the wood portion of the arm. I took this one for 2 reasons, I haven’t re-upholstered a chair with an arm like this before so want to make sure of the details, and I wanted to show you the untrimmed strings hanging out.
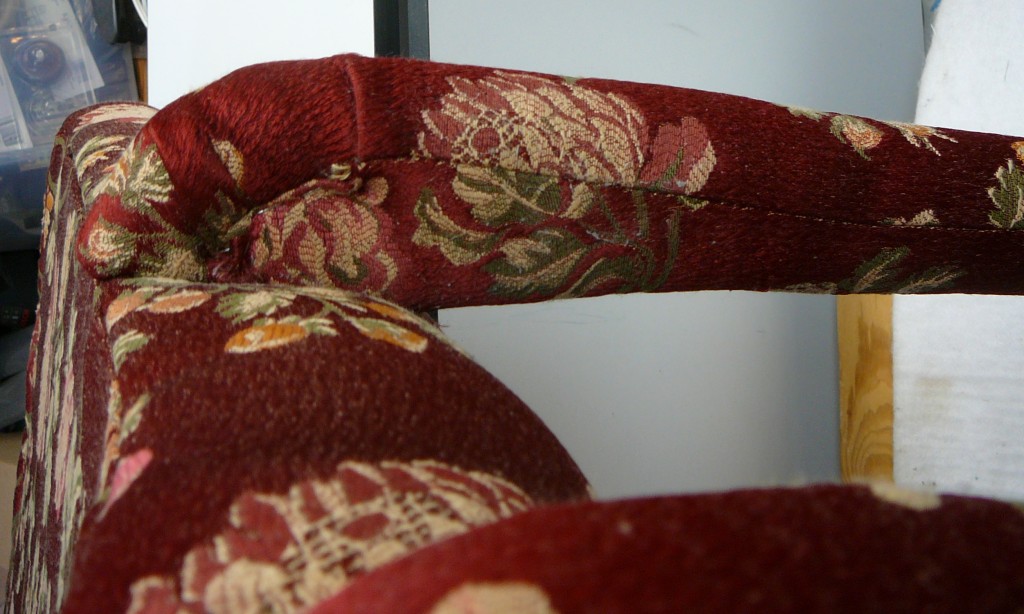
This one I took because of the details, but you can also see where there is no cording going up the back of the chair. This is a shot looking up under the arm of the chair.
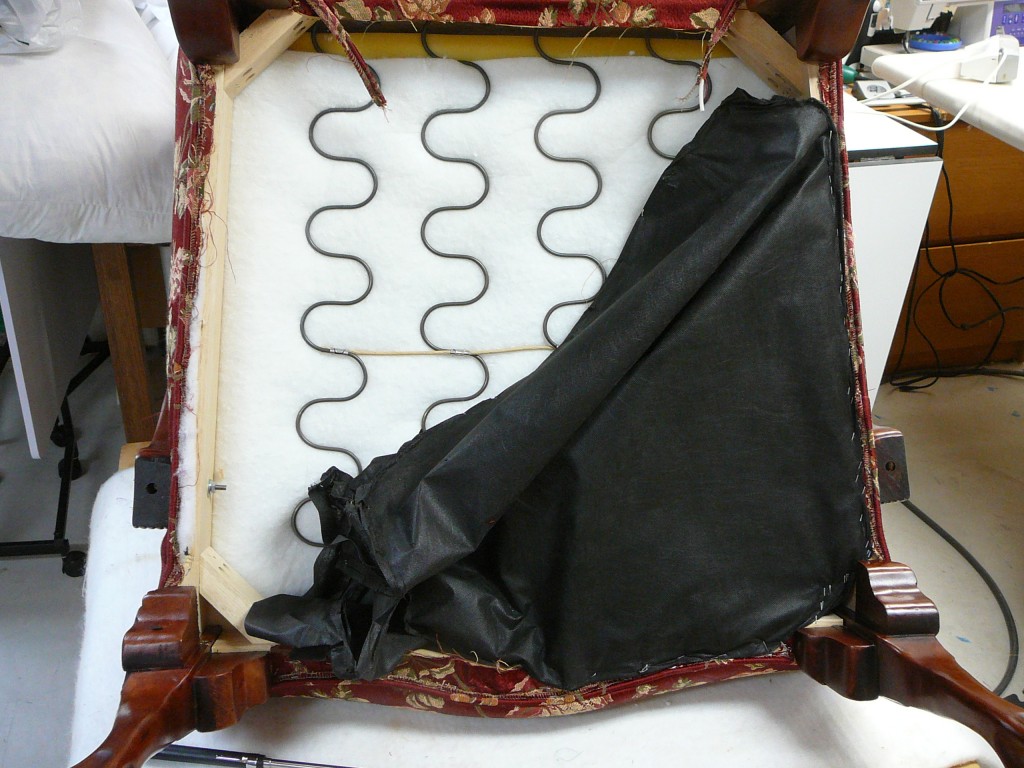
So back to stripping the chair. I always start at the bottom, taking off the black stuff (called cambric). I turn the chair upside down and start pulling staples. I pull all the staples out on one side and work my way around. So all in one step I am removing the cambric, the cording, then loosening the bottom seat. There are a lot of staples. In this photo, now that you have the cambric off you can see the insides of the chair, where you can see the springs, these are the cheaper springs, they are called sinuous springs. Coil springs are considered the better springs.
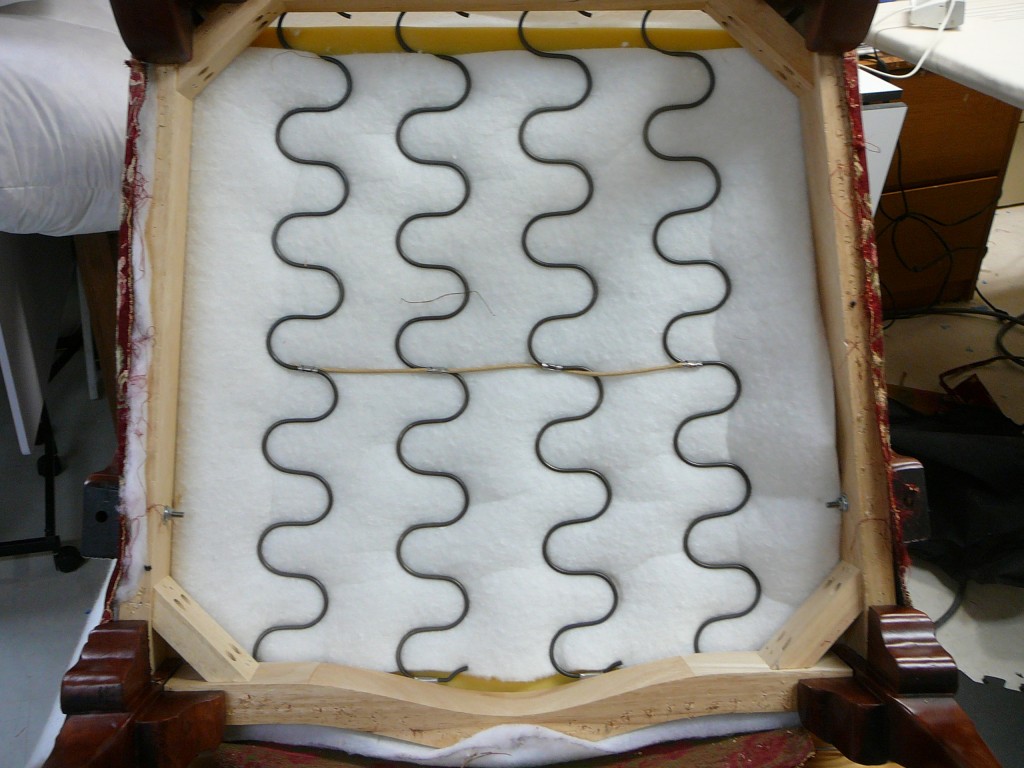
In this photo everything has been removed from the bottom of the chair, and I can move on to the back of the chair.
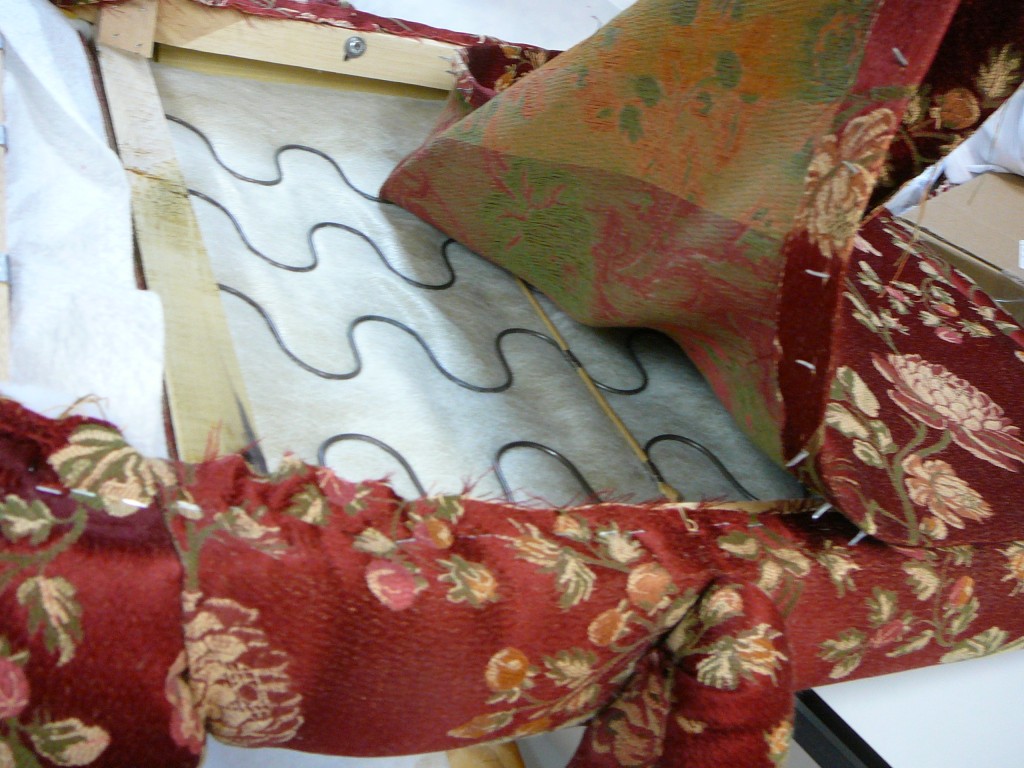
On this chair once I had all the staples removed from the bottom, that release the bottom part of the back section. The back section is then fairly easy to remove, it has tack strips up each side, so I just pry them up on both sides. Once I get to the top, I have a cardboard strip and more staples to remove along the top edge. Then normally I would have to remove more staples to take cording off.
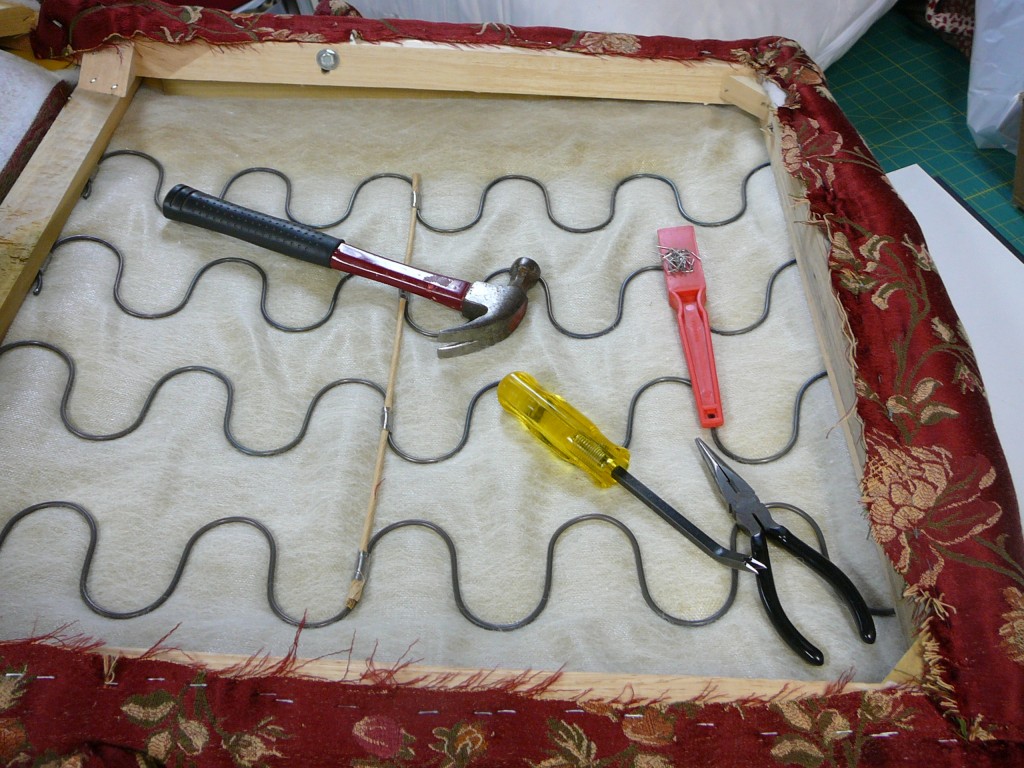
So this is the back of the back of the chair, and I have removed the back panel. Now I need to remove all the staples on the back. Also just thought I would show you the tools of the trade. A good staple remover, makes all the difference, then a pair of needle nose pliers to pull out the stubborn staples. And a hammer for those really stubborn staples, and a magnet (red thing) to catch-all the loose staples. Otherwise you will be finding staples for the next 50 years.
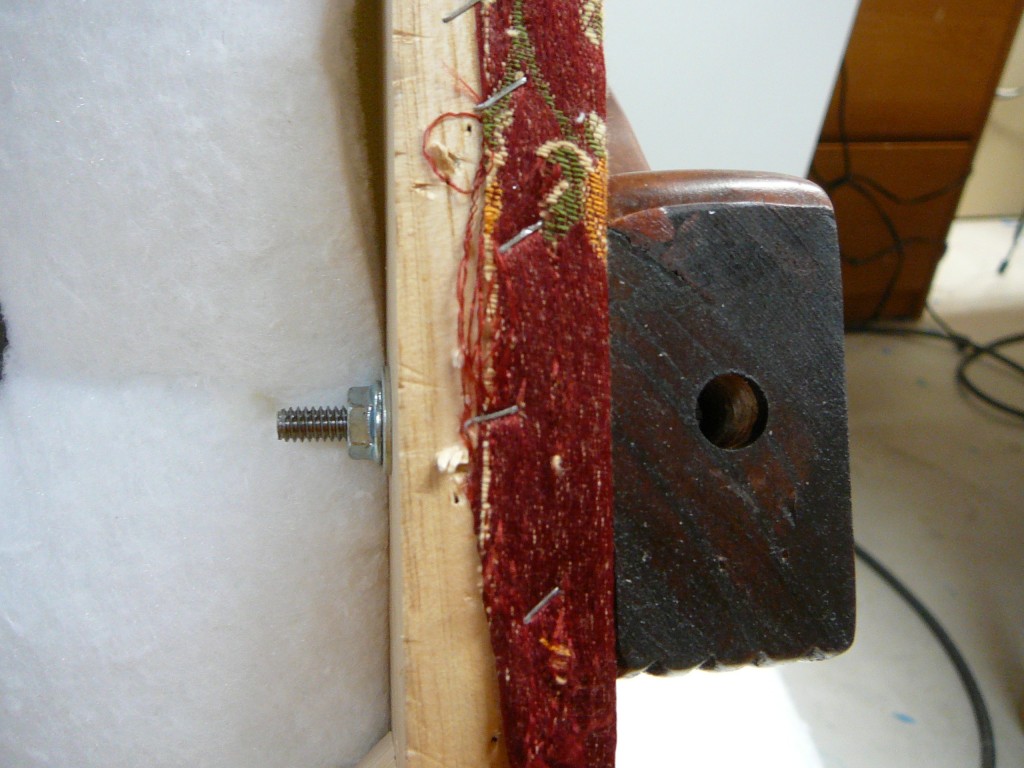
I took this picture to remember how the arm was attached to the back of the chair, and to remind myself that I need to put the arm back on before I finish the chair back!
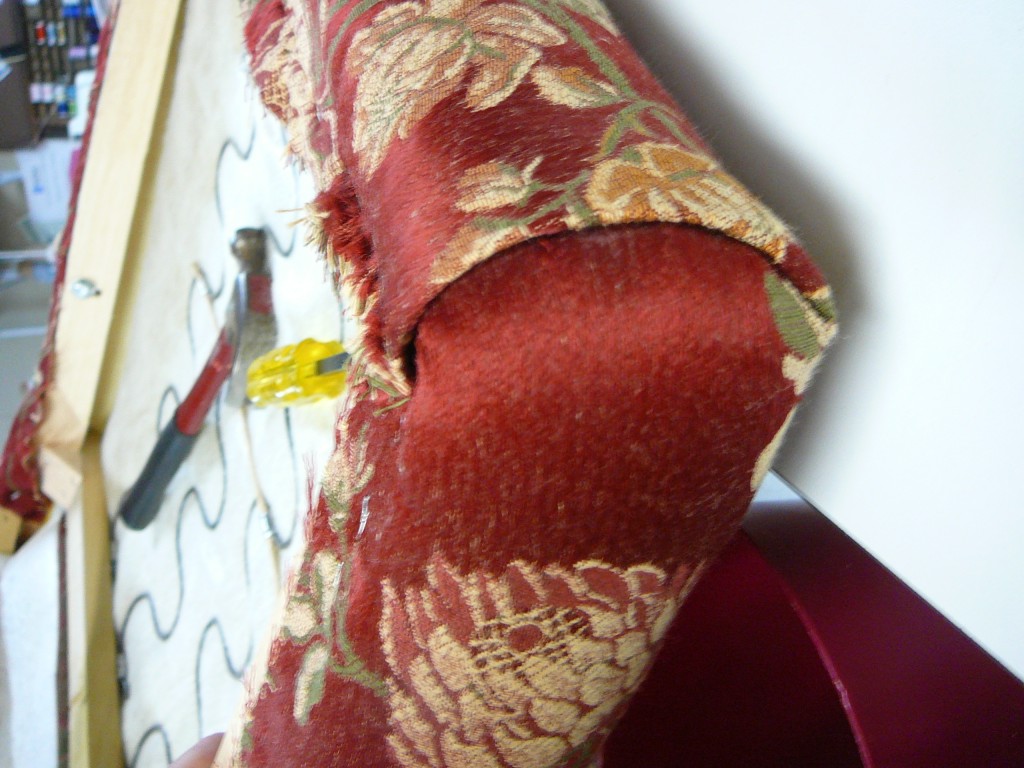
I took this one to show me how they pleated the front piece that wraps around the top to the back. I also take one of the pleat taken apart.
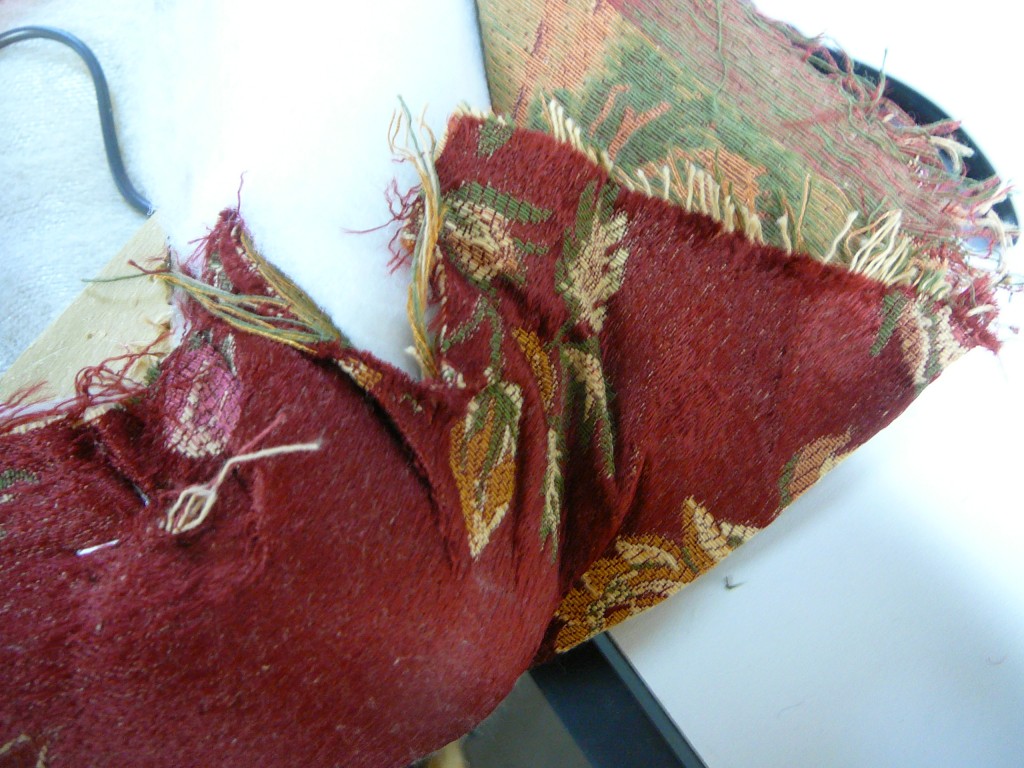
The next photos are the arm part and I took those because once again I haven’t done a chair like this before, and I needed to remember the details.
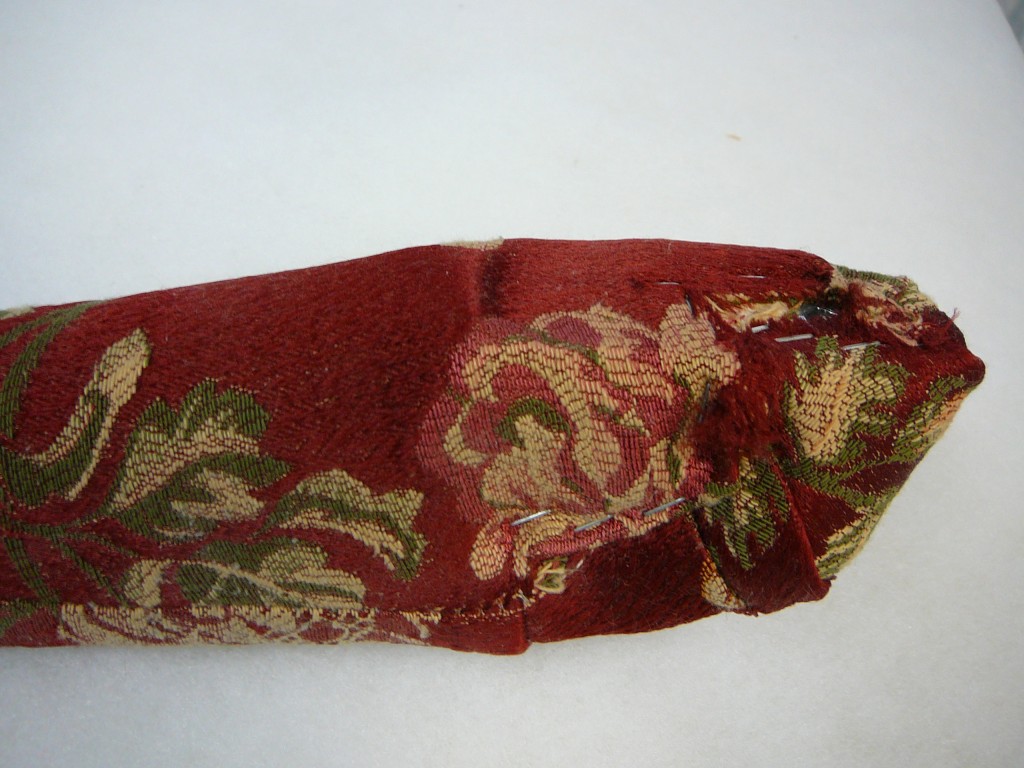
Underside of arm, once I had removed it from the chair.
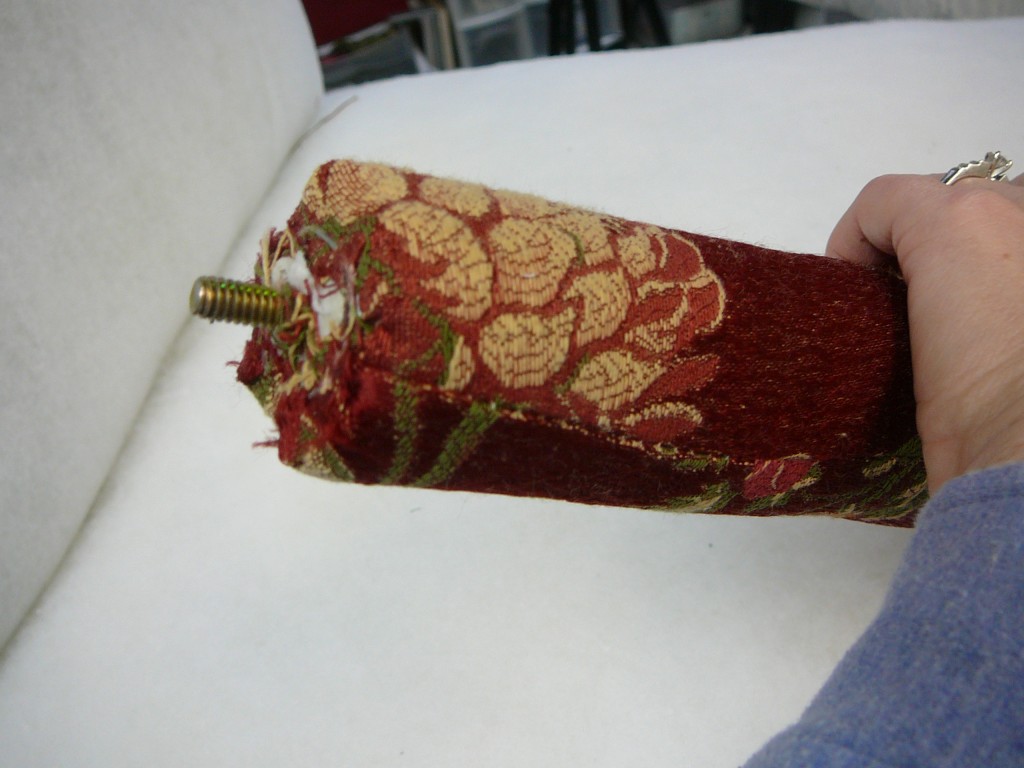
The end of the arm where is connects to the wooden part of the arm.
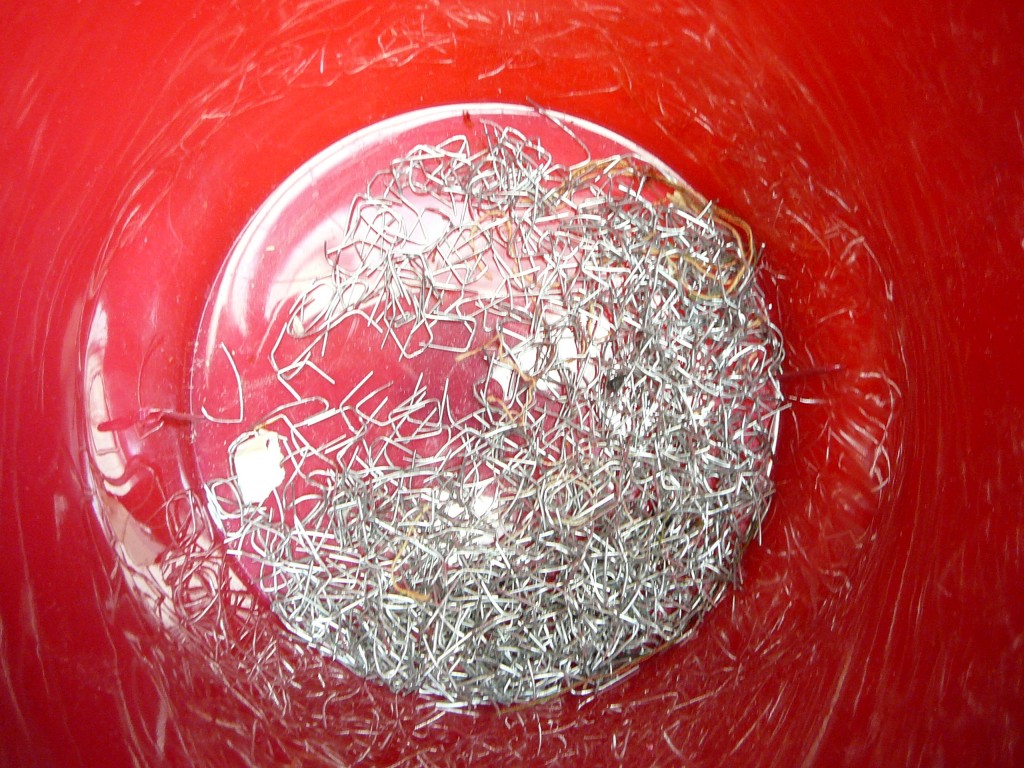
The trash can of all the staples at the end of the day!
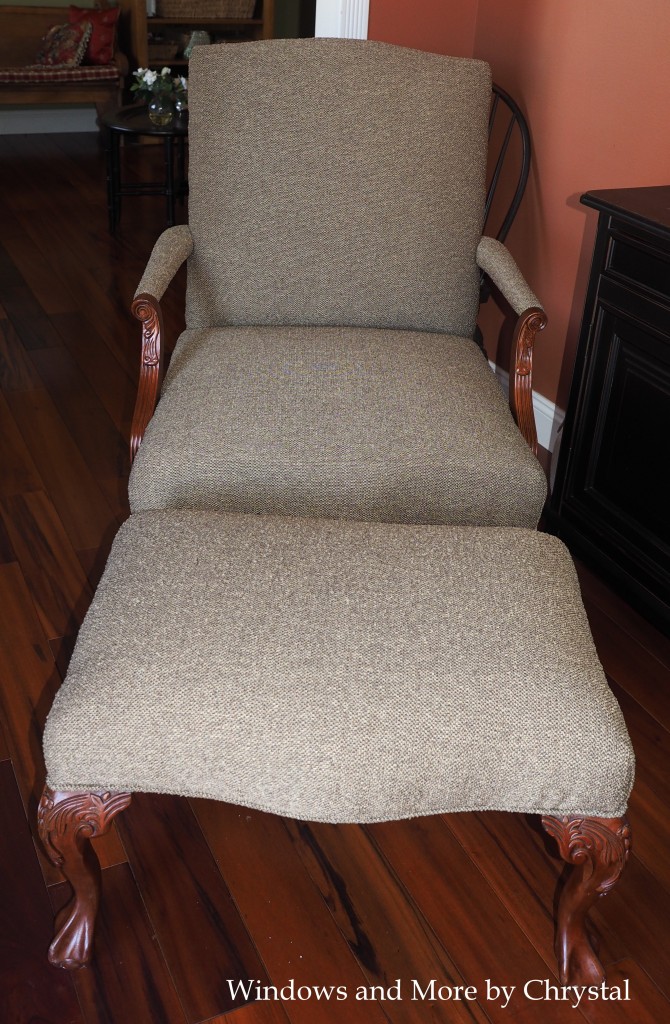
The finished Chair and ottoman!
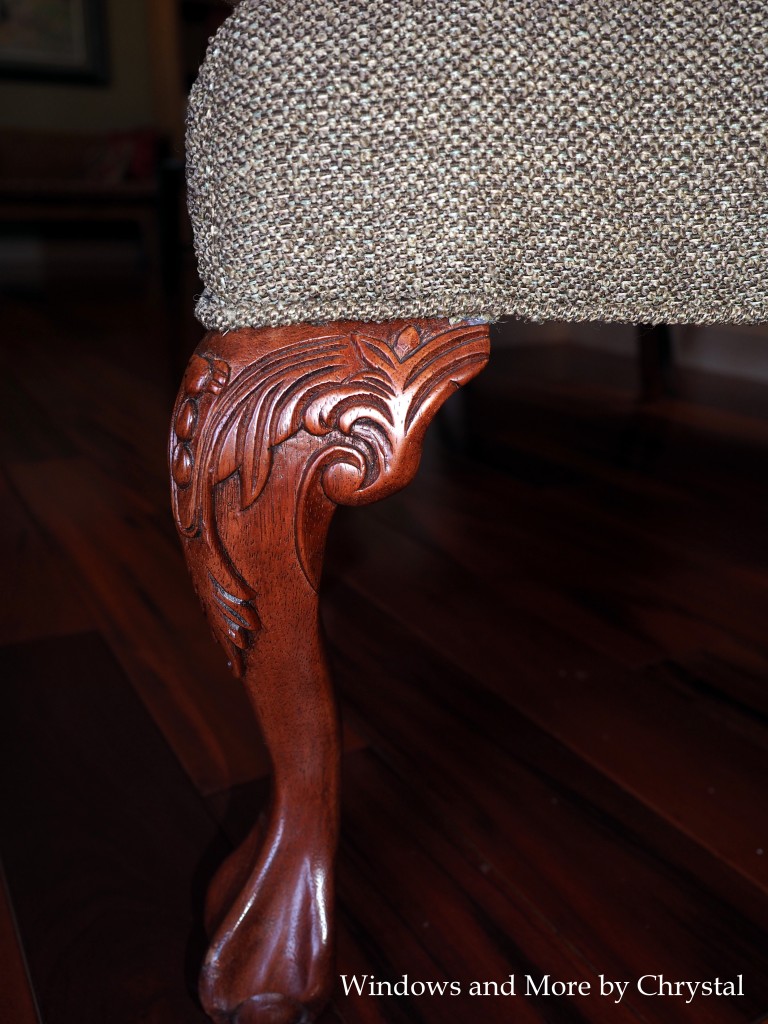
And some of the details, that finish the chair, the cording!
Thanks for stopping by and hope you enjoyed the stripping of the chair. Now you can get started, or you can call me and I will strip it for you!


2 Comments
Leave your reply.