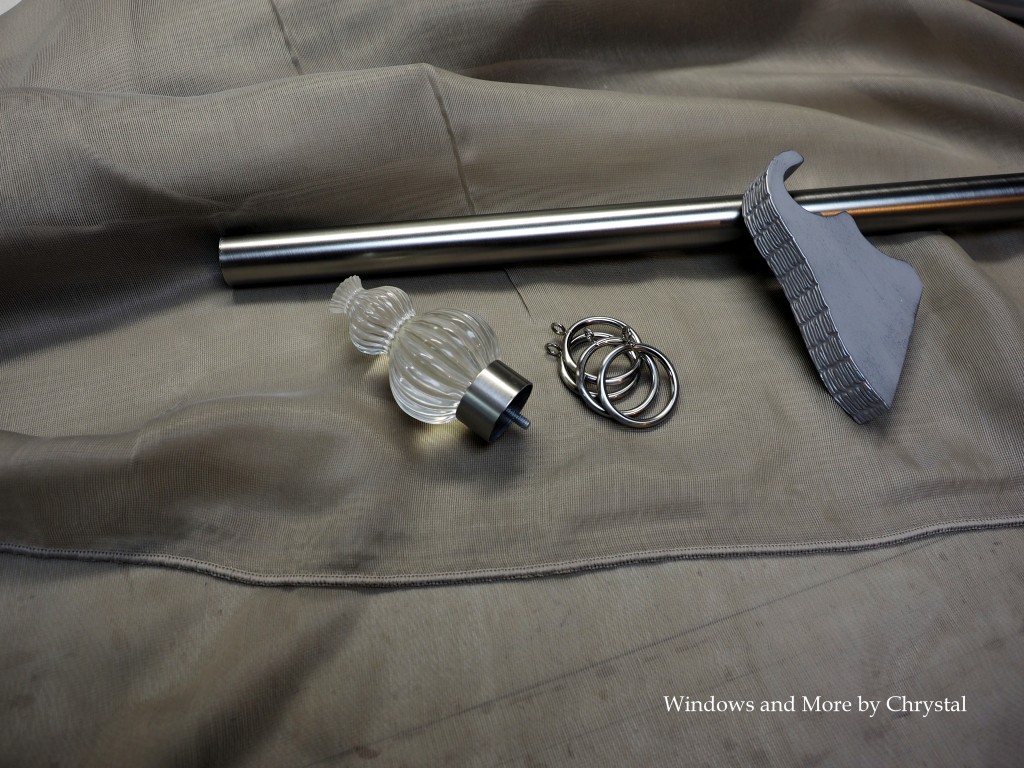
A lot of people or workrooms do not like working with sheer fabric, I don’t mind at all. At first I didn’t, they are slippery and some have trouble sewing them. Over time I have learned a few tips to make working with sheers easier. This week I am working on a project for Holly Blumeyer Designs and she has selected a beautiful sheer fabric that has a shimmer to it, and the beautiful hardware is from Paris Texas.
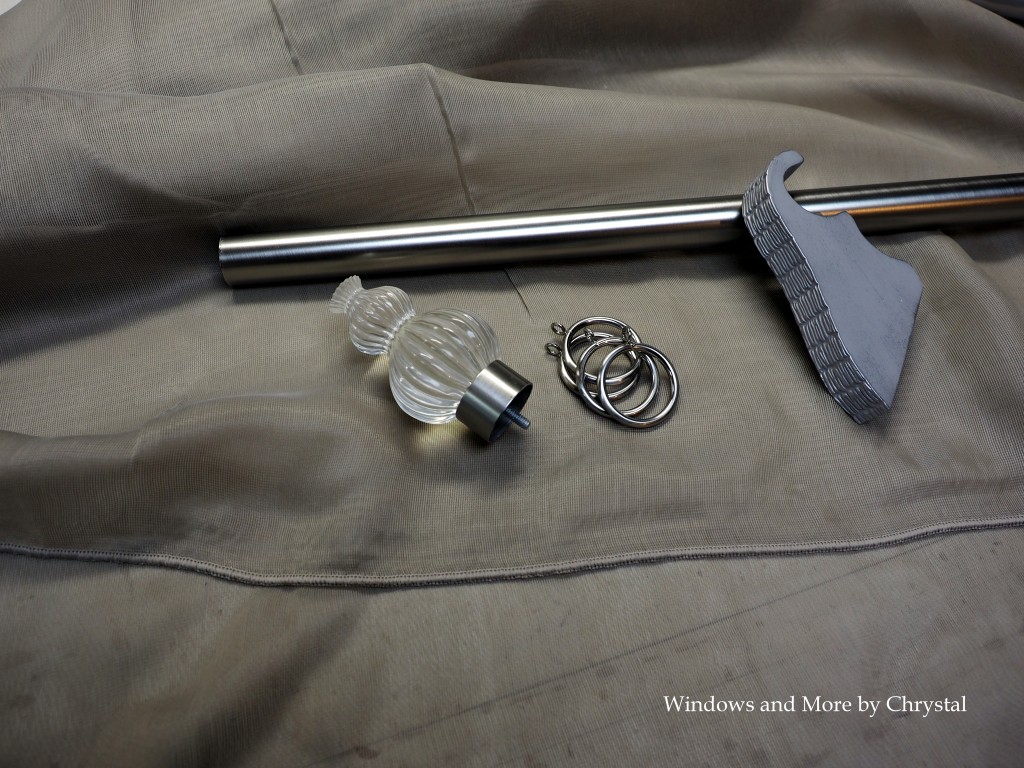
This sheer fabric has several advantages to it. First it has a euro hem, which is a small weighed chain serged in the bottom of the fabric, so putting in a hem is already done. Another thing about this sheer fabric is it is 118″ wide fabric that can be railroaded. Railroaded means you can turn the fabric sideways. In this instance that means I don’t need to put seams in the fabric, I can just turn it sideways and cut the width of the panel that I need.
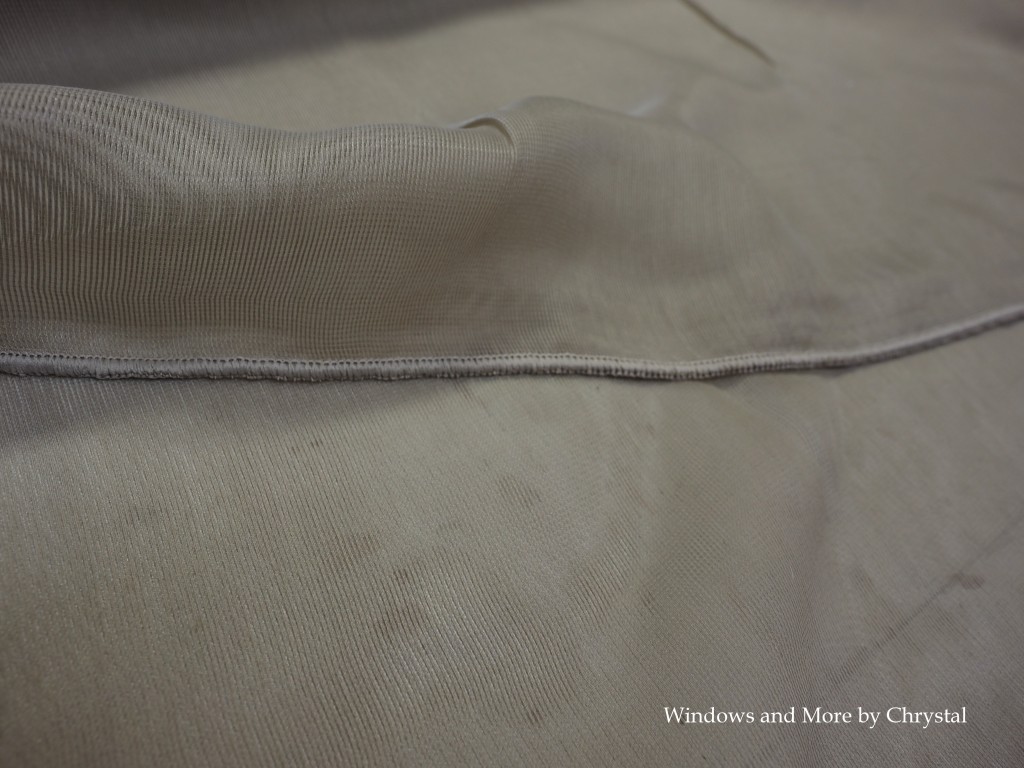
The first step that I do is even up the fabric by pulling a thread and cutting, then all I need to do is measure the width and pull the thread and cut. This is the step that I am going to share with you.
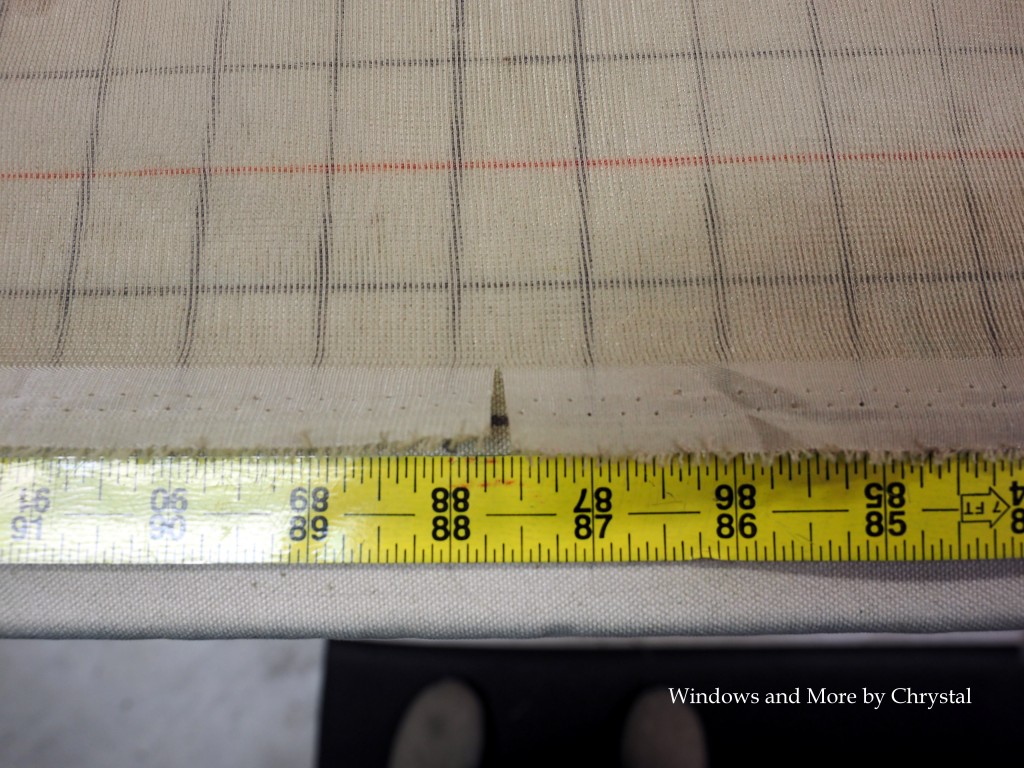
I measure to my cut width, which is my finished width plus my side hem allowances.
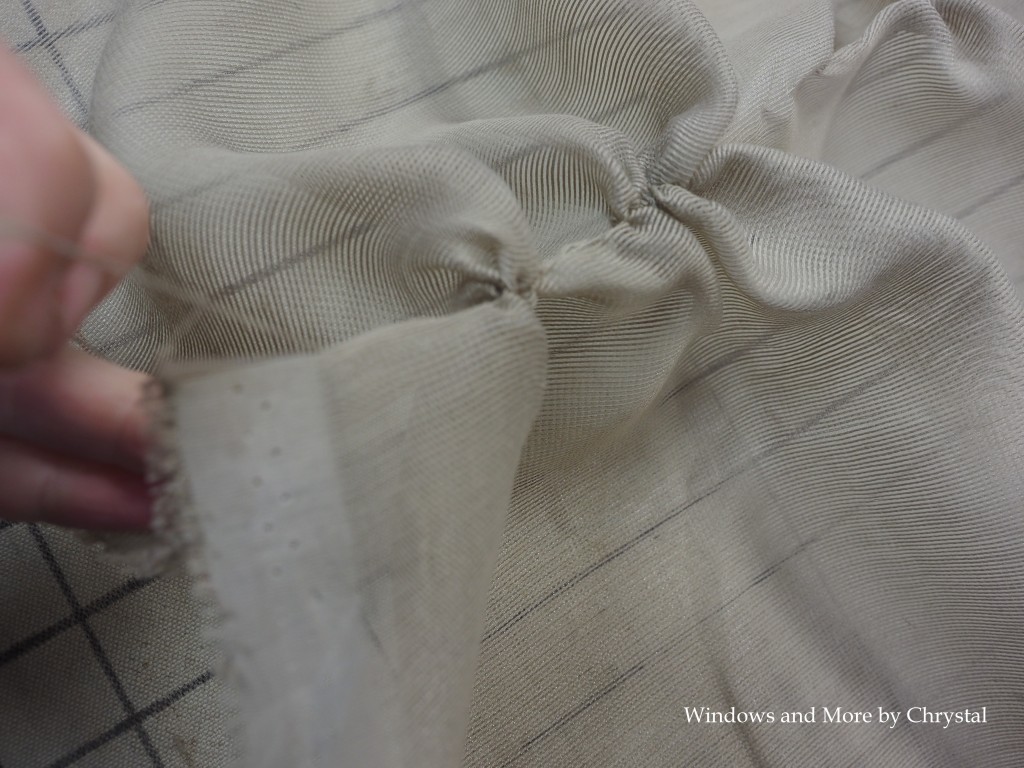
Then I pull a thread, and pull it until I get all the way to the other side and pull the whole thread out.
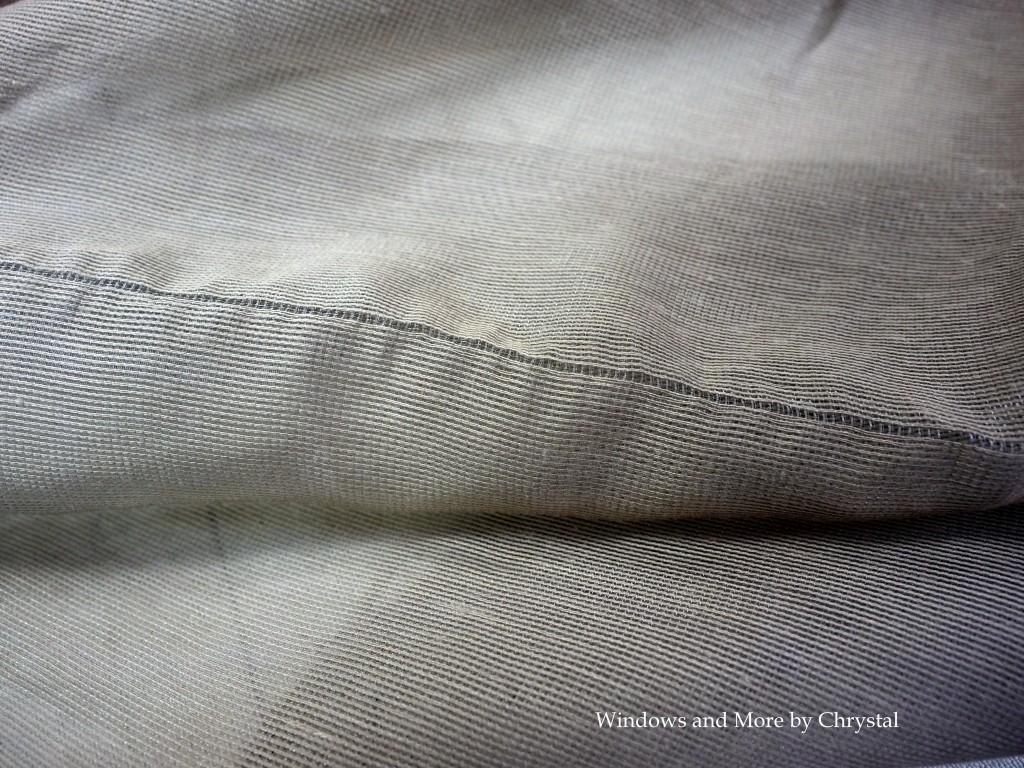
For this sheer, I actually pulled 2 threads, so I could see where to cut better.
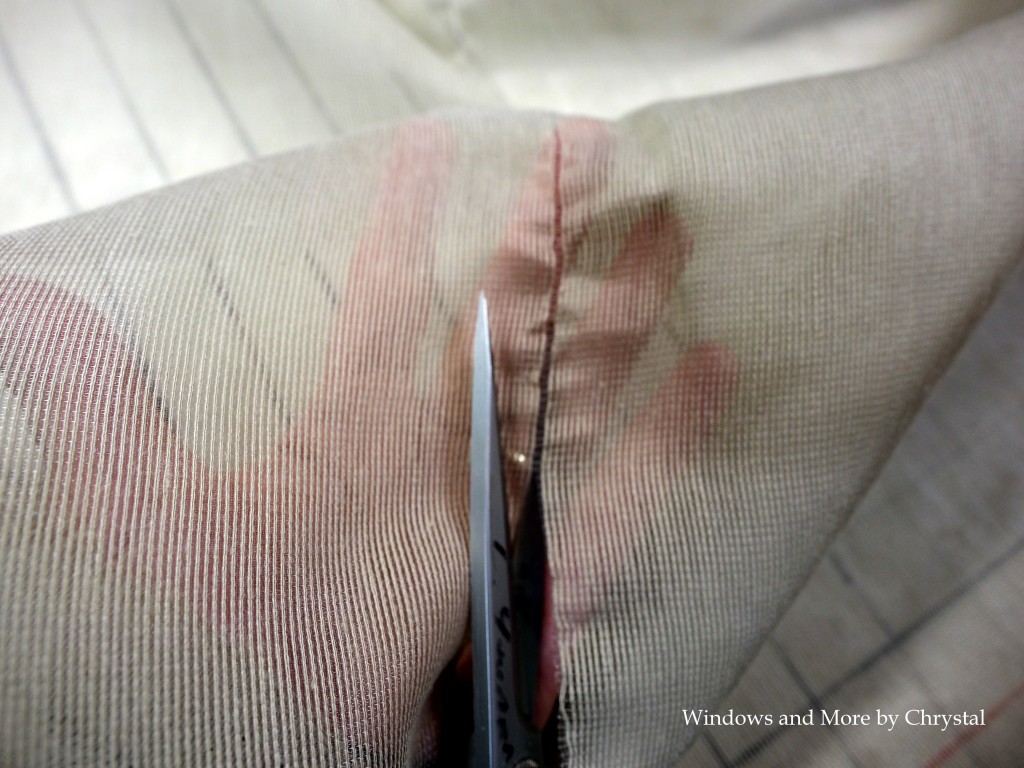
Then I take my scissors and carefully cut right down the space where the 2 threads are missing. I am using my hand behind, so I can see the area better.
After I have all the panels cut, I then iron in my side hems and iron in my finished length. Then I use my blind hemmer to put in the side hem. With the blind hemmer you need to test it out with a scrap of the sheer fabric to check your tension, and depth of stitch, before you actually hem the sheer. After the side hems are in I then put in the buckram. When I put in the buckram I don’t neatly spread out the sheer, I only spread the top part, iron in my buckram, put in my pleats, tack my pleats, and insert by pins and fan fold the sheers and they are ready to go! I will follow-up with pictures once they are installed. I hope this helps someone, to make their life easier.
Thanks for stopping by!
P.S. If you like reading or seeing my blogs, go to the side panel and subscribe to my Blog. Thanks!


1 Comment
Leave your reply.