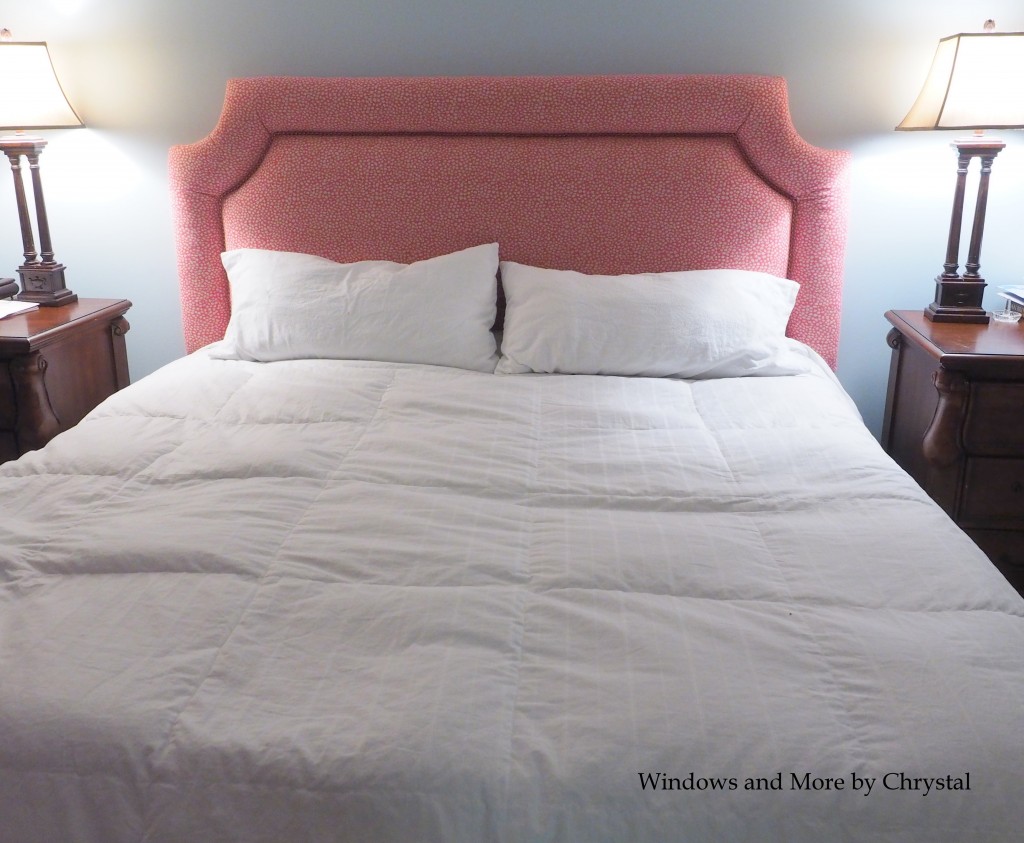
We installed this headboard last weekend, and I took some pictures while I was building it. So I thought I would share some of the process. During this process I did learn a couple of things, the first thing I learned is on a king headboard I should have made the legs detachable! I built it in the basement in my workroom and when I brought it upstairs to cut it in the garage, it barely fit going up the stairs! Then I realized it might not fit in the van! I did get it in the van and installed but it was a little tricky. Lesson learned for next time.
So after building the base, which is a sheet of 3/8″ plywood and some 1 x 4’s on the back to give it some stability, I taped the pattern to it and drew on the shape that I needed to cut it to. Then I used a jigsaw to cut it out.
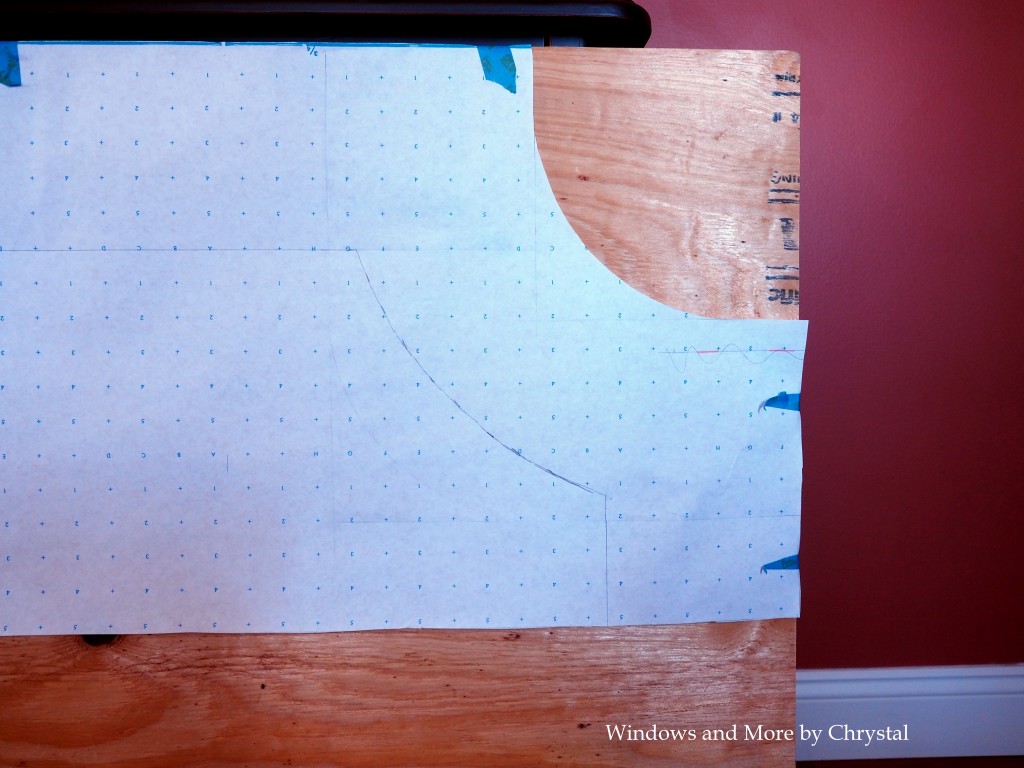
I then cut my foam to the same shape, into two different sections, the middle section and the edge section.
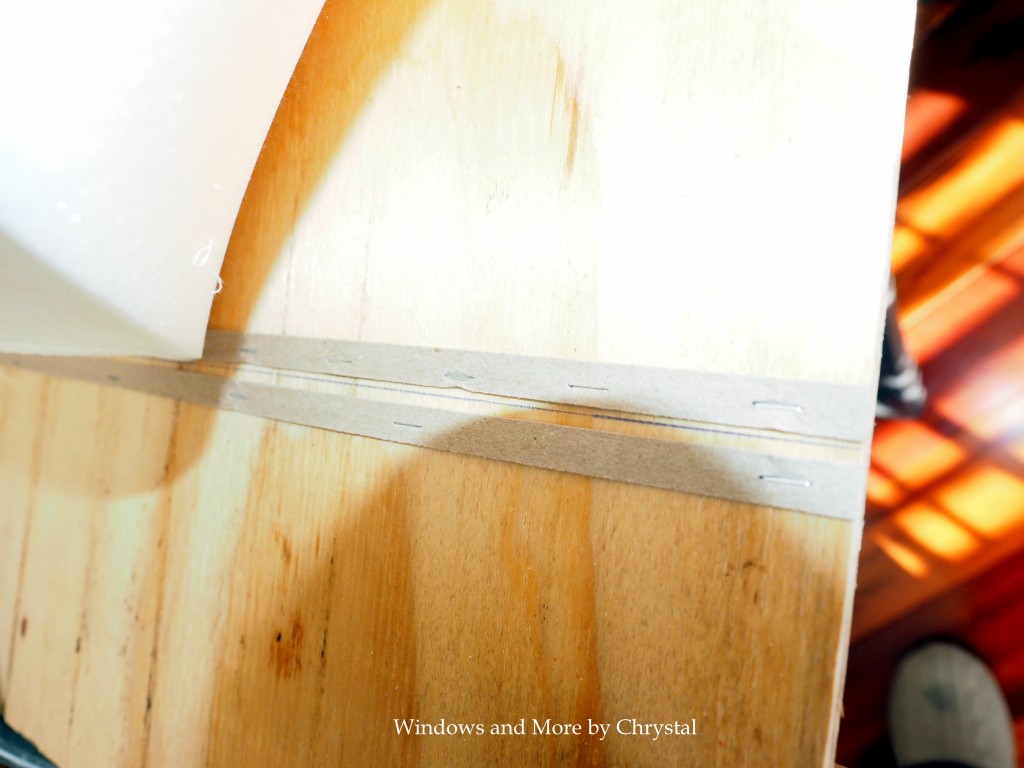
I also added 2 rows of tack strips on my pattern line. This will be where I staple the foam and leave an area for the cording to go when everything is stapled down.
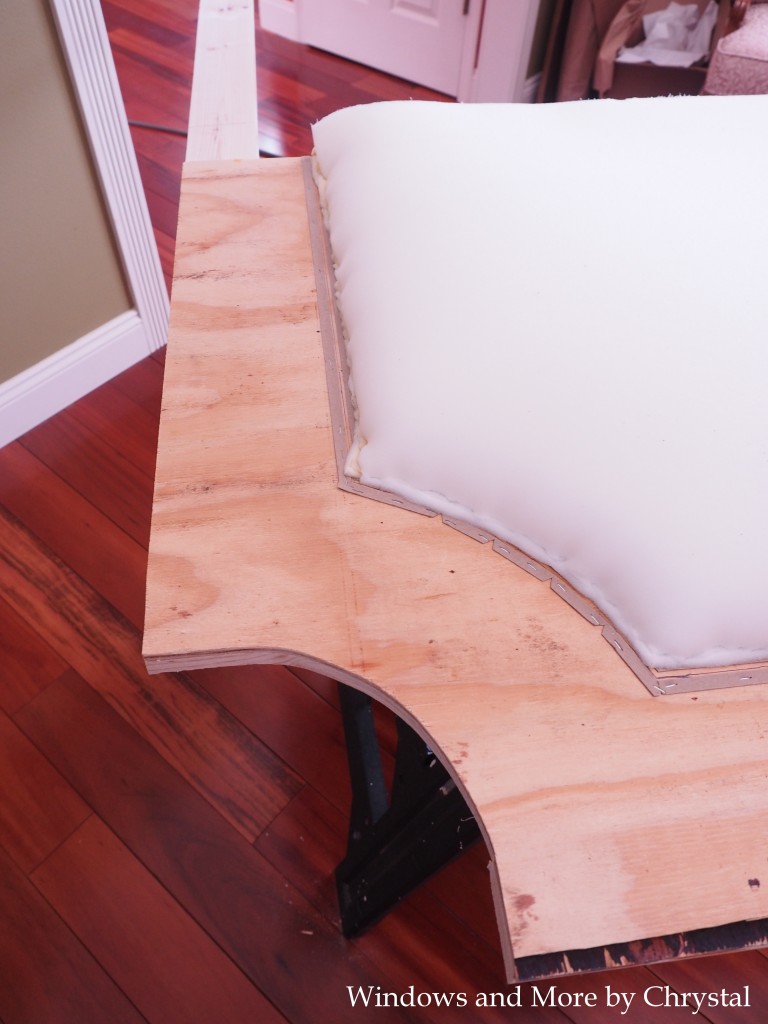
After the foam is stapled down, the I staple batting over the foam. Now it is ready to do the outer edge the same way.
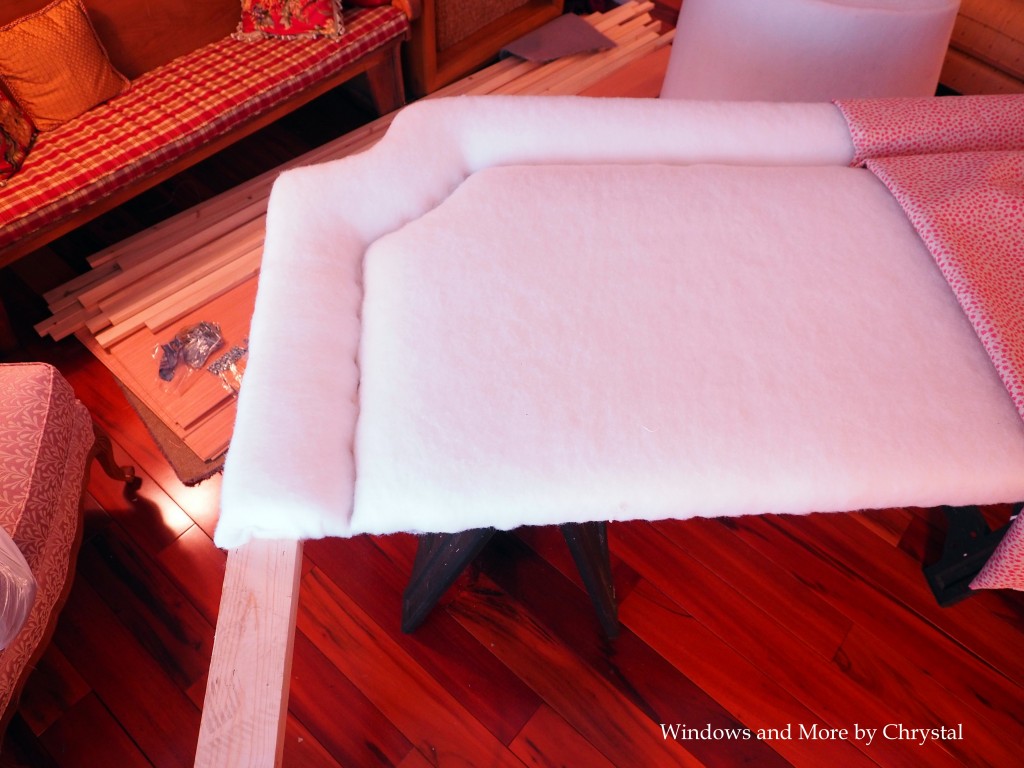
Both sections are now complete, and we are ready for the fabric.
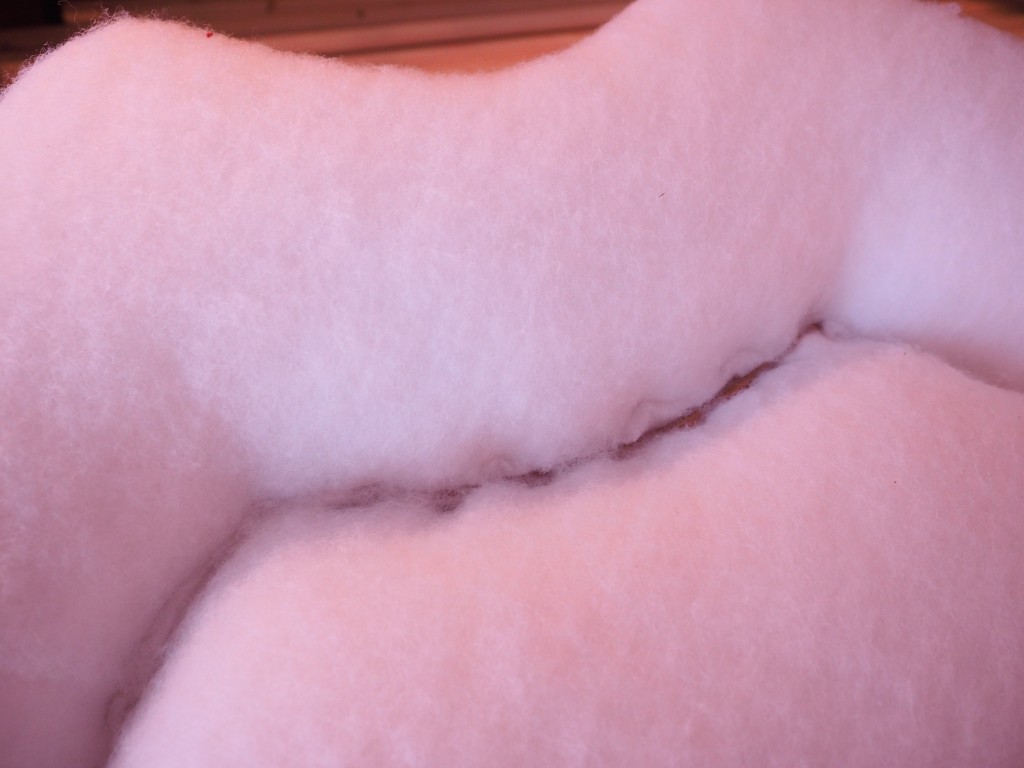
Here is a close up of the area between the center section and outer edge. You can just barely see some of the tack strip.
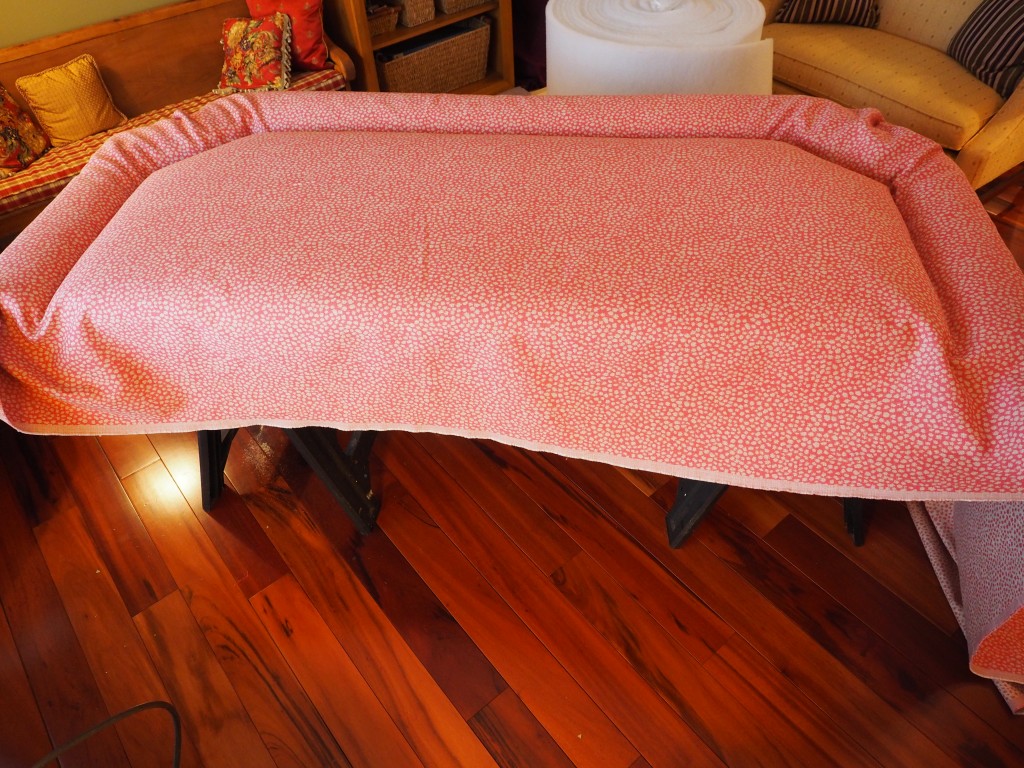
Ready to add the fabric, I spread it out and worked it down into the crevice and started stapling.
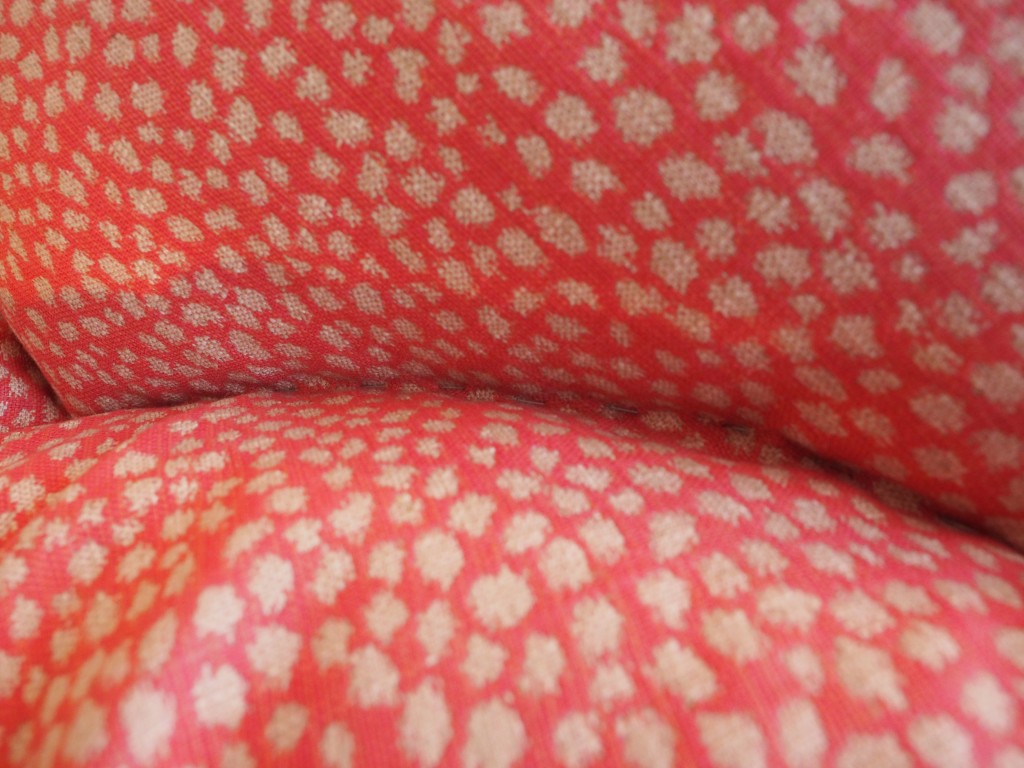
I staple right down in the middle area all the way around. This was the easy part!
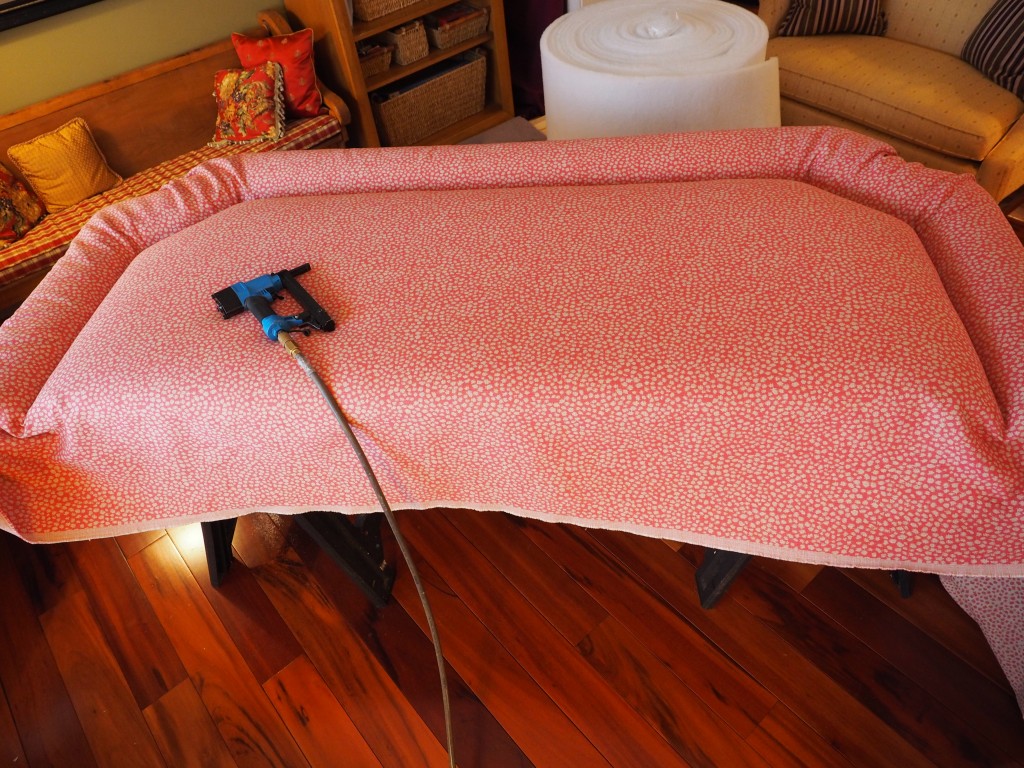
The middle section is done, now for the hard part, the outer edge. There is a lot of smoothing out and close cutting to get it to lay as flat as possible around the curved areas.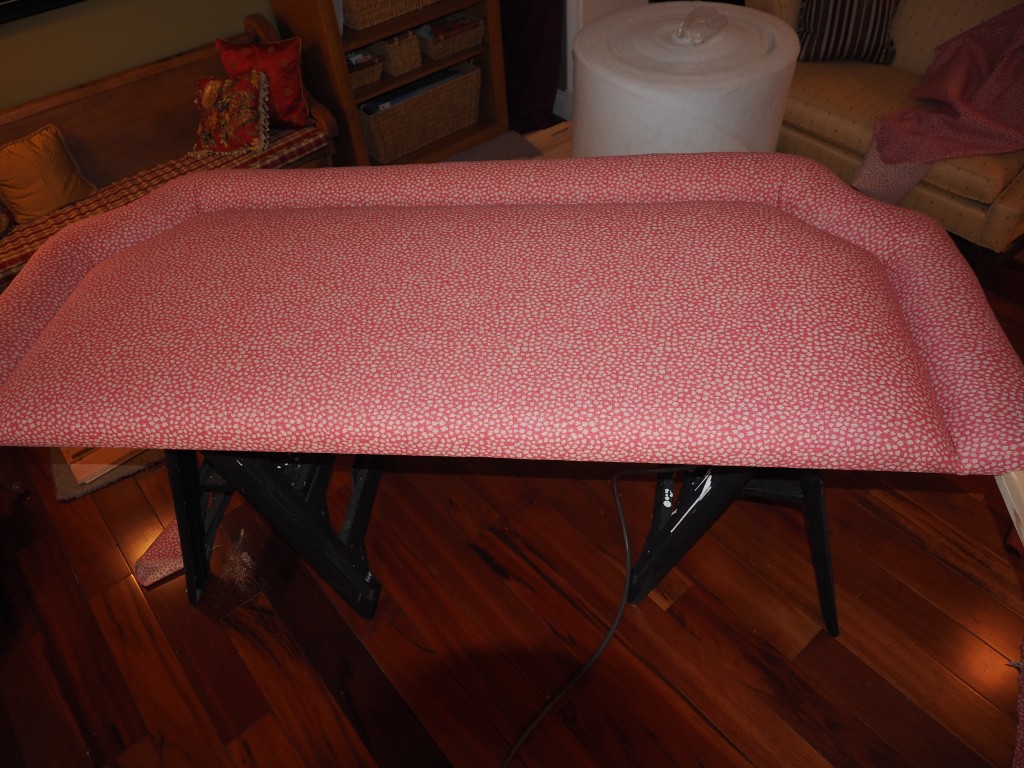
After a lot of work and patience the outer edge is done and I am ready to finish the legs.
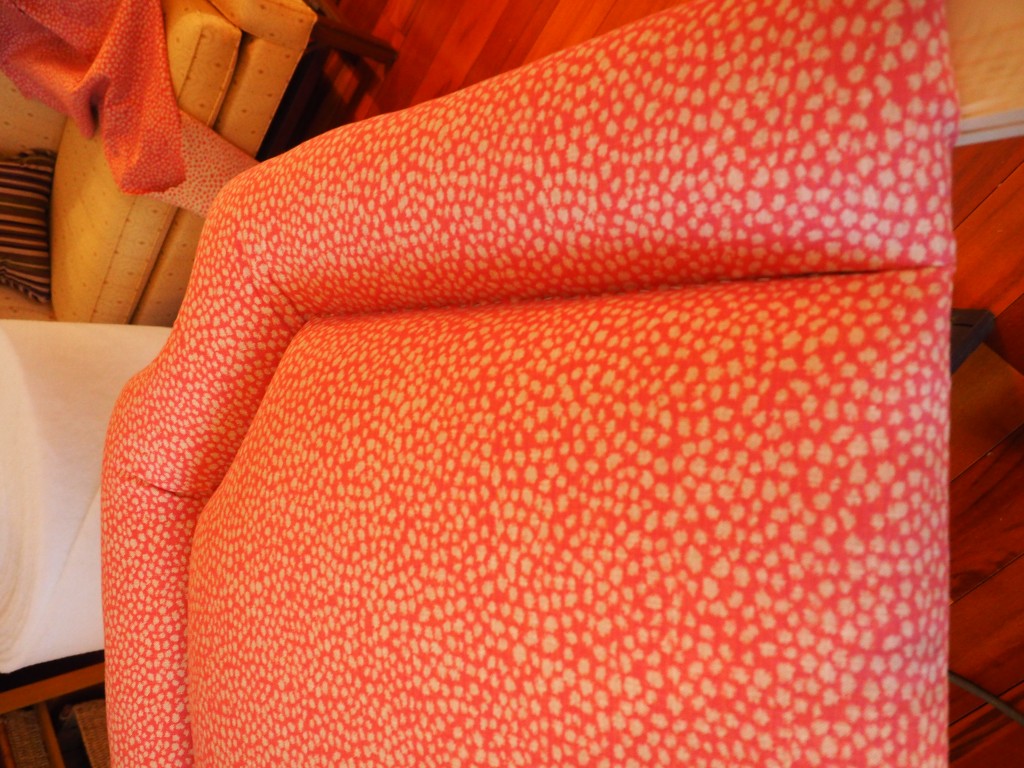
For the legs I added another 1 x 4 on top of the 1 x 4 that is attached to the back, to beef it up. Then I wrapped fabric around them. I did not add any batting or foam on them.
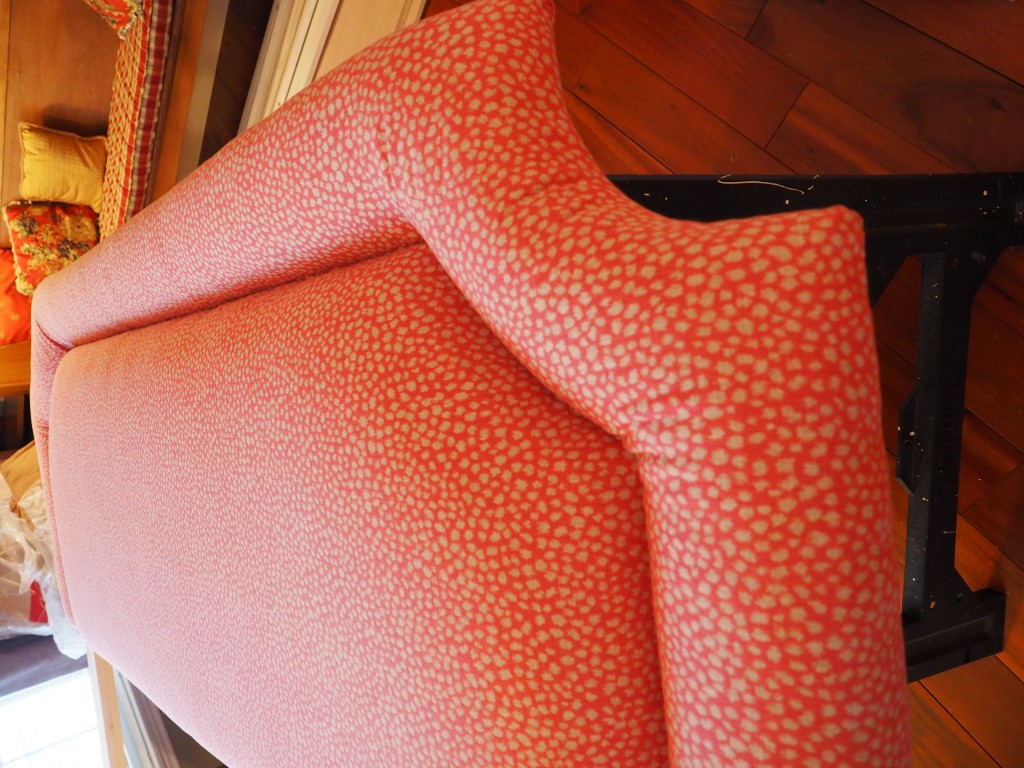
Here is another view of the finished curved area of the headboard.
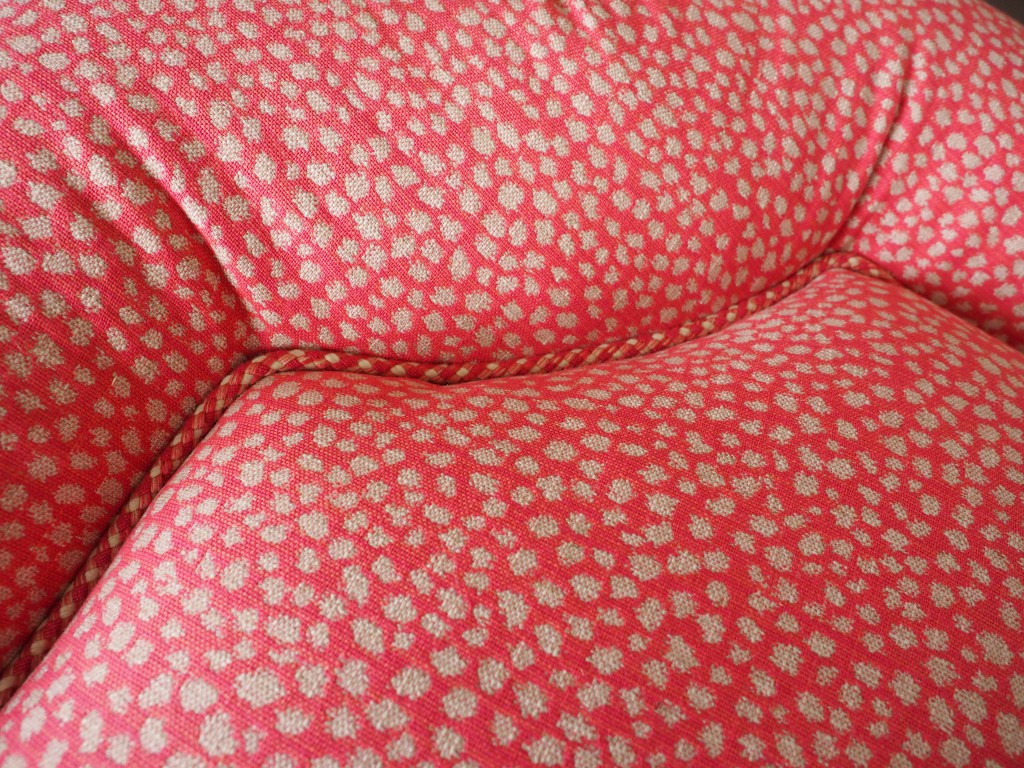
I then added the rope cording in between the two sections, to cover the staples. This is a purchased rope cord, but you could make one of a coordinating or contrasting fabric, or you could also use nail heads in this area.
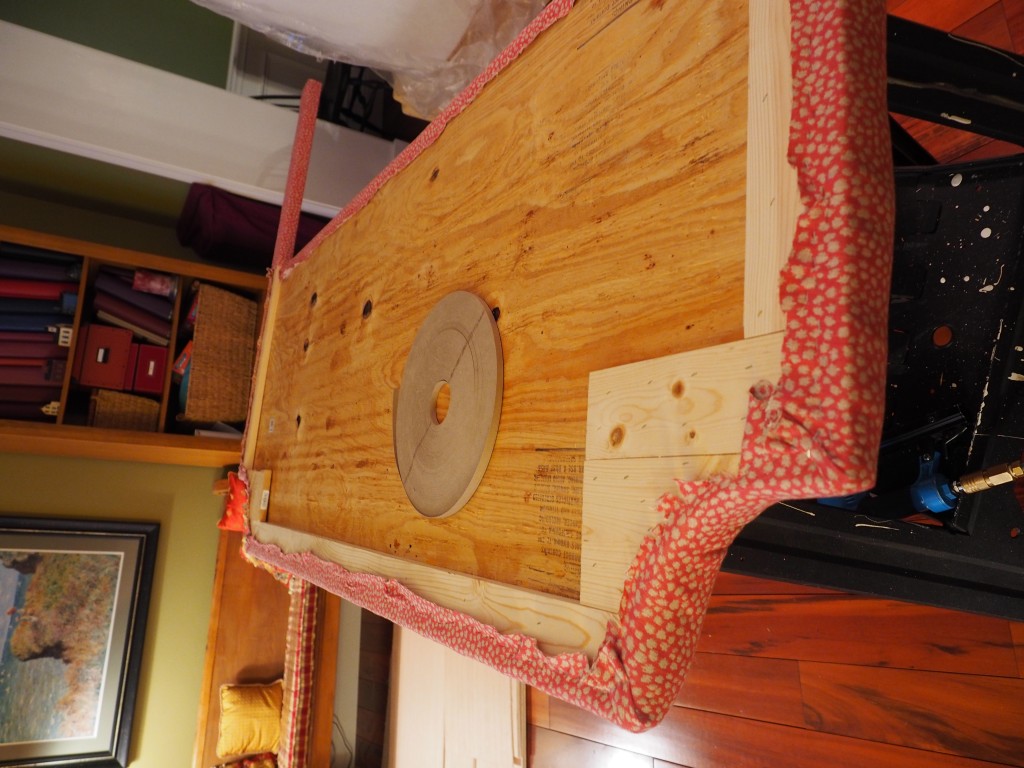
Then I flip it over and finish the back side, with black cambric cloth and tack strip to give it a nice finished look.
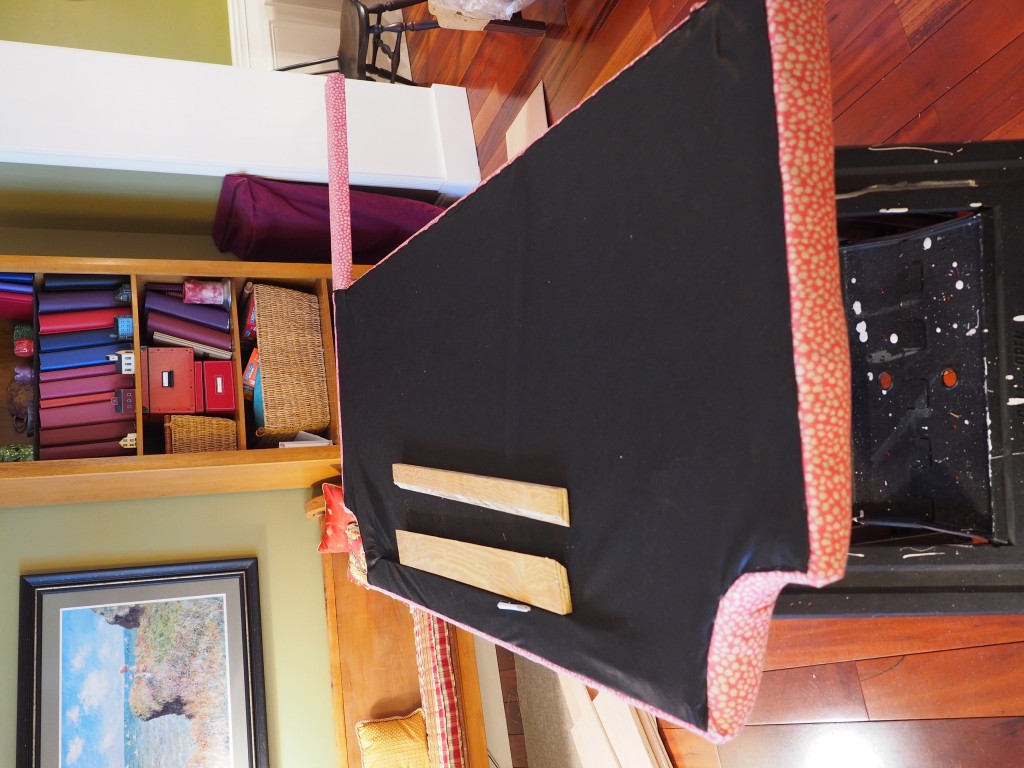
I then cut a french cleat and attach the top piece to the headboard, when we install it we will attach the bottom part to the wall. On this headboard the legs are just decoration.
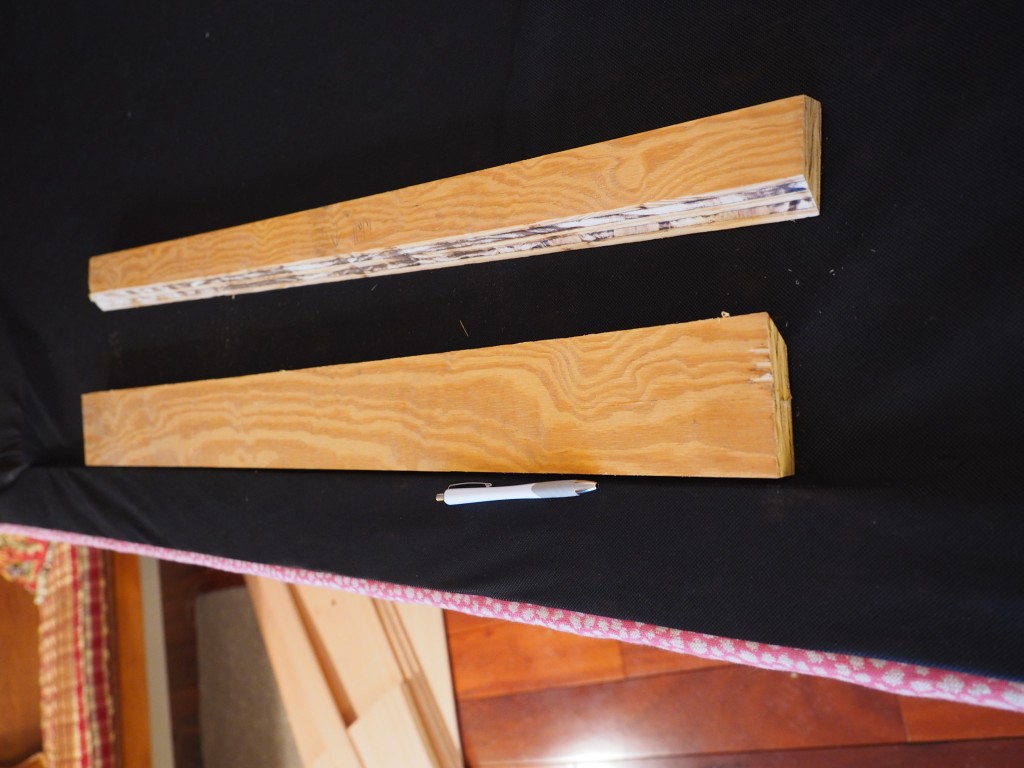
Close up of the French Cleat.
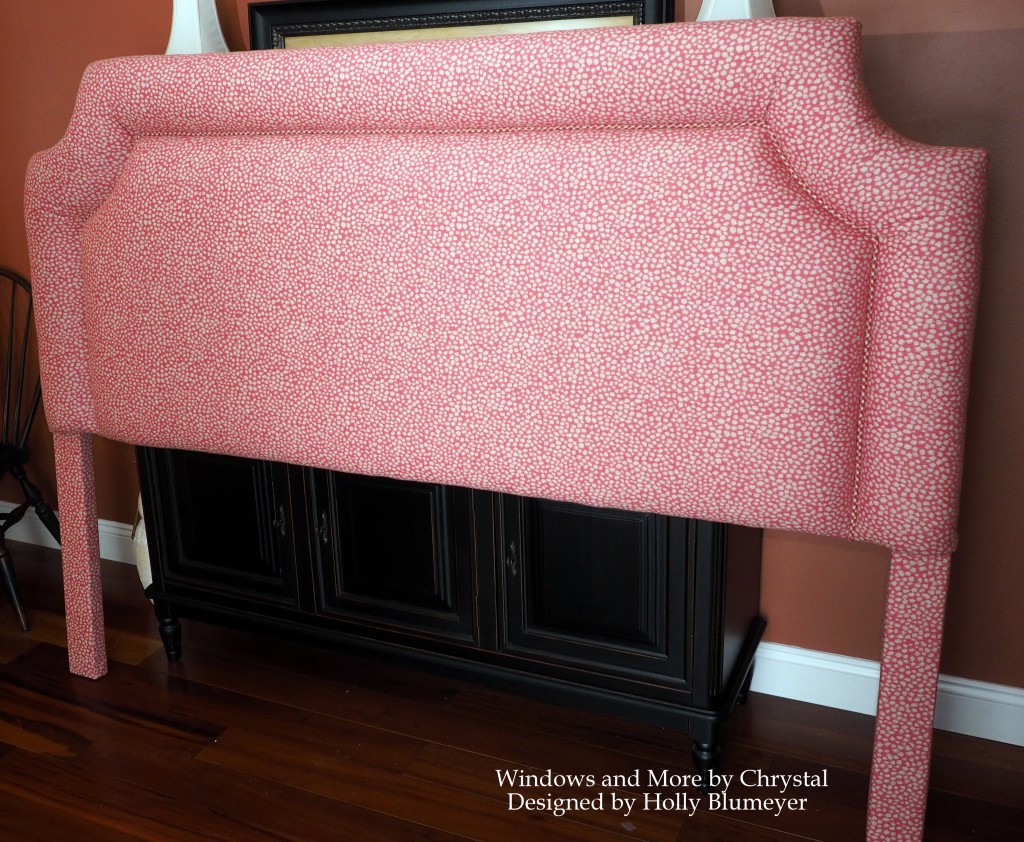
The finished Headboard, ready for delivery!
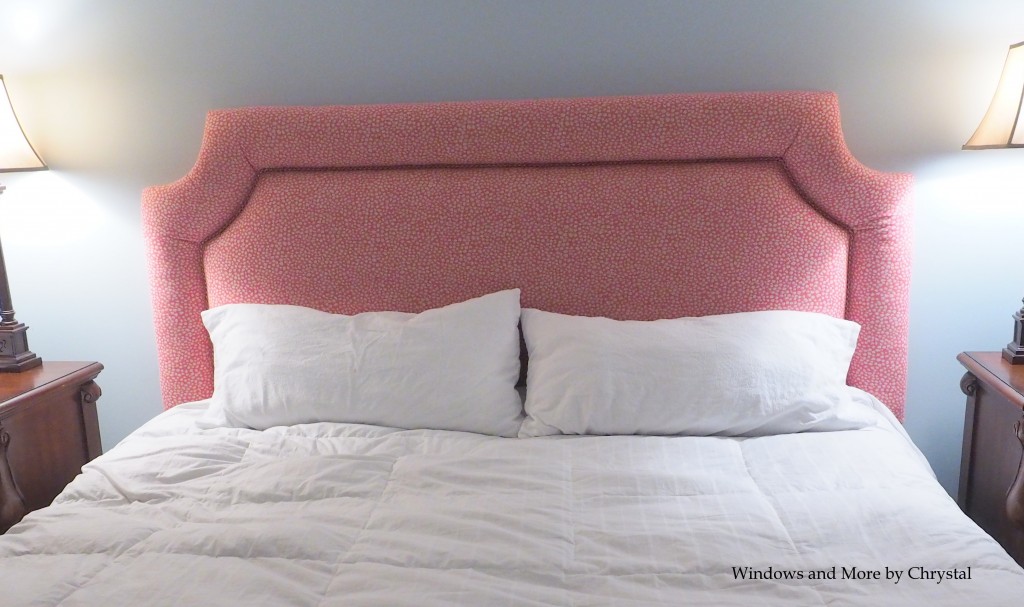
We installed the headboard and when we got to the home, we discovered it was an older home with a small stairway with a couple of turns, so once again it would have been better to have the legs detachable. Like I said lesson learned!
Everything worked out in the end and the client was very happy! She didn’t have her new bedding yet, so just took a quick picture!
Hope you enjoyed this little peek into making a headboard, and if you would like a new headboard and don’t want to do it your self I would be happy to make one for you! 🙂



2 Comments
Leave your reply.