Several months ago I was contacted by one of the designers I work for Heather Hannick Designs and she had an interesting project, that she thought I might want to tackle. So we met at the clients home, which is a loft in downtown St. Louis. They have a million dollar view of the Arch and the new Stan the Man bridge. I snapped a quick picture with my phone while we were there.

It’s not a great picture, but it gives you the idea. We measured the headboard the wall was going to go behind and discussed how it would be done, and met the owners cats. (More about them later). Heather had a preliminary plan drawn up and it looked like this.

After doing some measuring and re-figuring the final plan was created.
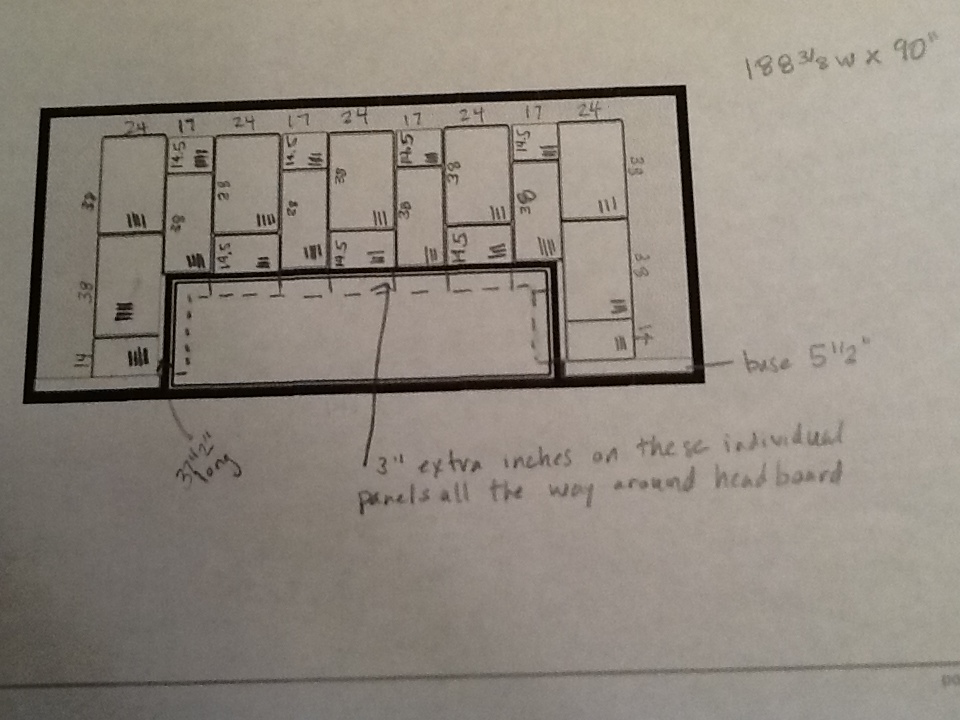
The fabric that was being used was a corduroy type of fabric and it was decided that on some of the pieces the welts would go vertical and on others they would run horizontal. So the little hash marks indicate which way the fabric goes. This would give the wall some depth and variety. So the wall would be 188″ wide and 90″ high. This was going to be a big project!
Then I came up with a plan on how to build it and fabric was ordered, along with all the other materials needed for the project. Lots of wood, foam, batting, staples, and bolts and nuts!
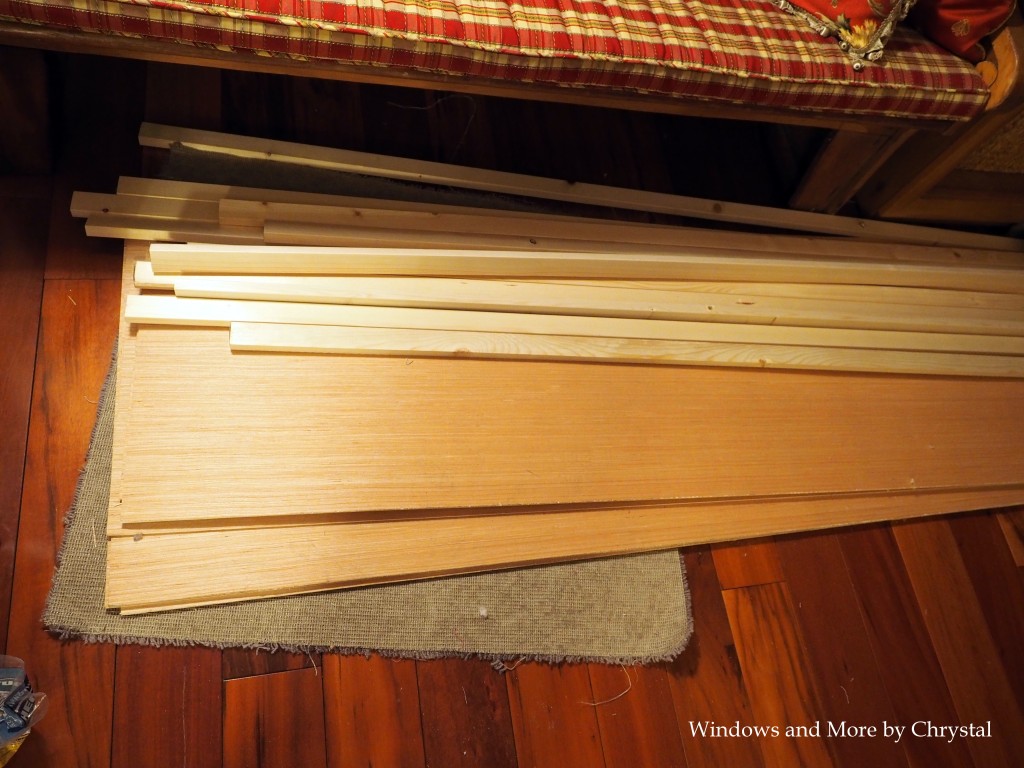
I bought 1/4″ board, that some call Luan board and had Lowe’s cut it down to the width I needed, so all we had to do was cut the lengths. I also bought 1″ x 2″ x 8′ boards that Mark and I ripped down to 1 x 1’s. So we spent one evening in the garage ripping and cutting boards. Once the plywood was cut I laid it out to make sure everything was cut right and I had all the pieces.
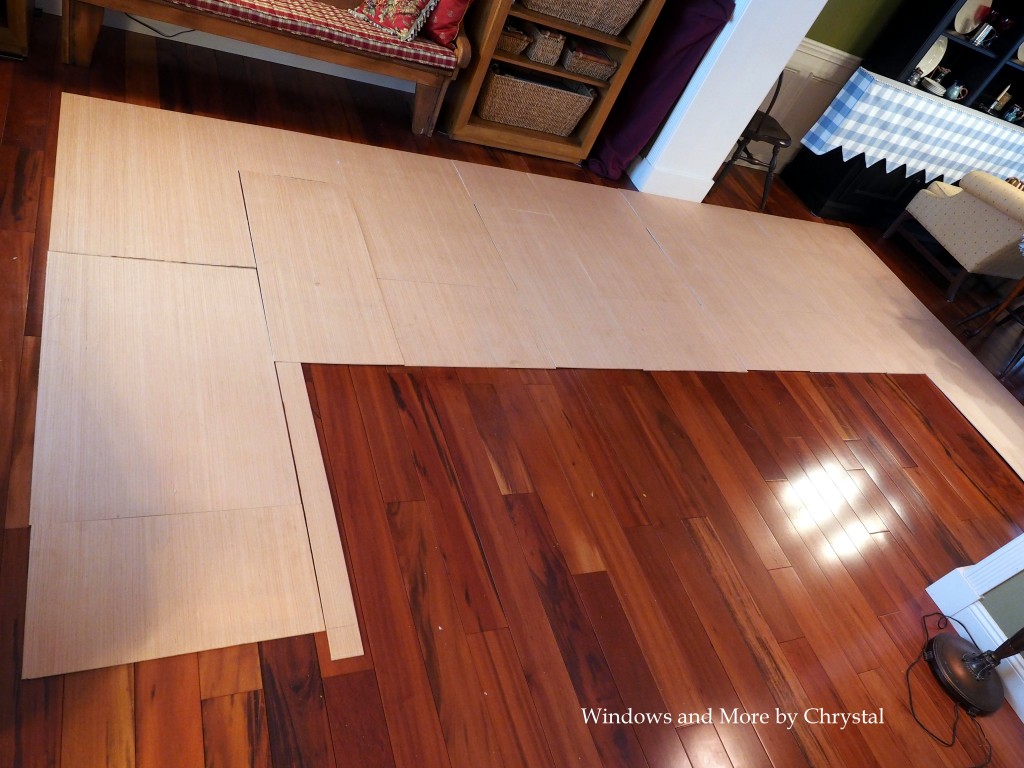
A couple of the small pieces did need an extra cut. Then we cut the 1×1’s and laid them out.
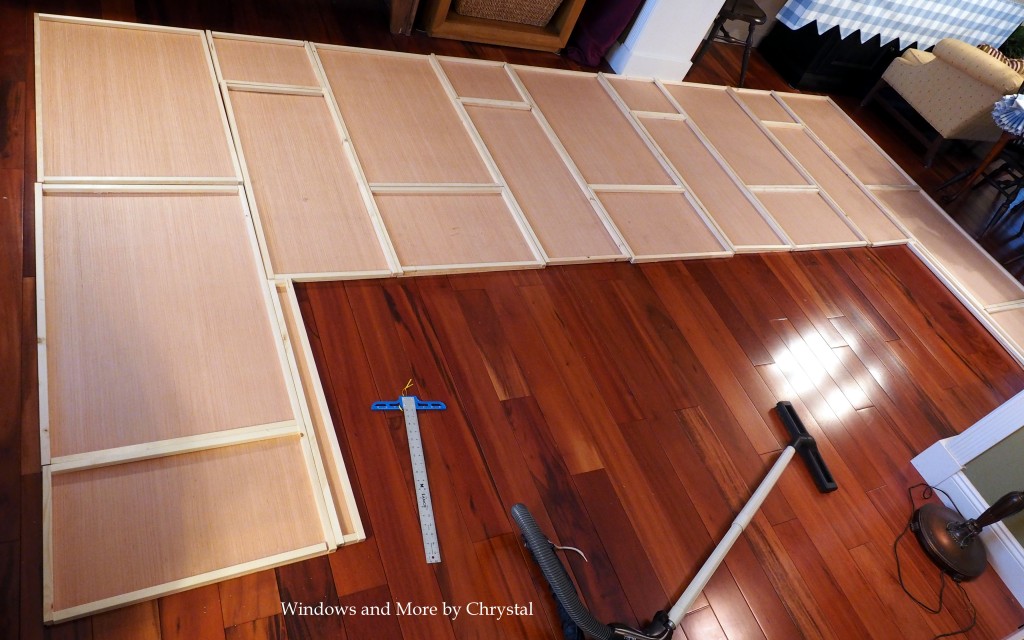
Then I glued and stapled all the frames together with the plywood.
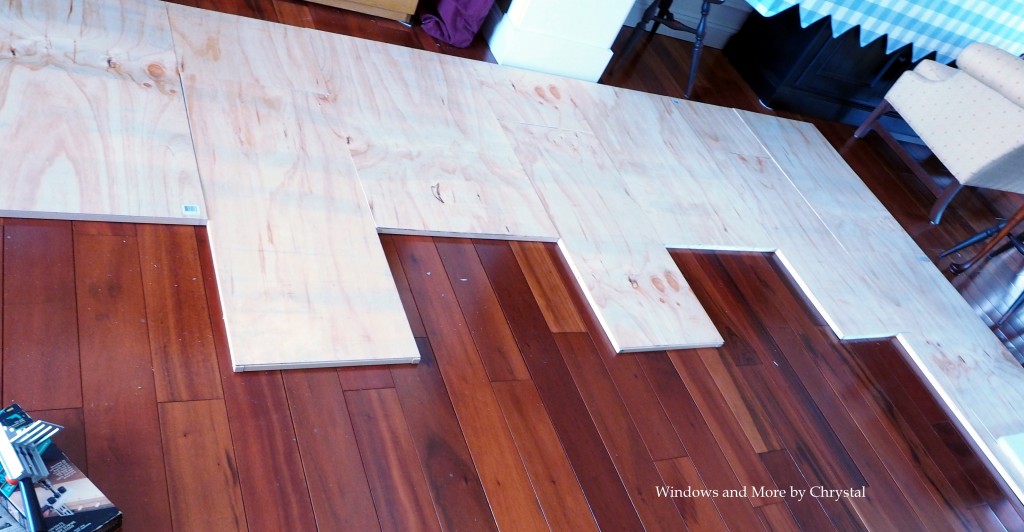
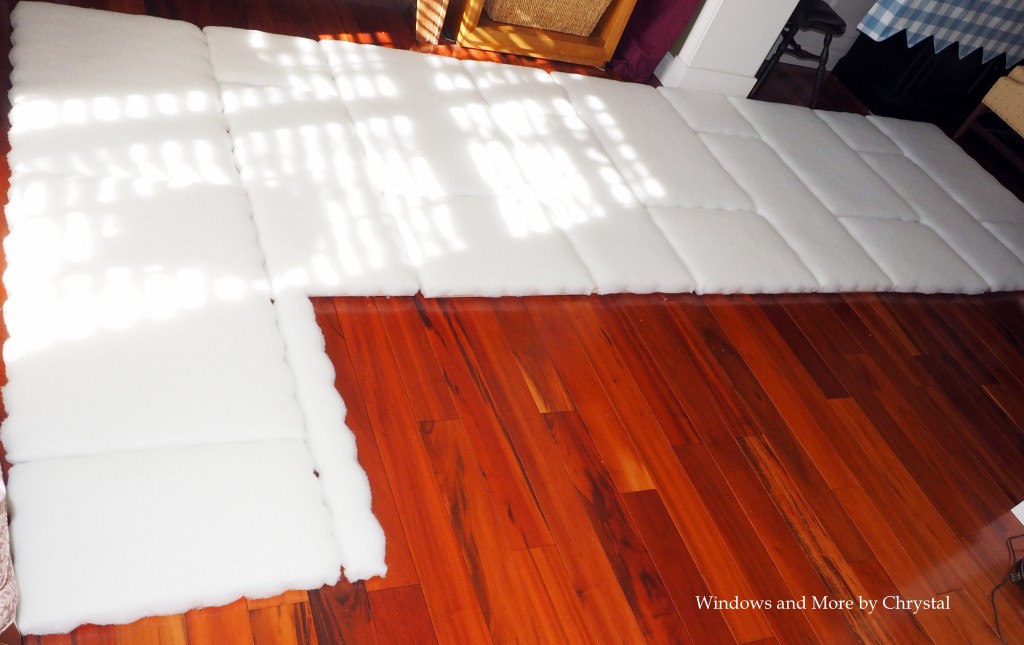
Once I was done with that step, I started adding the foam. The wider sections were 24″ wide which is the width of the foam so it was easier to cut, because I only had to cut the length on them.
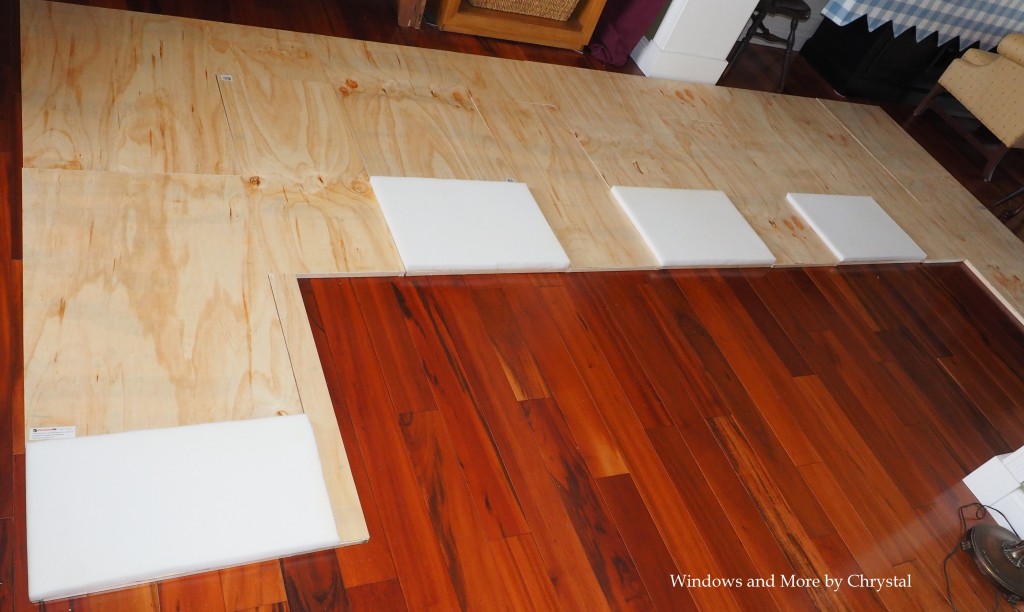
Once the foam was cut I attached it with a spray adhesive.
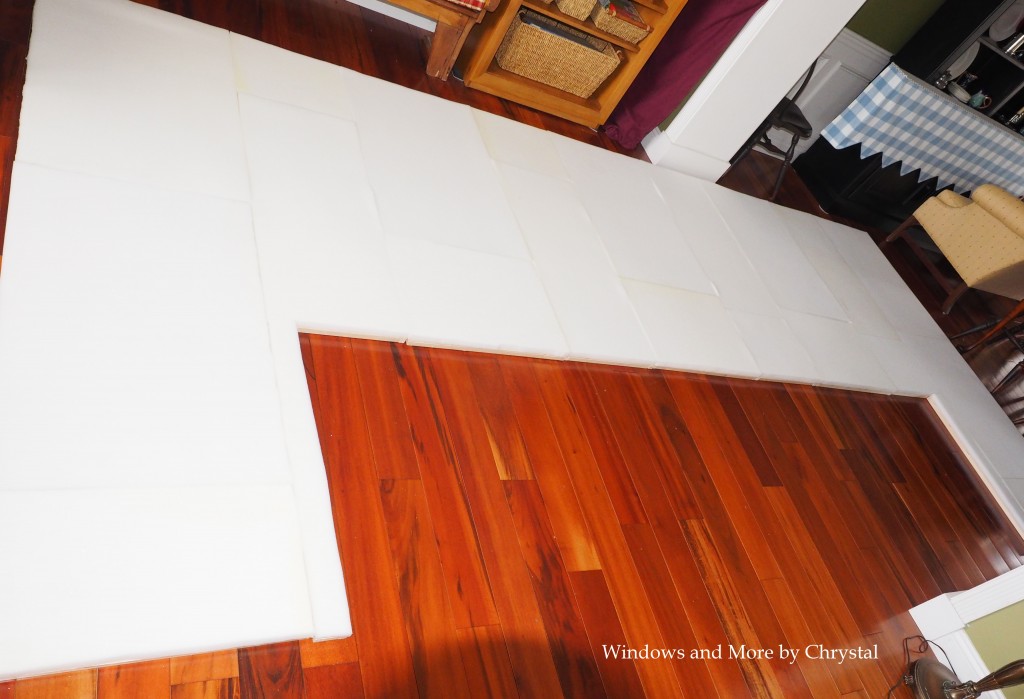
Then I covered each one with batting. I only brought the batting around the edge of the 1/4 plywood, because I wanted them to butt up to each other as much as possible and Mark and Ian then drilled holes thru the connecting pieces, so we could put bolts thru them and connect them all together. They did this part for me while I was out-of-town. I really appreciate them! 🙂
Then the real fun began! I made a list of each size that needed to be cut, and the direction it needed to be cut. I cut all the fabric pieces making sure each piece was cut the correct way, because this fabric had a nap. Each piece was labeled with its size, and direction it went on the frames, and then crossed off the list of pieces to cut.
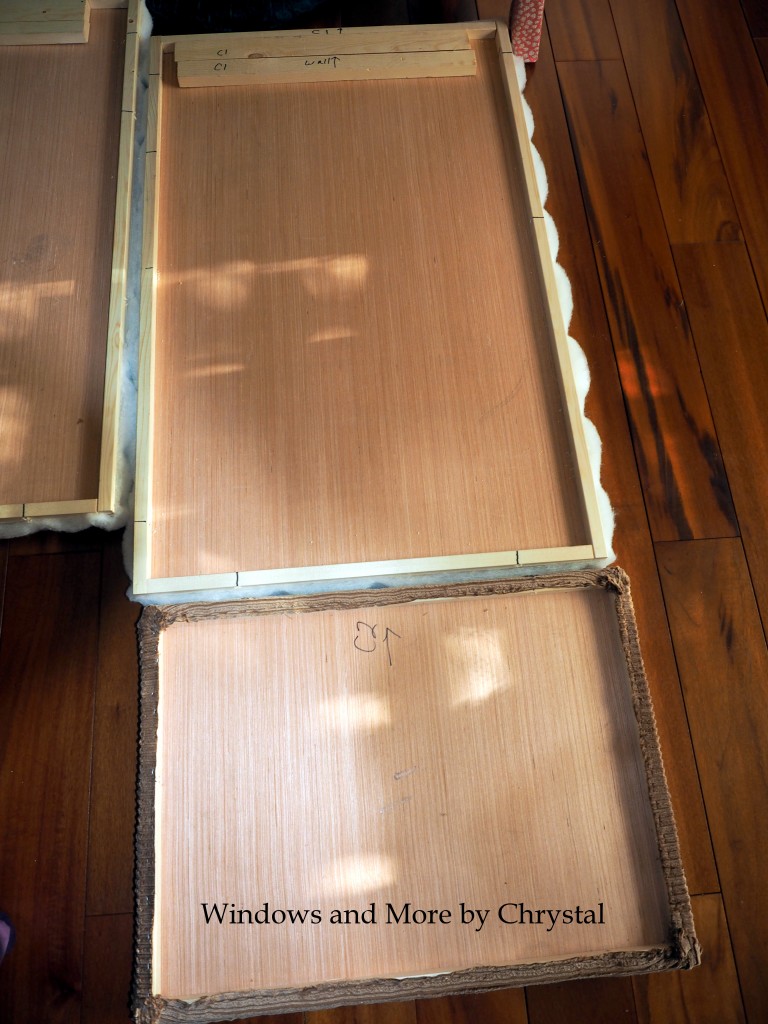
When I covered the frames I did each row and went down the rows. Each piece was labeled with a letter and number and an arrow for the direction it was to go.
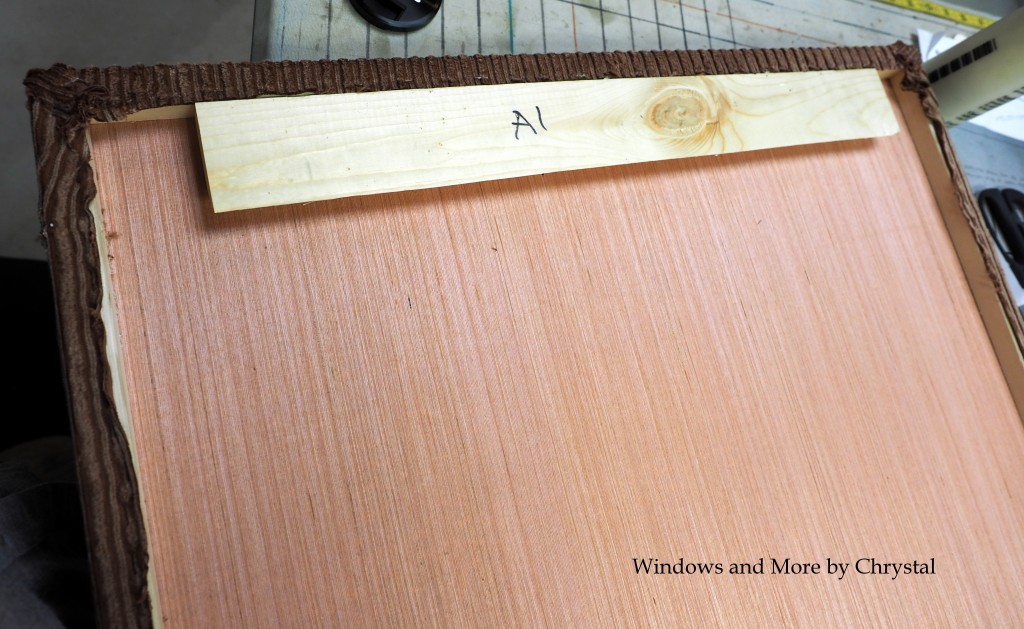
Larger pieces on the top had french cleats cut for them and attached to the back so we could install them on the wall. I discussed the french cleat in this post. I also purchased some small metal cleats to attach to the outer sides and under the middle section, to attach it to the wall, for better support, since this was such a large piece.
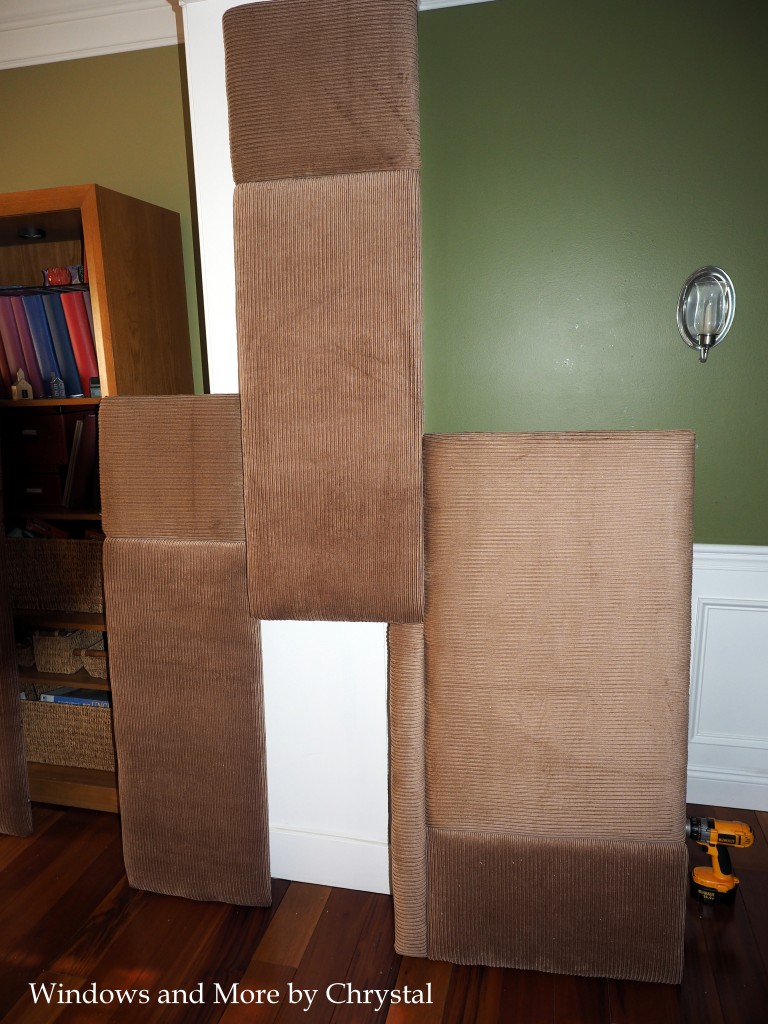
It gradually started coming together.
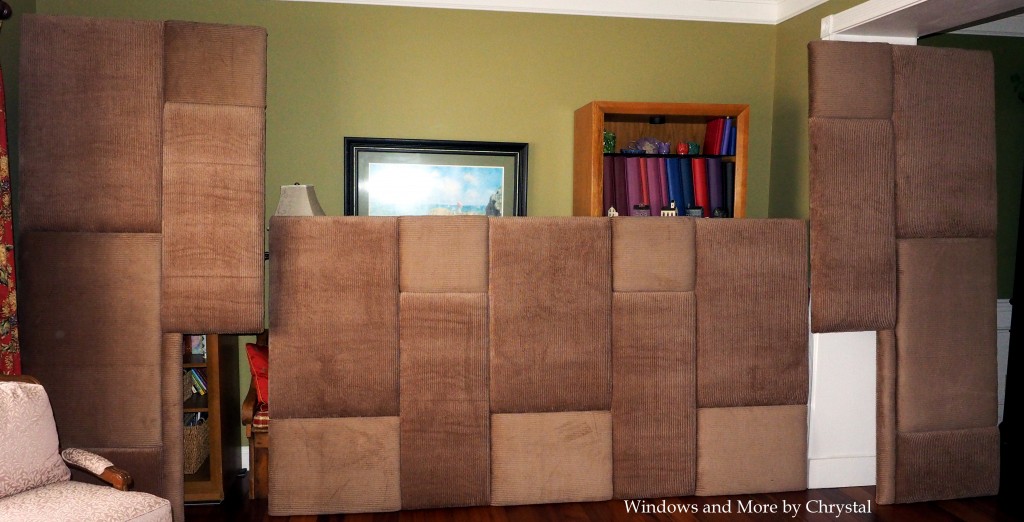
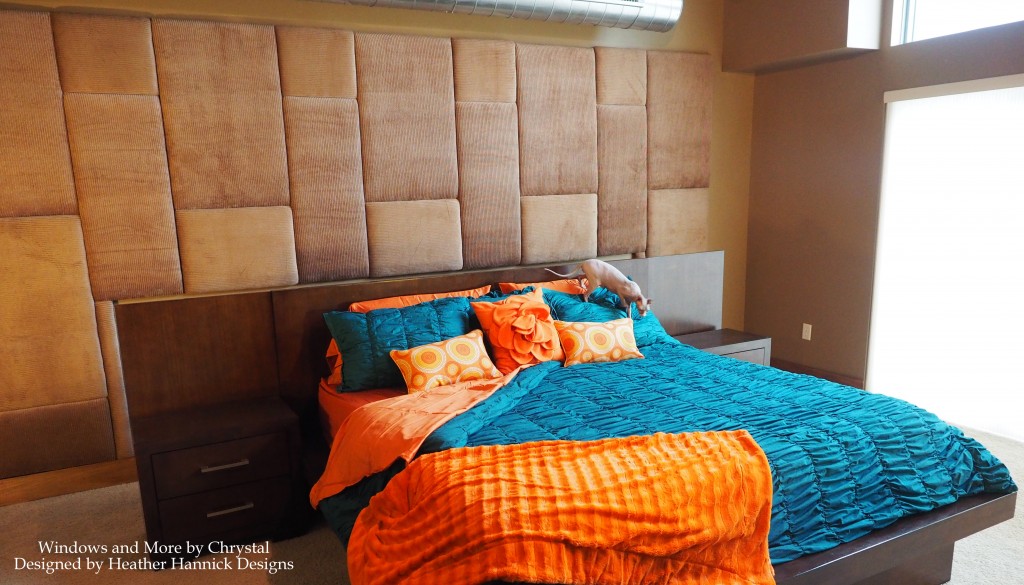
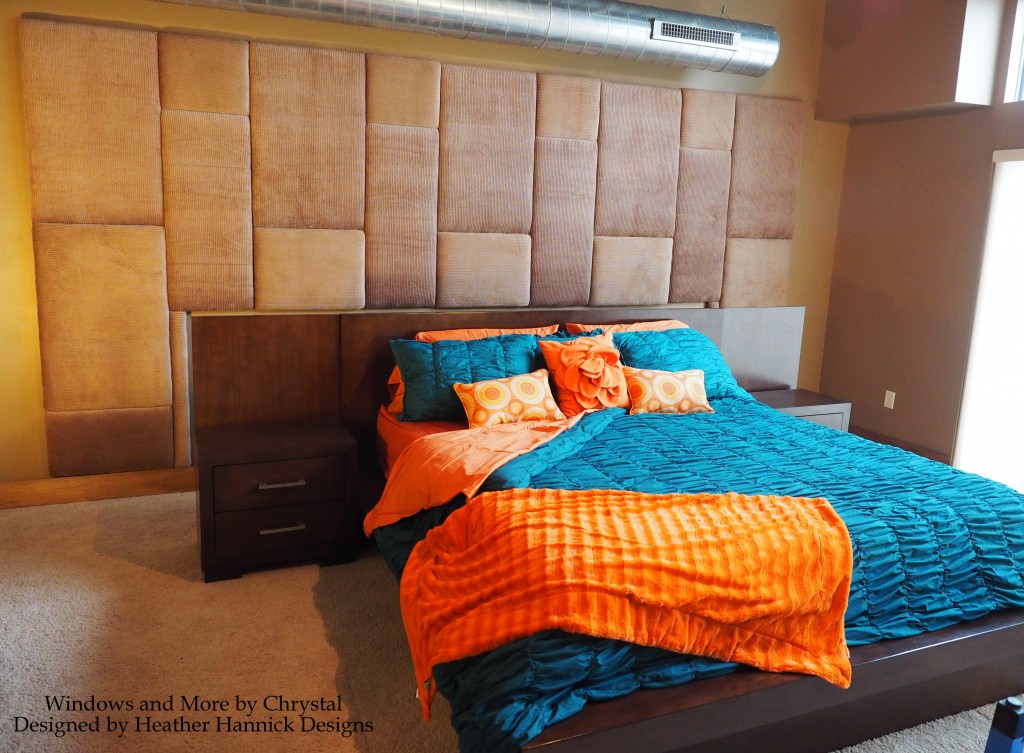
I attached them all together, except the middle piece to the end pieces. This was the way we were going to install it. Then I took it apart in sections small enough to fit in the van. Then scheduled the installation! I didn’t get any pictures of the actual installation, but here are some finished shots, and some of the aforementioned cats!
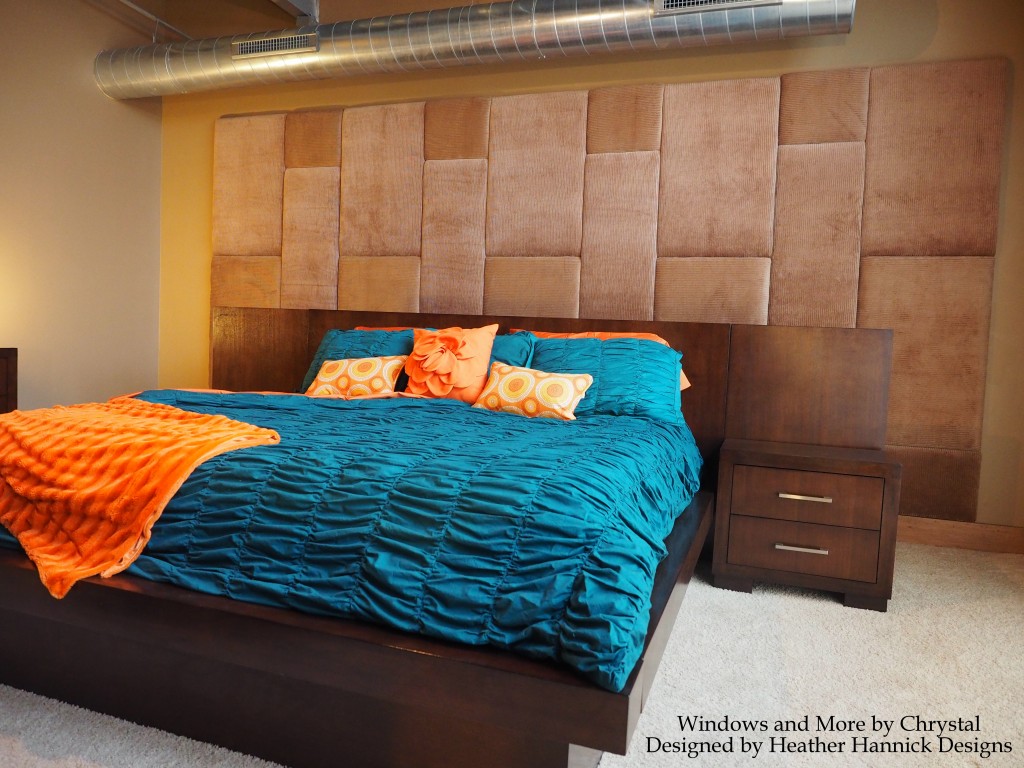
They dressed the bed, but still have lights to add to the end tables on the headboard, so we didn’t move it back against the wall yet.
And as promised the cats! I didn’t get the names of them and we only actually got pictures of one of them. The pretty one as the owner said! They are a Sphynx cat and here is a link to more info about them. Sphynx cats
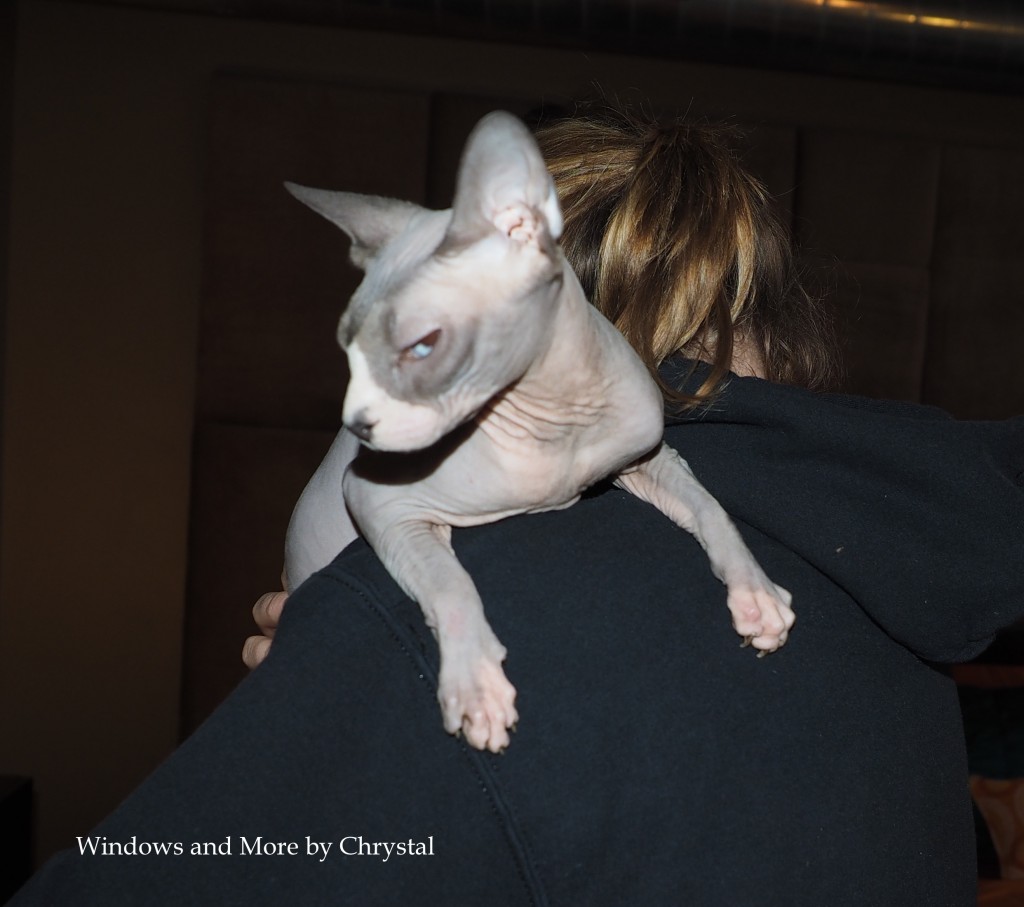
They were very cool and very curious cats.
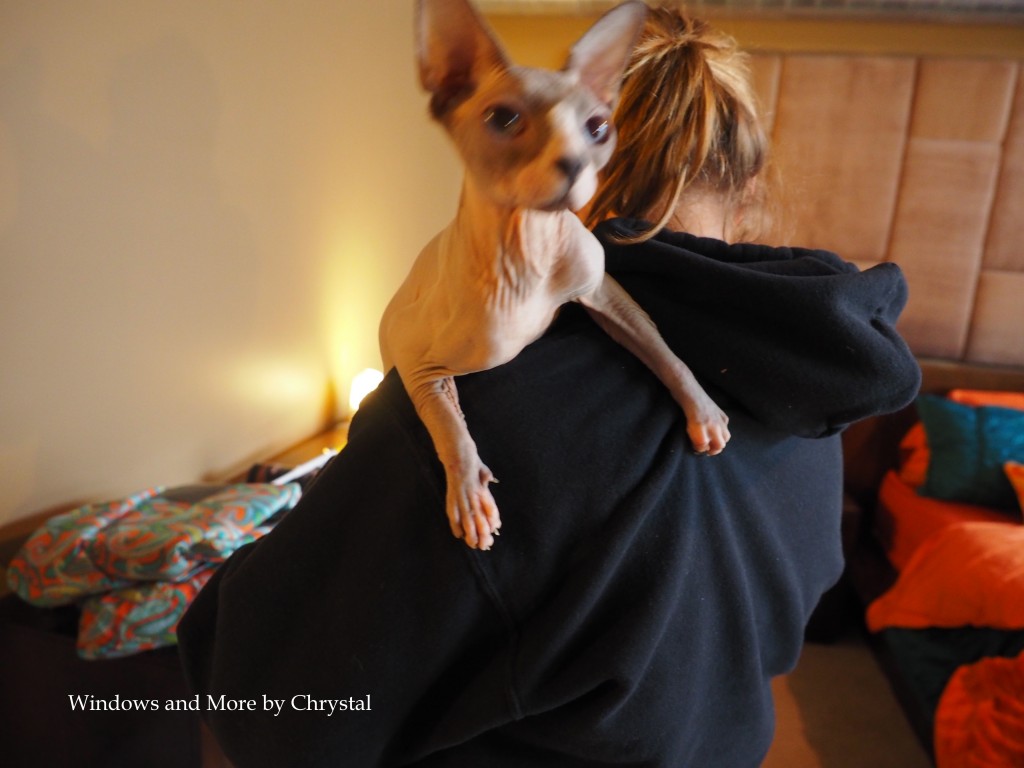
The cat enjoyed the bed!
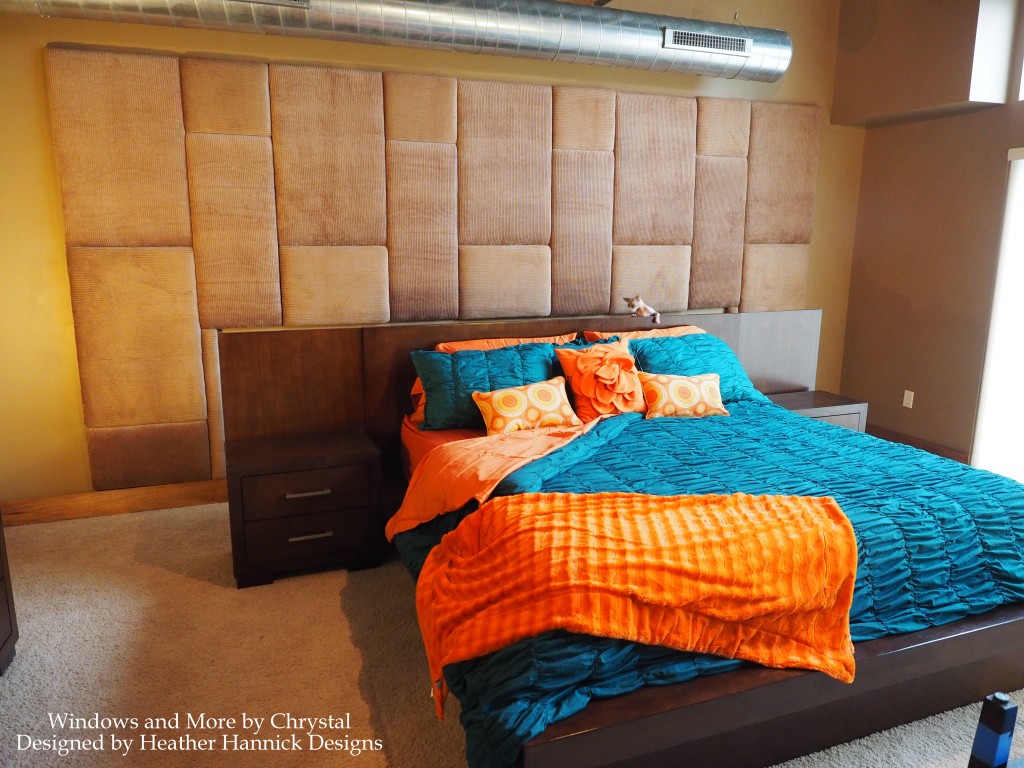
Love the colors!
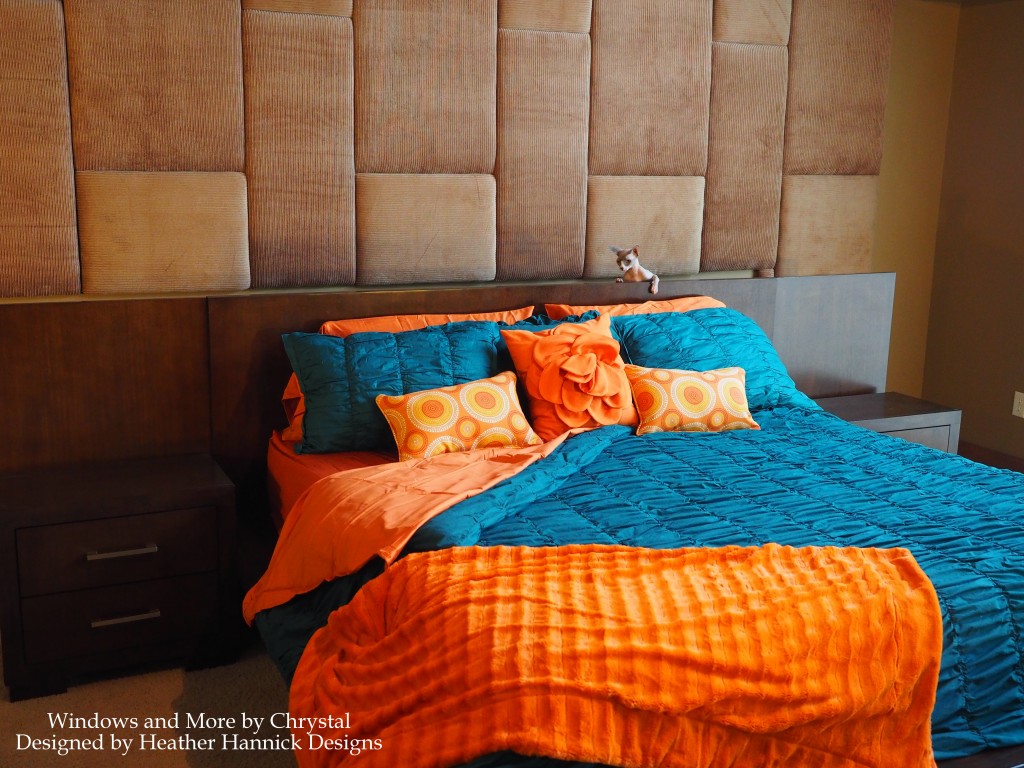
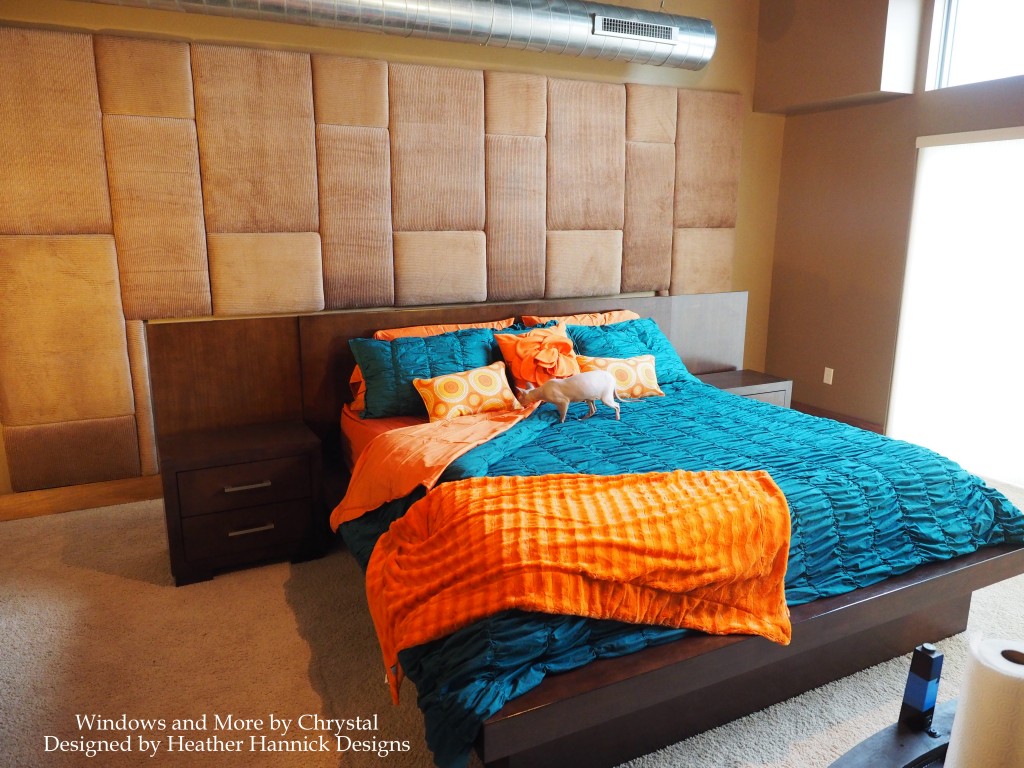
If you enjoy reading these posts please subscribe to the blog. It is very easy, just go to the column on the left, scroll up and find the box “Subscribe to blog via email”, right below categories, and put in your email. I promise not to sell, or give your email address to anyone, and I promise not to write a blog everyday! That promise will be easy to keep! 🙂
Thanks for stopping by!


3 Comments
Leave your reply.