Day 2 we were ready to work on our chairs again, after a question and answer session.
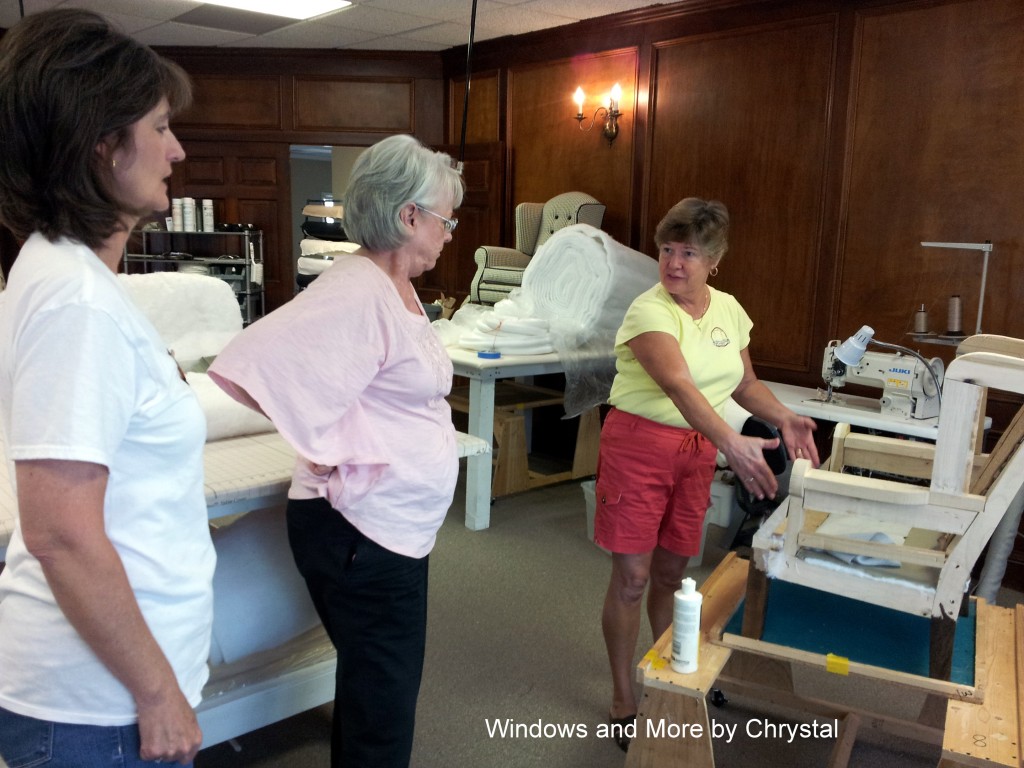
Kathy explaining the next few steps. We were going to put the nosing on the front of the seat.
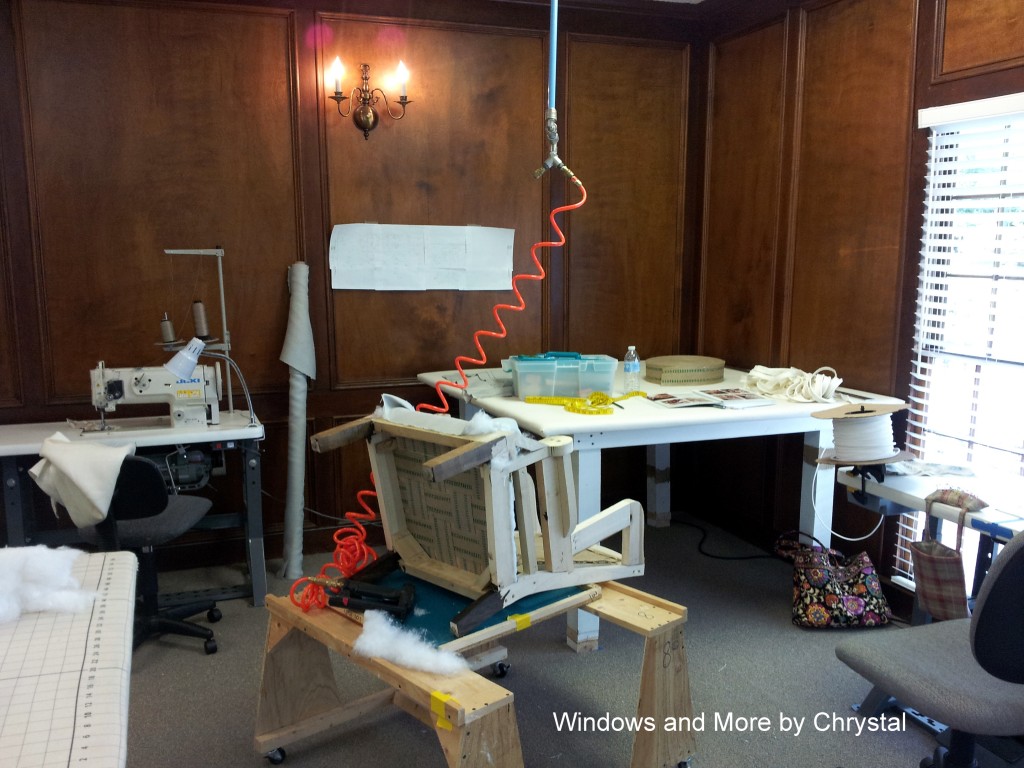
Just thought I would give you an idea of what my space looks like. At the new school, there will be only 4 students per class, so you get more one on one with your instructor. You also get your own table and sewing machine, so if you mess it up, you are the only one to blame. 🙂
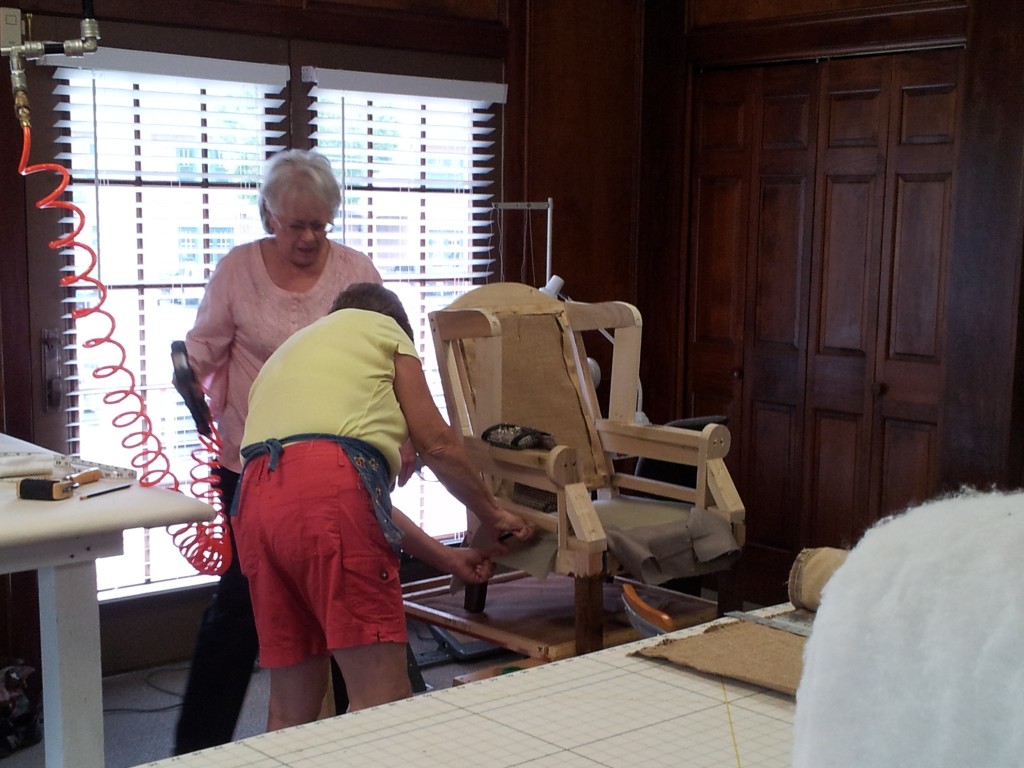
Everyone works at their own pace, and Kathy can go around helping everyone!
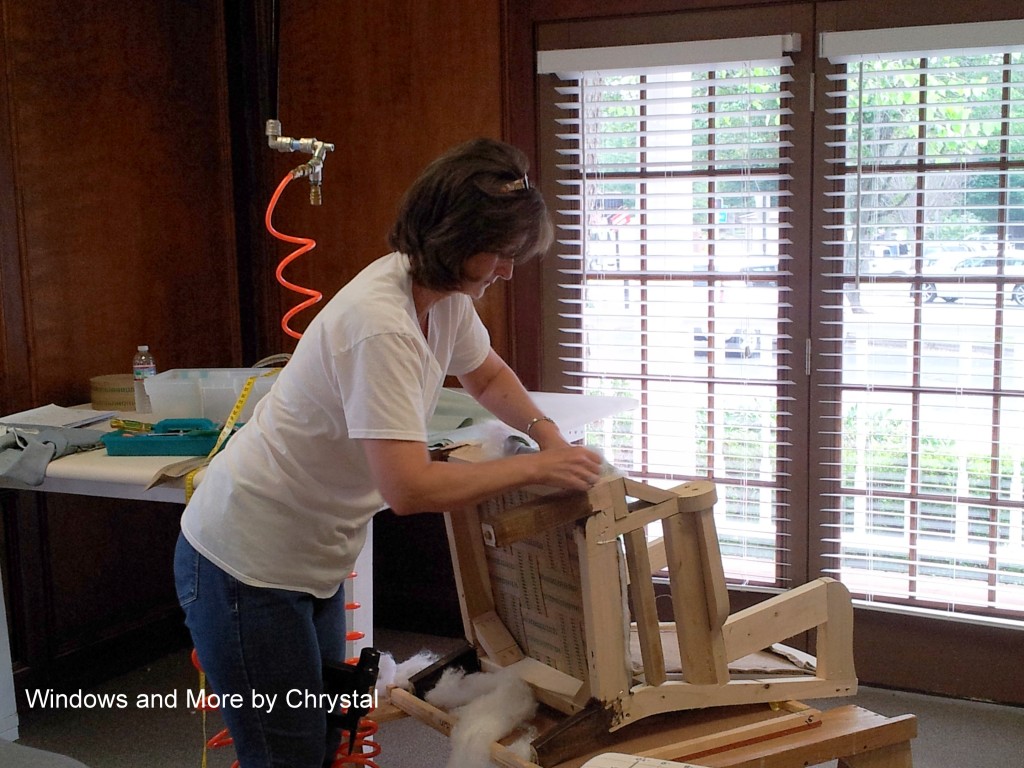
Cathy busy working on her chair.
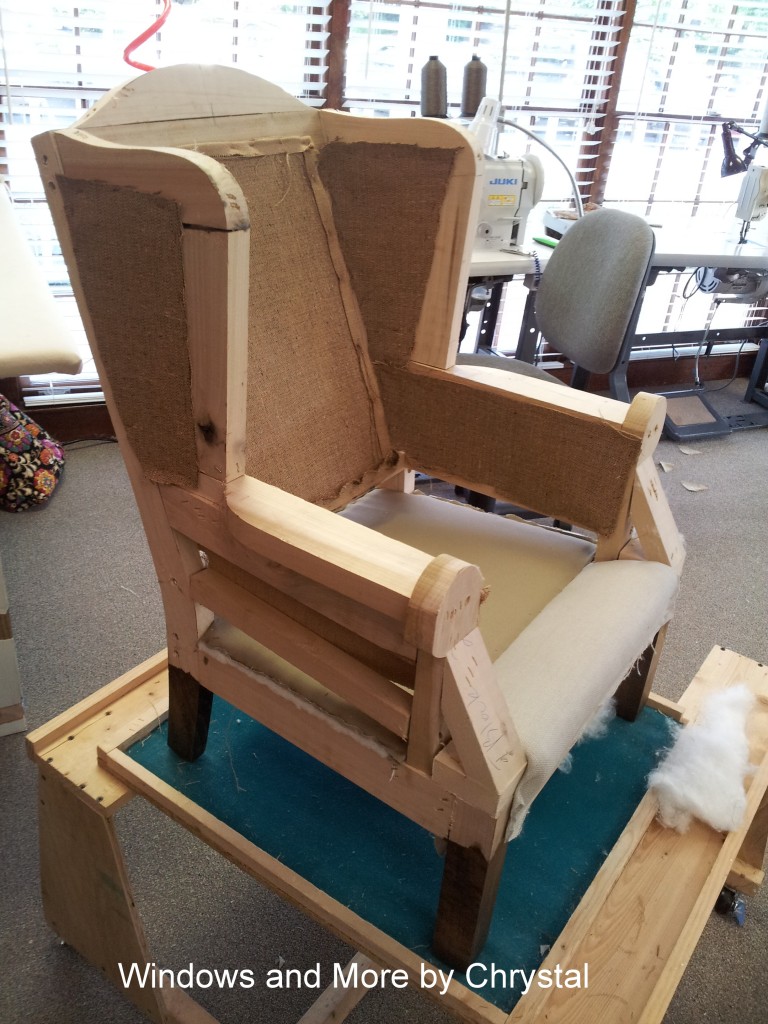
I got my front nose done and covered the open areas in the wings and arms. On to the next step.
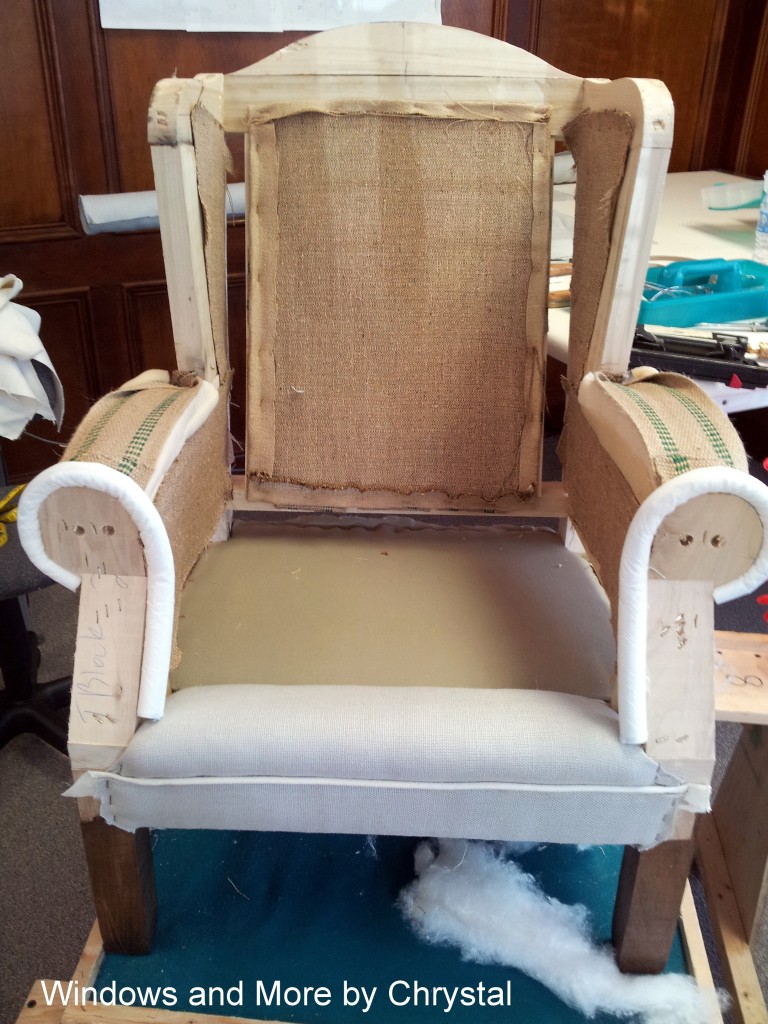
I added the front band to the front, and put on the edge roll on the key (which is the front of the arm). I then added foam to the top of the arms.
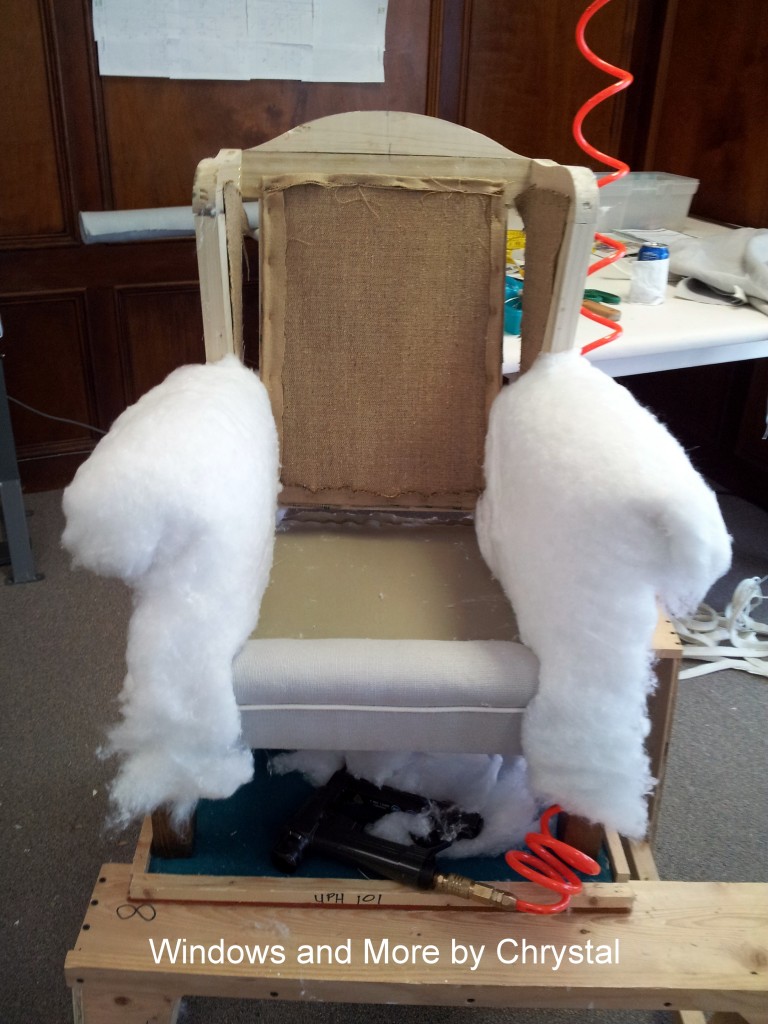
The next step was to add more foam and the batting to the arms. During this process I found another tool that I need to get!
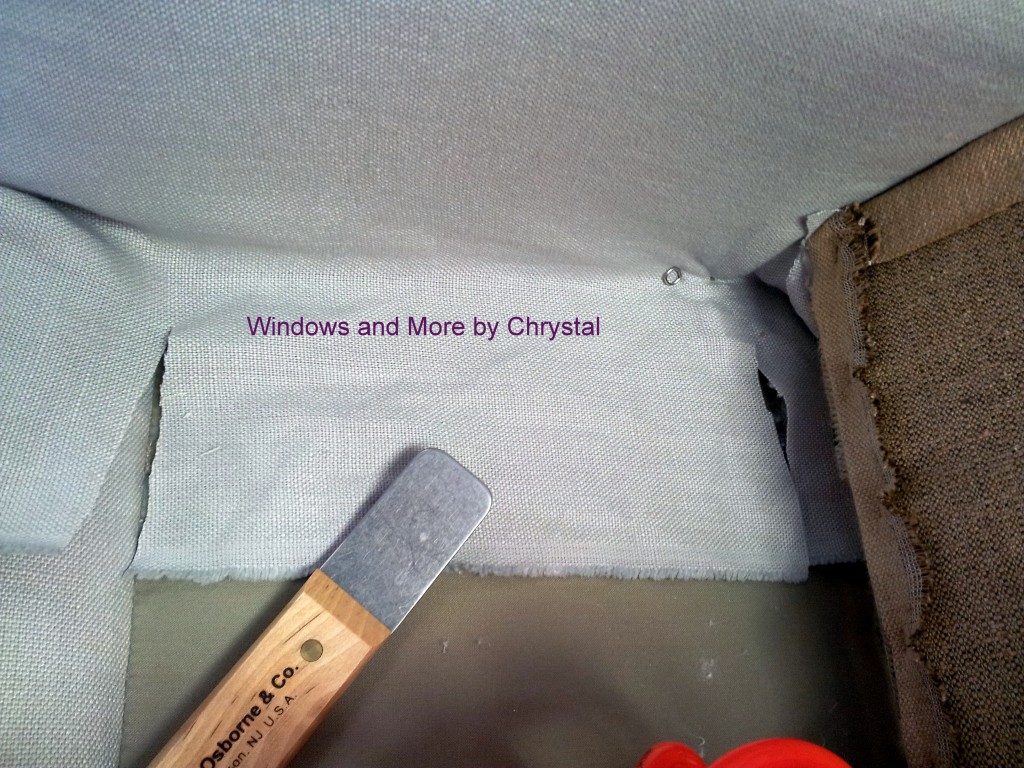
The rigid tucking tool! I can’t believe I have never used this before. It will save my hands, and I can use it for upholstery and slipcovering. Definitely a must have!
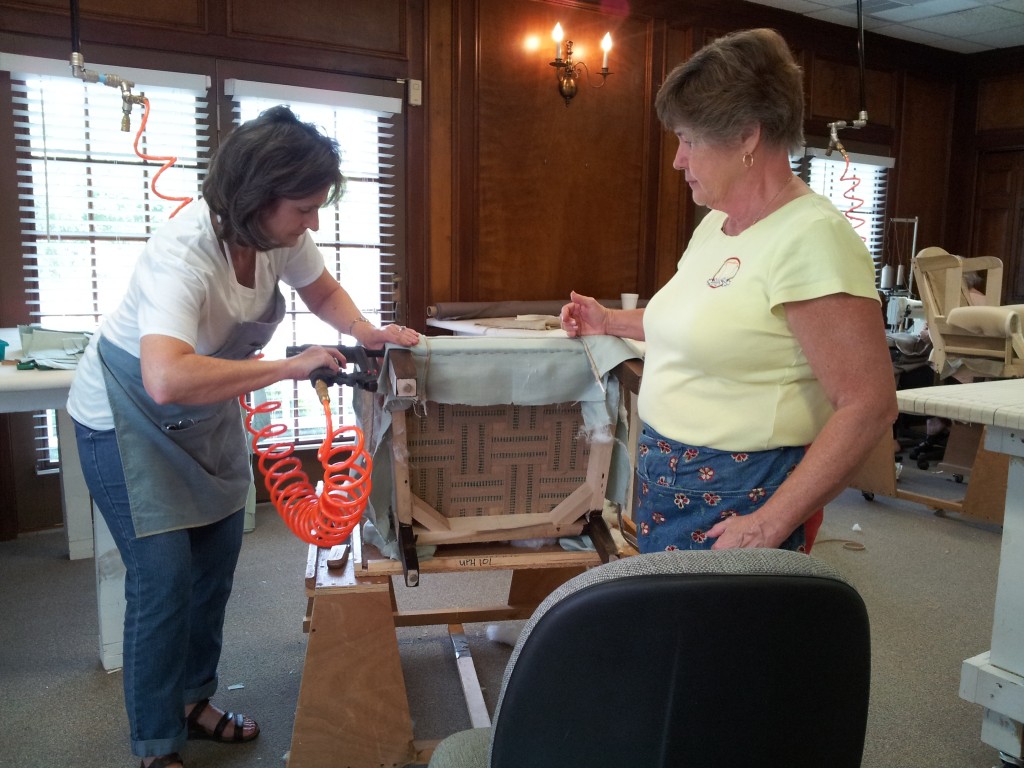
The two Cathy’s, one with a K, finishing up for the day.
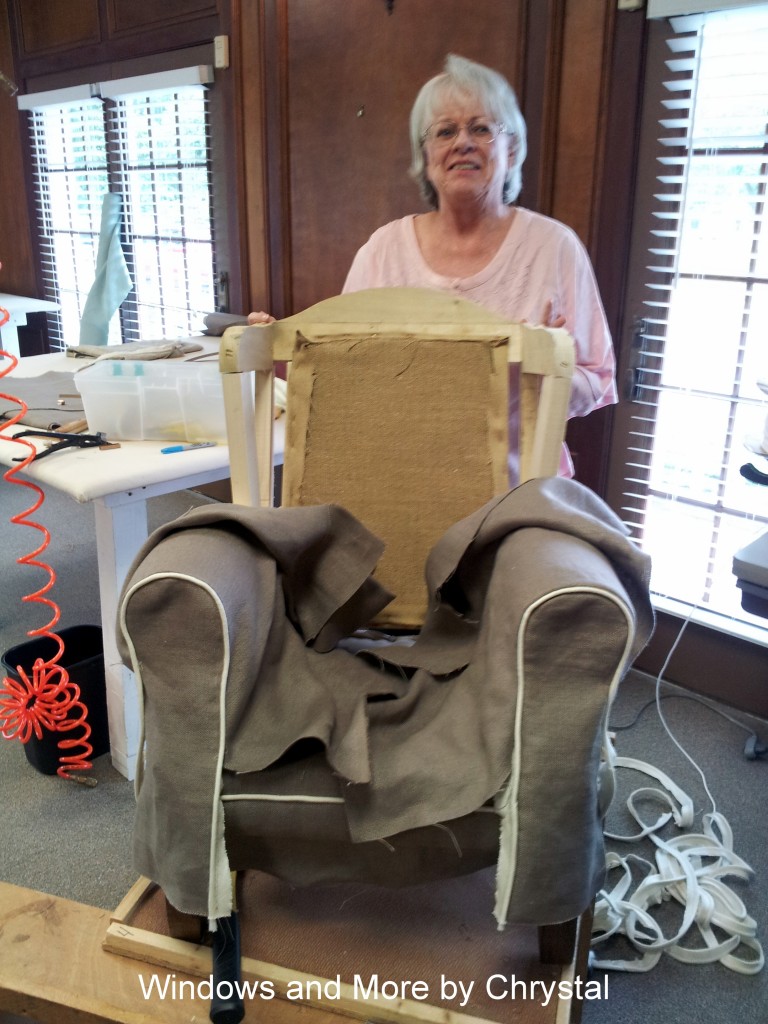
Alice’s chair at the end of day 2.
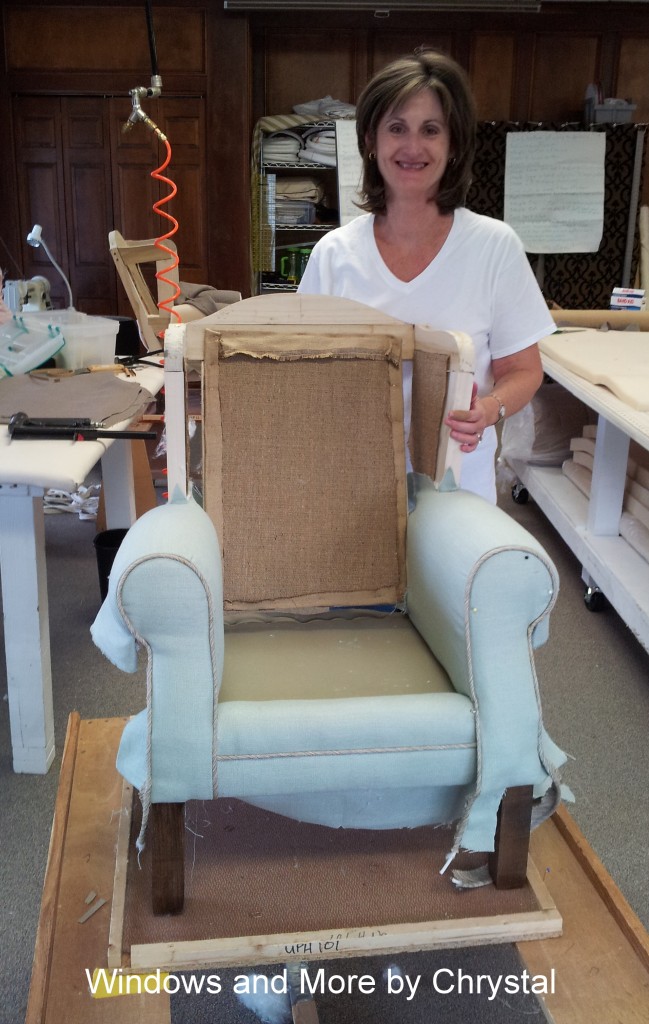
Cathy’s chair at the end of day 2.
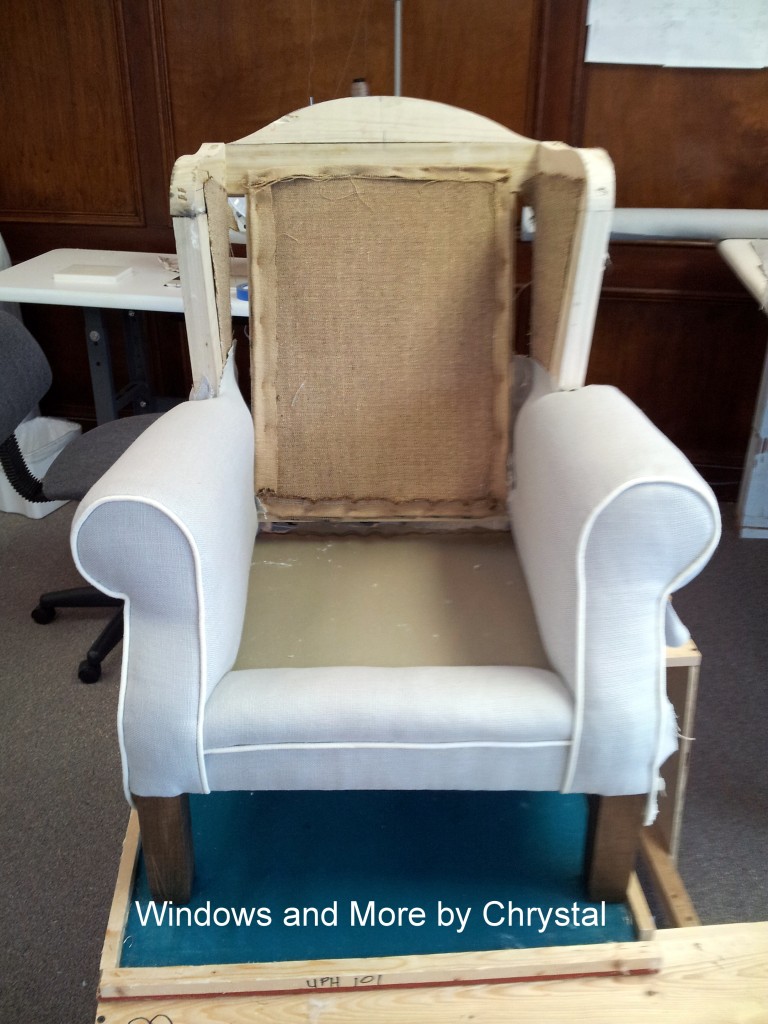
And my chair at the end of the day.
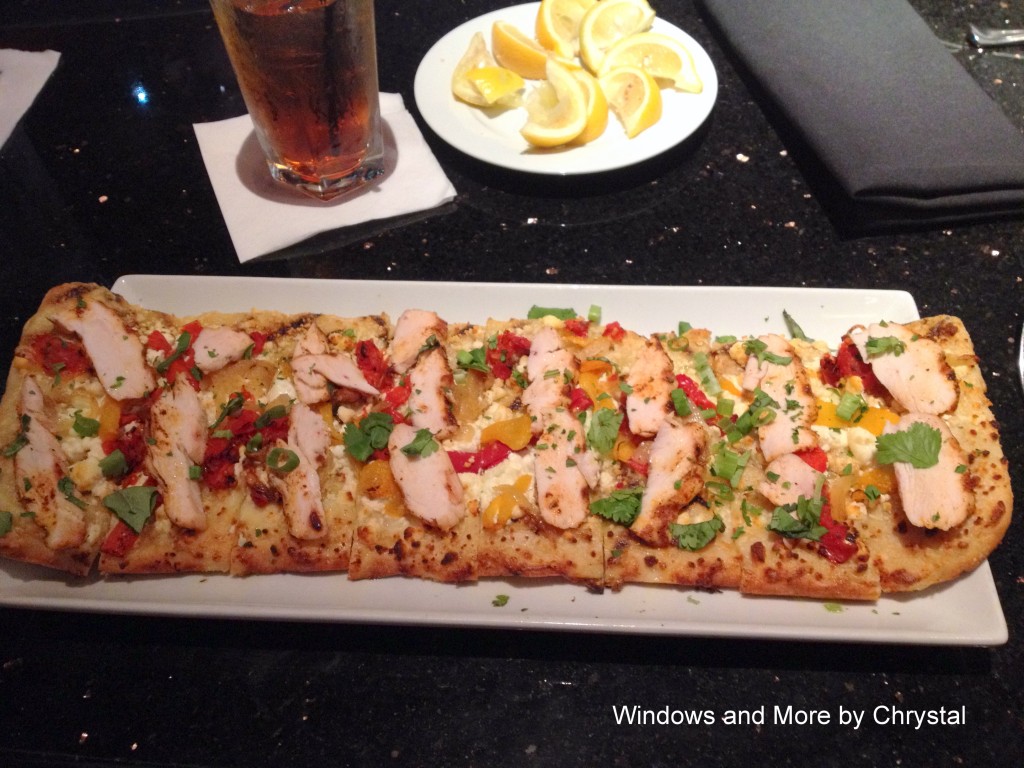
After we went out to dinner at Brookwood Grill. It was yummy. I had a pizza off the starter menu. It was huge and delicious.
Now on to day 3. Hope you stop by again!


Would love to hear from you!