
In last post I showed you these cornices along with the slouch draperies, the cornices by themselves, would have been kind of plain and simple, but the client found this beautiful trim to go on them which is what made the cornices.
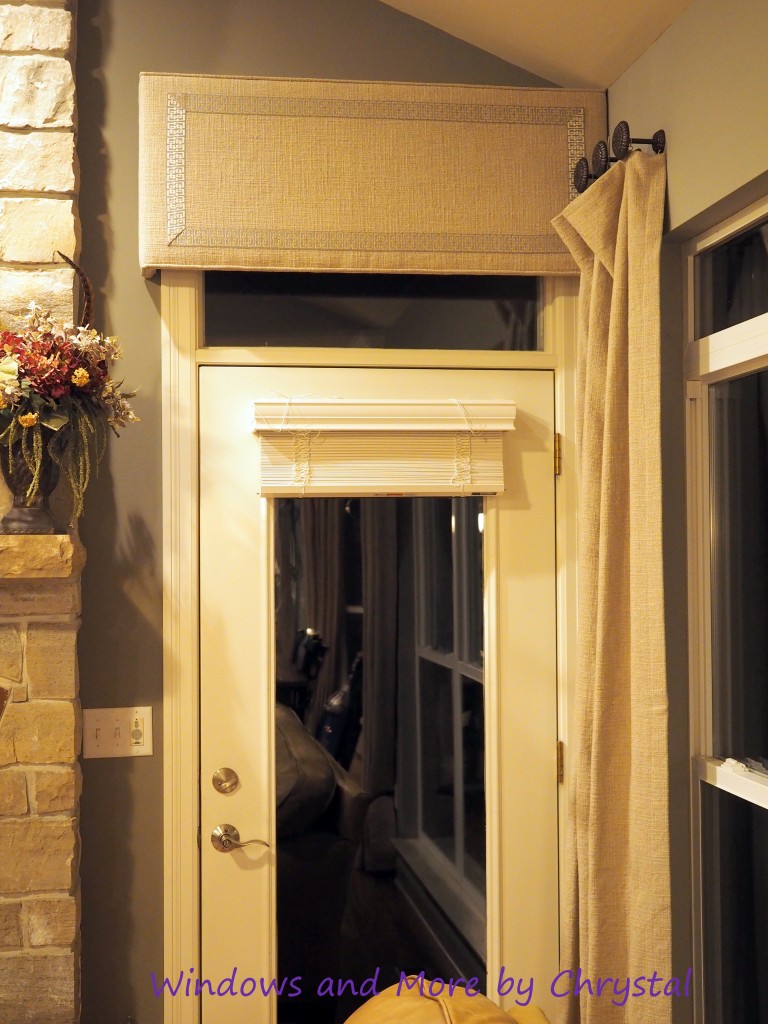
Just by adding beautiful trim to an ordinary fabric, changed the cornice from being plain jane, to something very elegant.
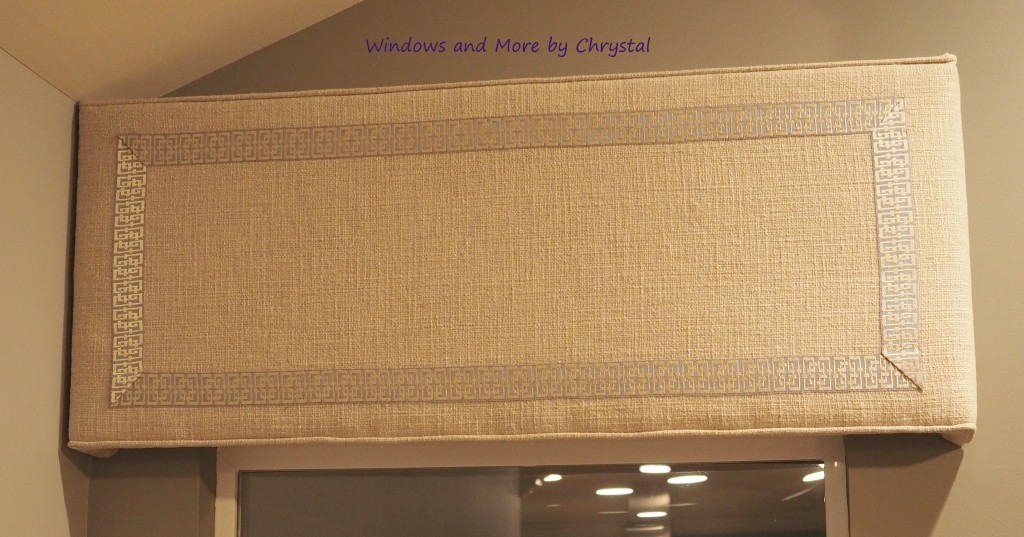
So I will show you how I achieved this look.
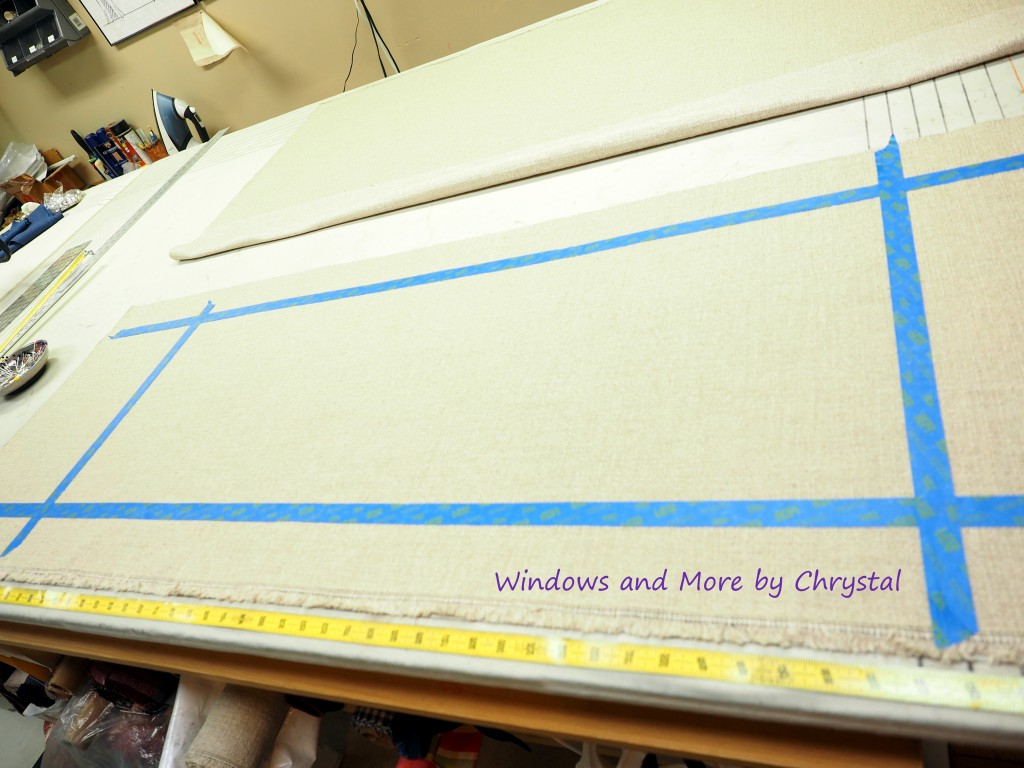
The first step is to lay out your fabric, smoothing it out so it is nice and flat. Then I use blue painters tape to lay out where the trim goes. You need to know the finished size of your cornice, how much extra fabric for wrapping around the edges and start doing the math! I am not very good at math, so I use a lot of rulers and measure a lot.
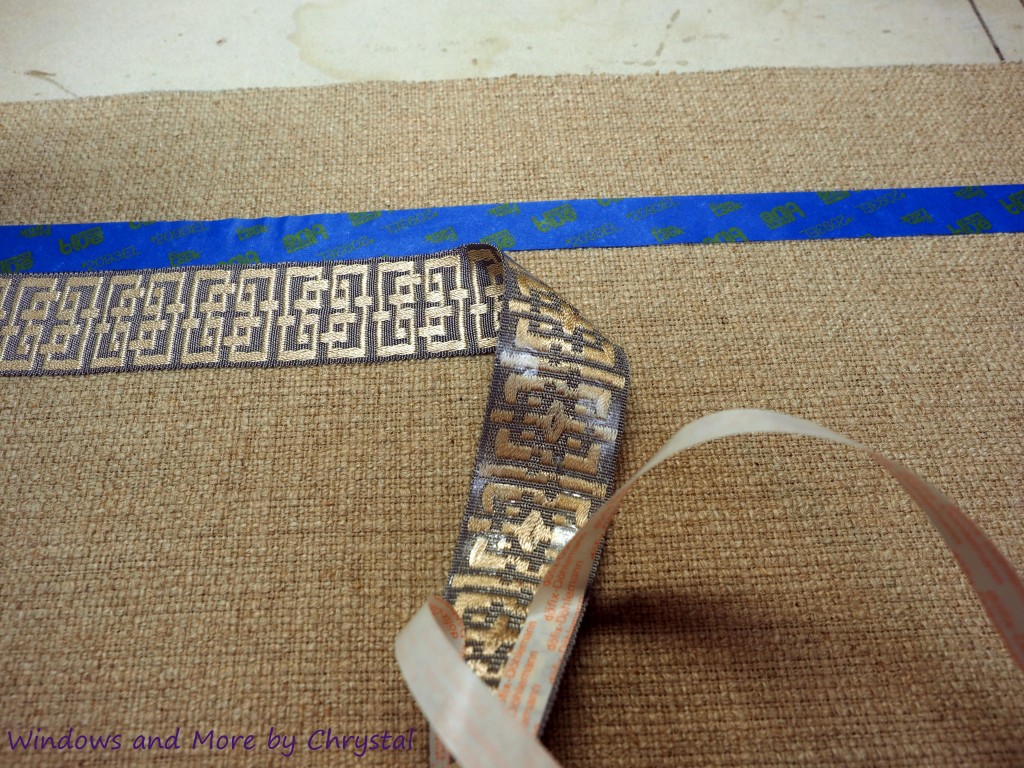
I then apply döfix Bortenfix hemming tape to the back of the trim, and then apply it to the fabric. I have also used Fringe adhesive (fabric glue) before, but in this application I prefer using the tape. You do need a lot of steam to apply it and I have a reliable boiler iron that provides that.
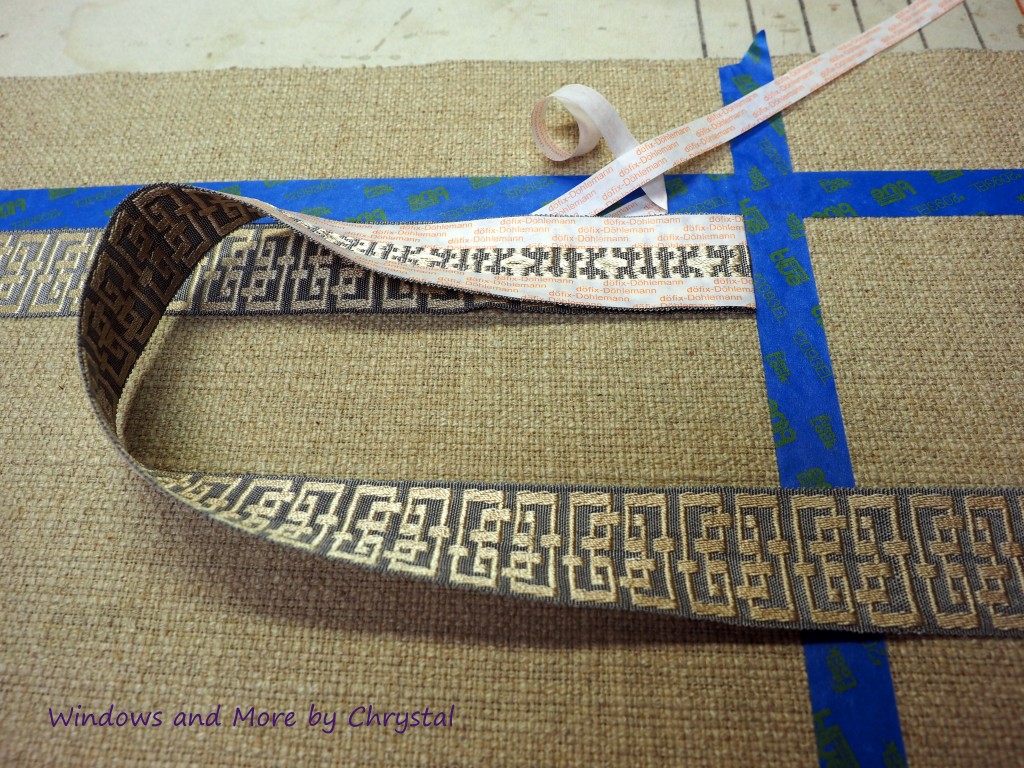
The trick to making the trim look good, is to do a miter corner. So I snapped some pictures to show you how I do a miter. Before I completely glue down to the corner I fold back at the corner and press in the fold, leaving the paper on.
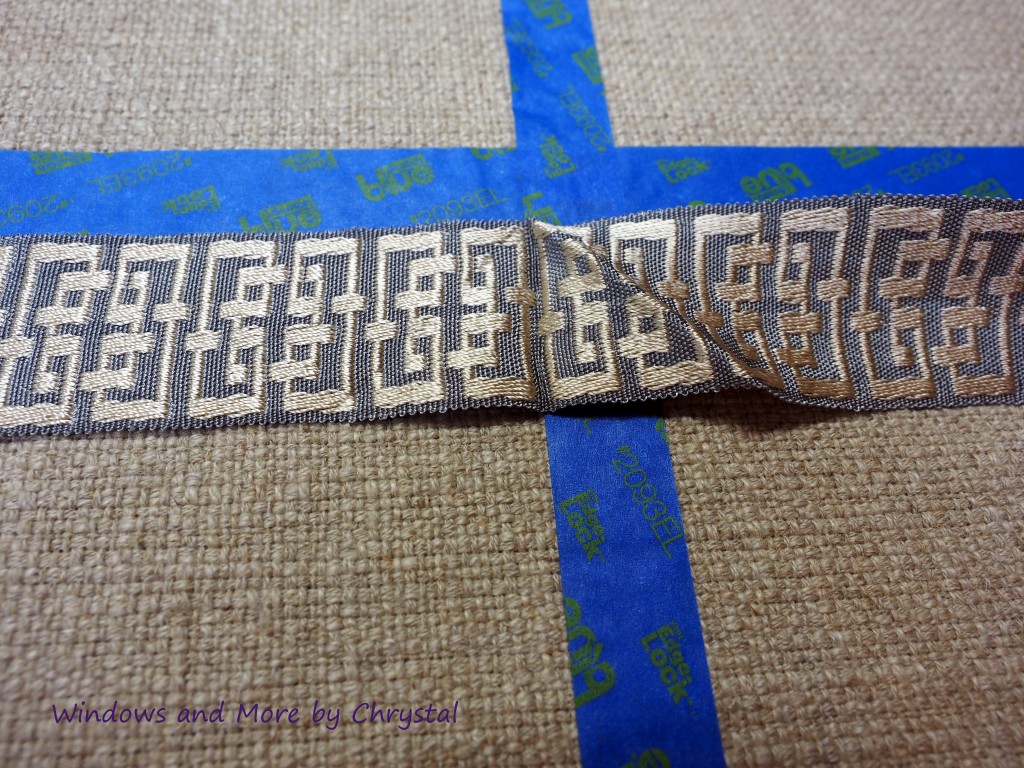
Then I make the miter folding at a diagonal, making sure it lines up and press again.
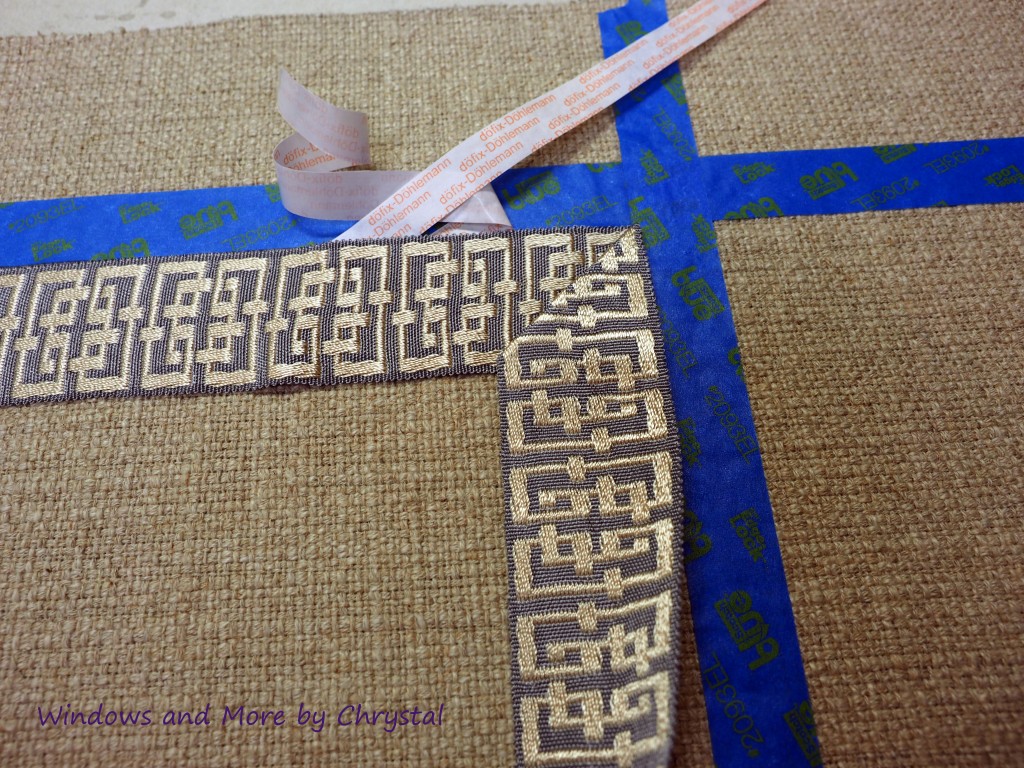
I then take off the paper and give it a lot of steam. Before I do all this steaming I will warn you that you should test a portion of the trim to make sure it can handle the heat and steam. If not that is when I would use the fringe adhesive and let it sit overnight.
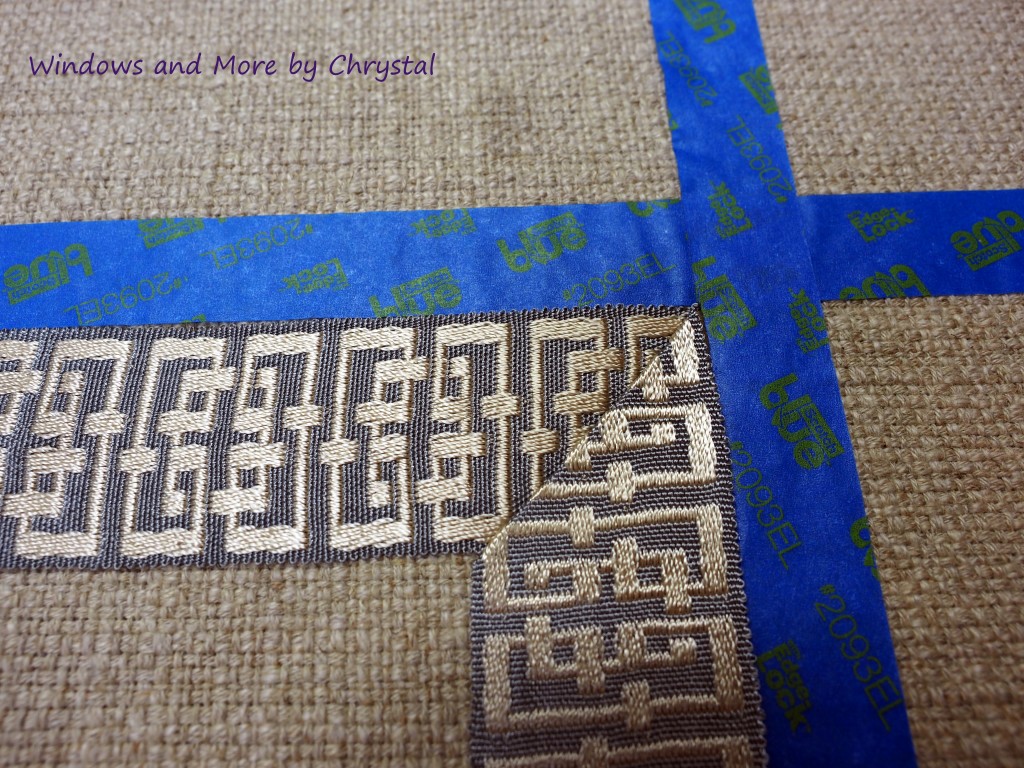
The perfect mitered corner.
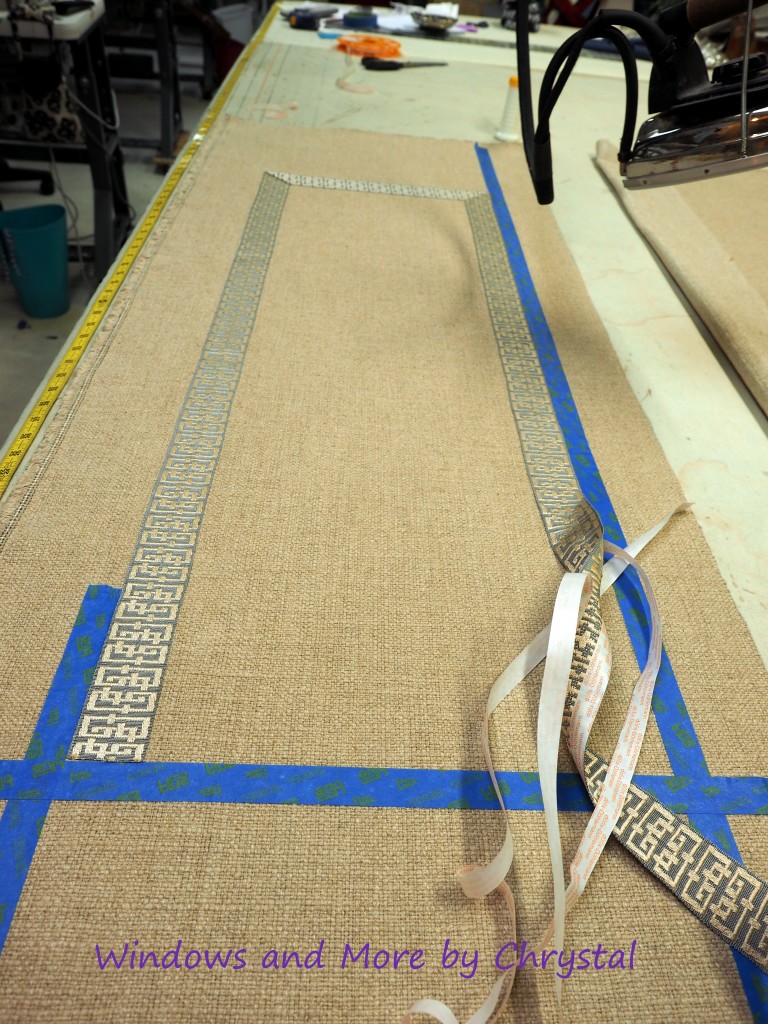
I then continue around all four sides making my miters and removing the blue tape.
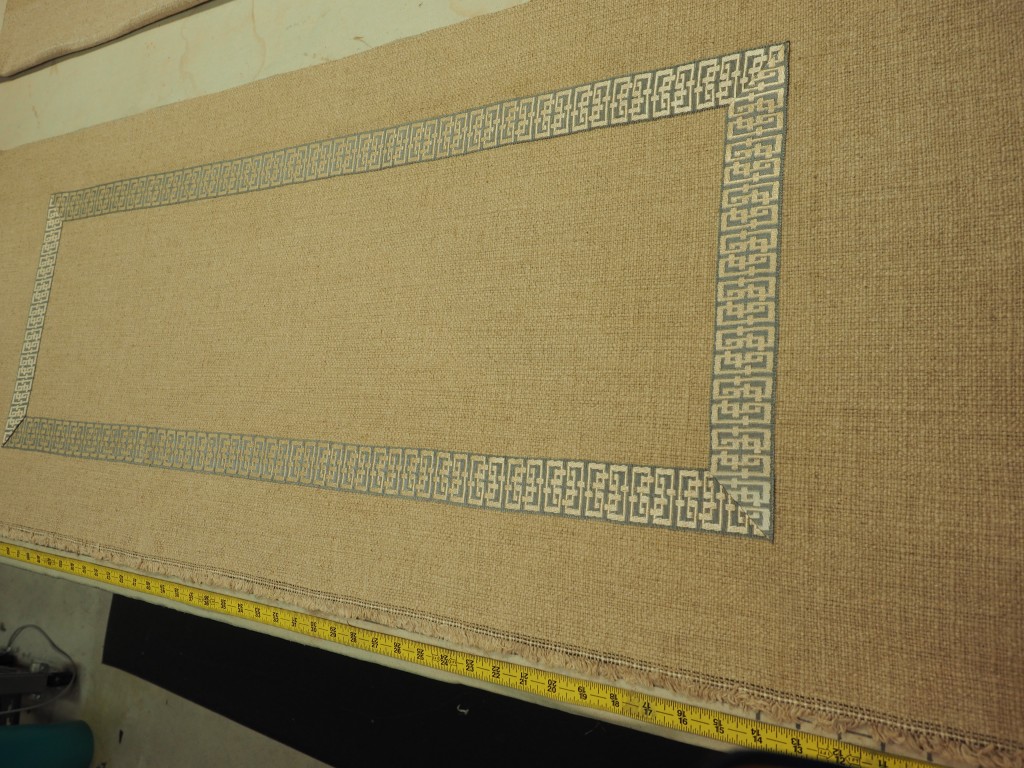
Until you are done!
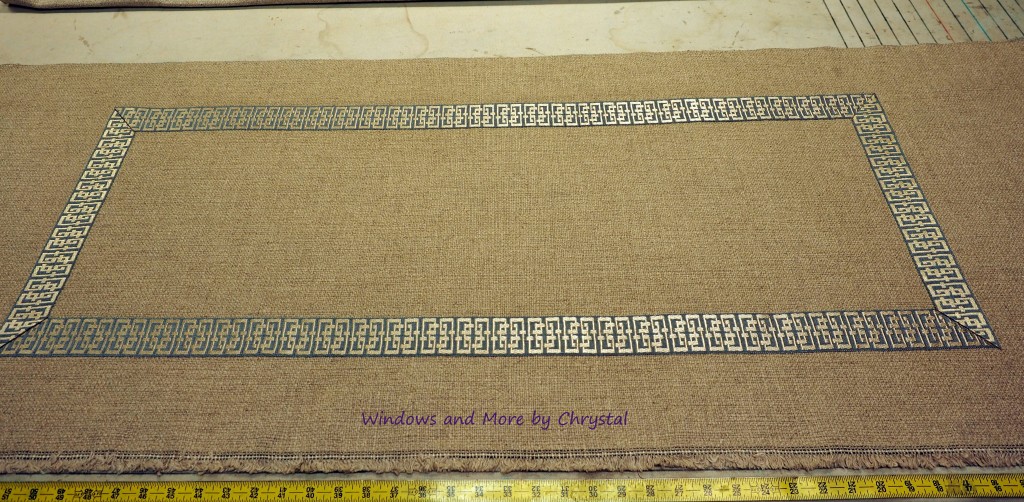
I then finished the cornice and the result was a very happy client!

I also used the same method for the pillow I made them.
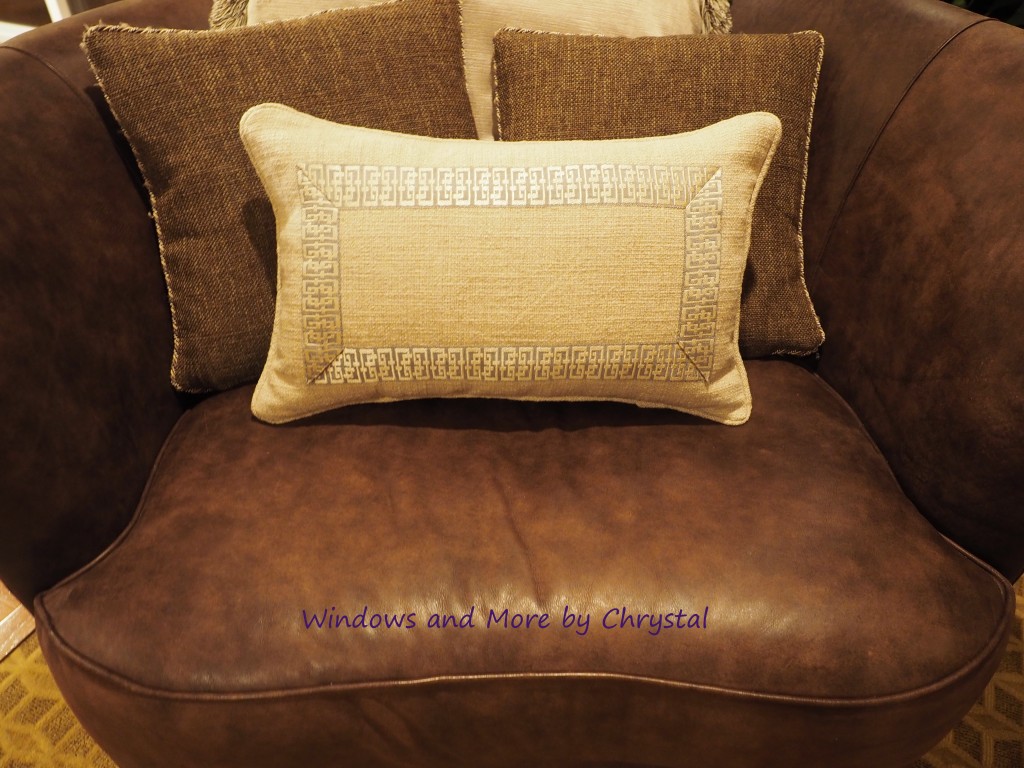
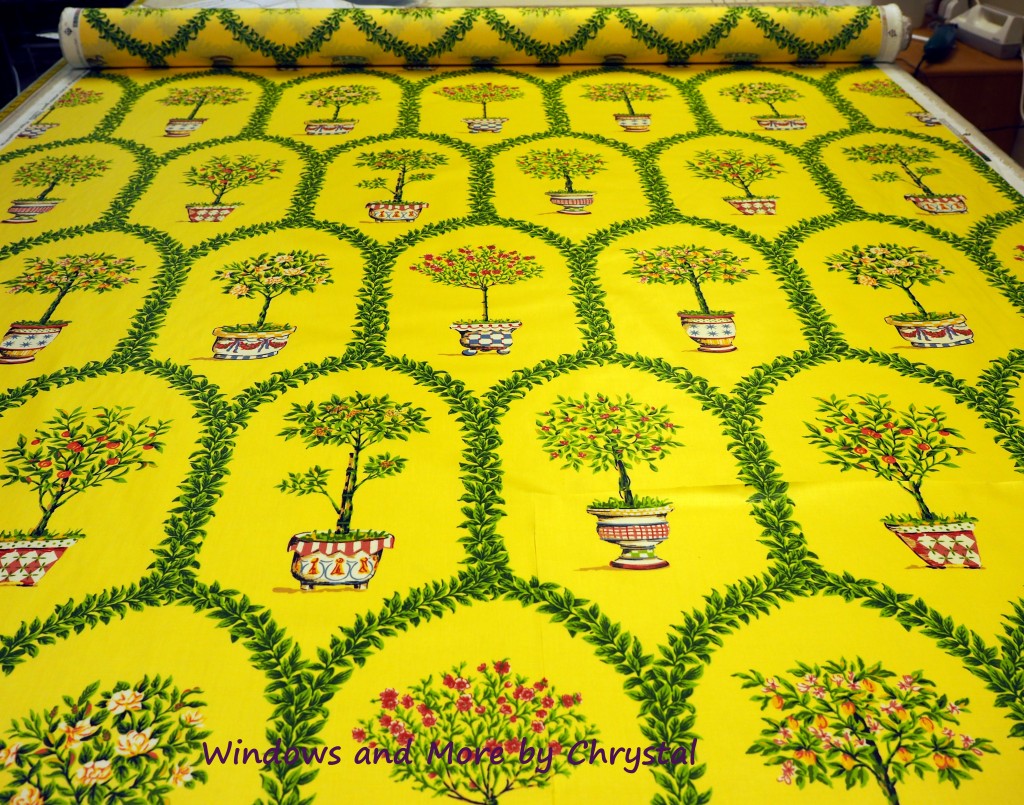
Once again, thanks for stopping by, and I will be back with another project I did this summer with this Fabric!


Would love to hear from you!