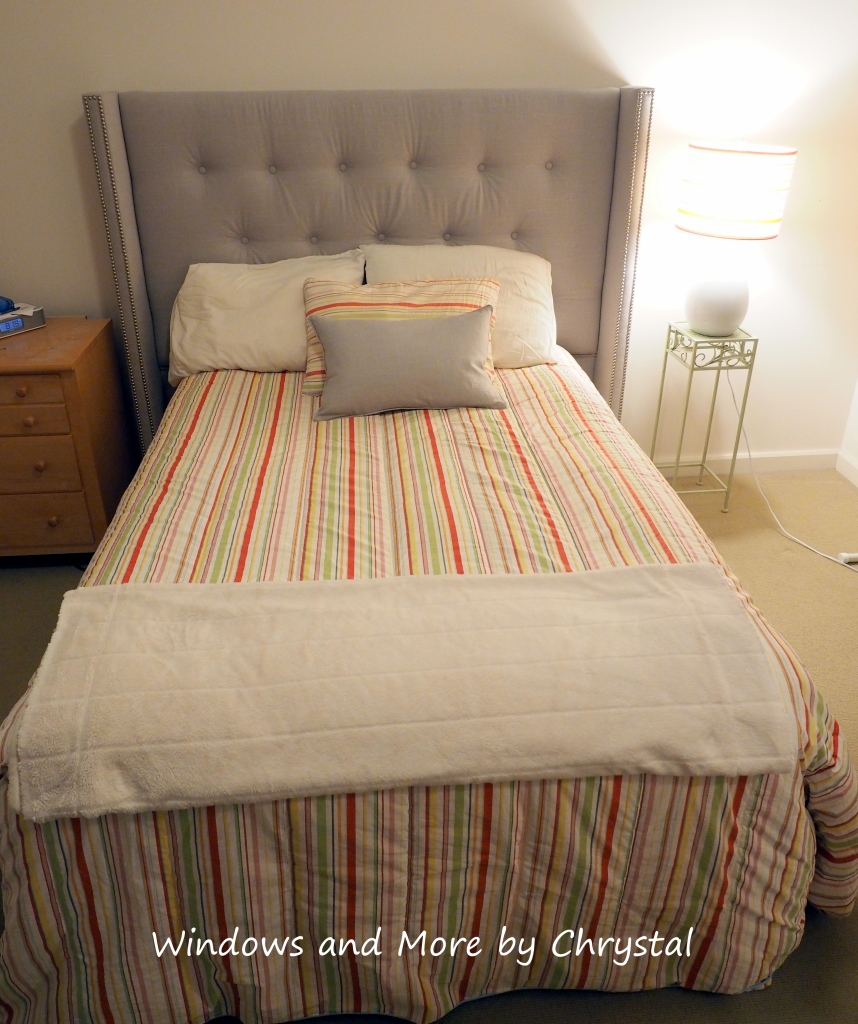
A while back I promised my niece Sarah that I would make her a headboard when she passed all her CPA exams. I found a couple of examples on Pinterest and sent them to her to look over and she decided on this one. Well she passed the exams, but we both got busy and time passed. Finally I pinned her down, she cleaned her apartment and her mom and I went to the apartment with fabric books, and the nailhead sample pack. We measured the bed, and decided on the height and also she currently had a full size bed, but would eventually be getting a new bed and it would probably be a queen. We selected a beautiful silvery grey linen fabric and a Brushed Nickel upholstery nail. I ordered the fabric and waited for a few days to open up in my schedule, which happened to be over the Thanksgiving holidays.
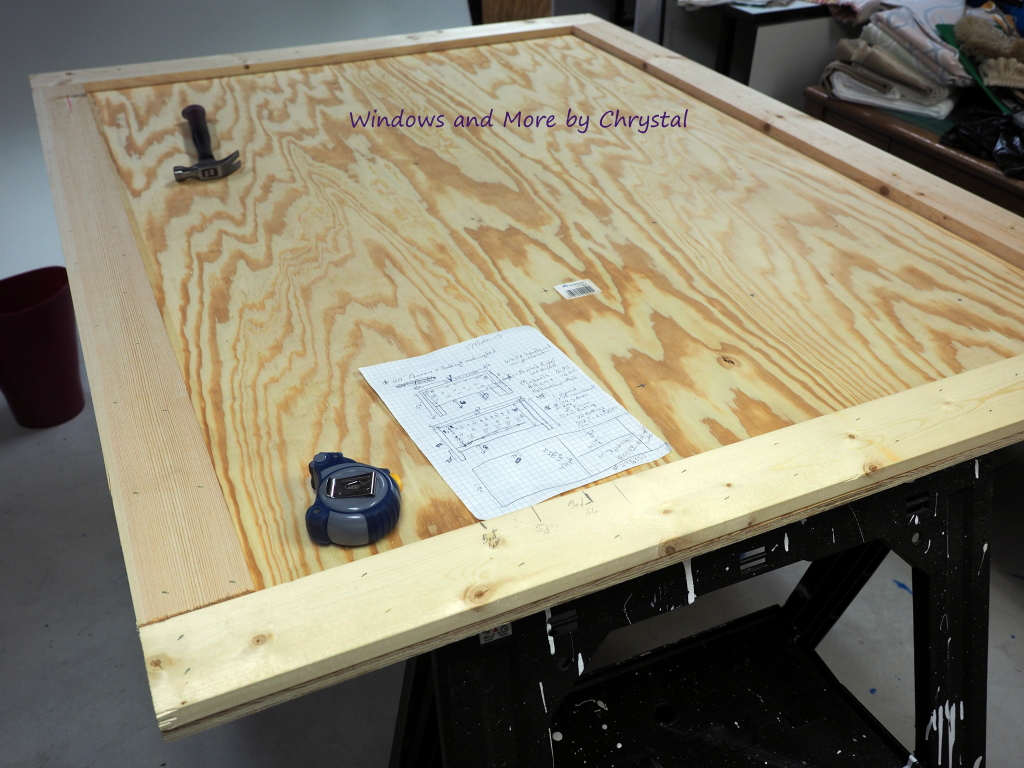
I started with a plan, if you look closely you can see my very rough drawing and how I am going to space the buttons. I also plan out how much fabric I need and how I am going to lay it all out. I use a 3/4″ – 4×8 sheet of plywood and cut it to size. I decided to use the whole 48″ and cut the width to 62″ to accommodate a queen mattress and frame. Then I put 1 x 4’s all the way around it to stabilize the plywood. I did not add legs to this one, because we are going to put the wings on it later and that will be the legs.
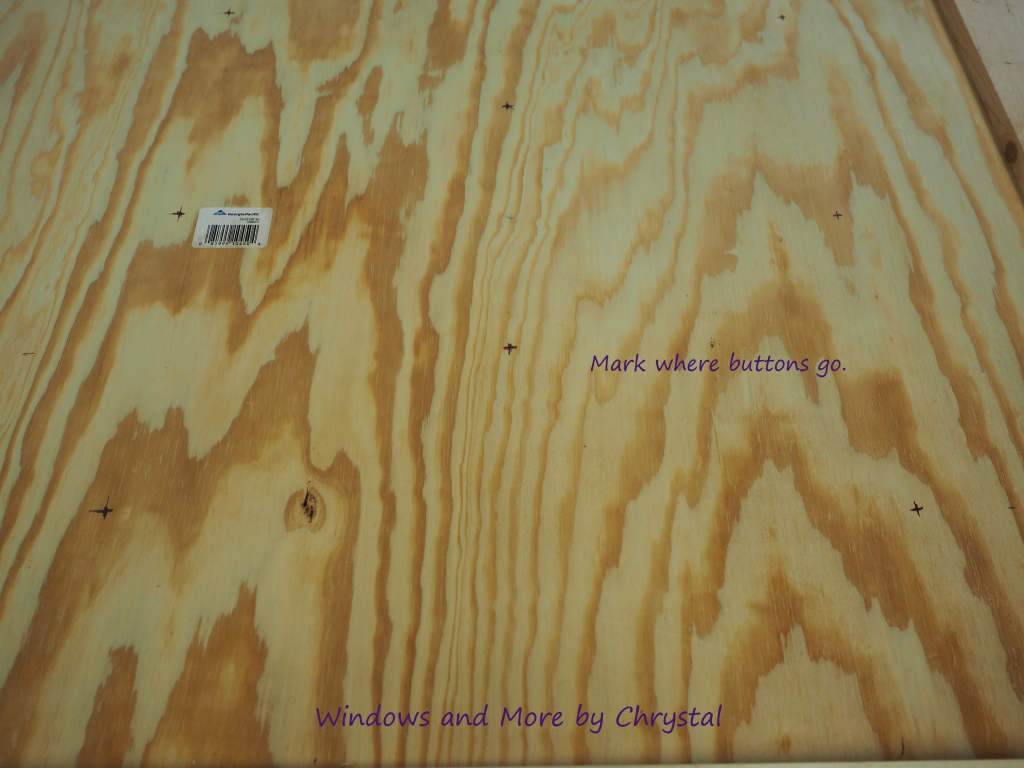
I then measured and marked where I would drill the holes for the button tufting.
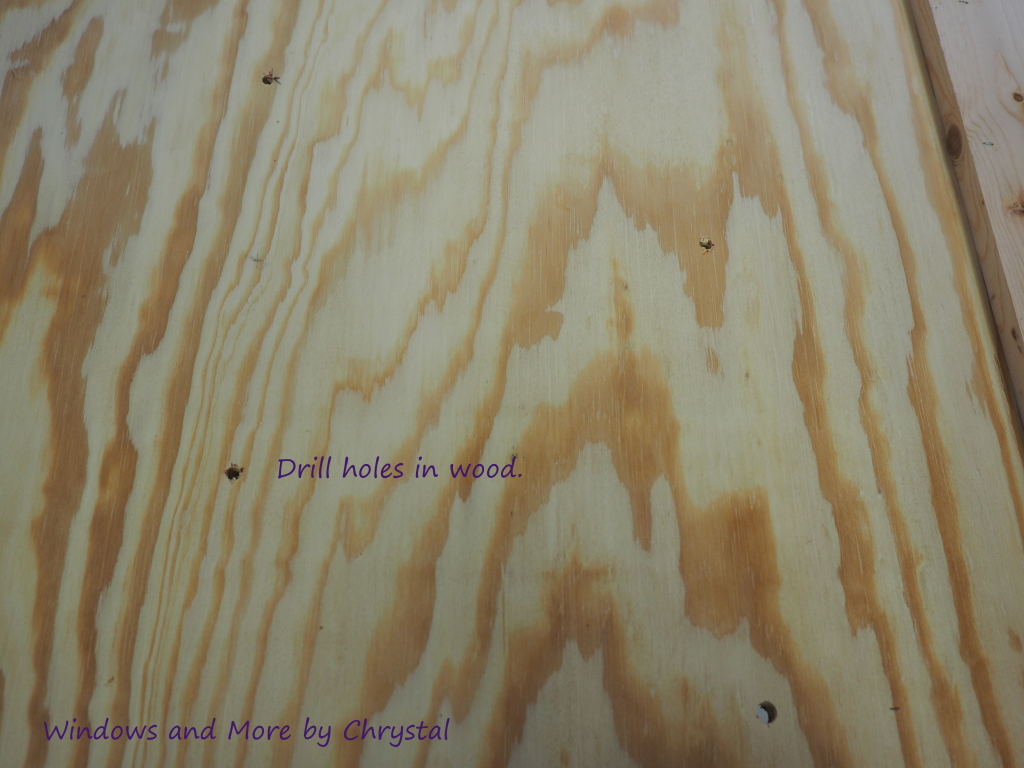
I then drilled the holes, I drilled pretty good size holes so it would be easier to find them with my needle later on.
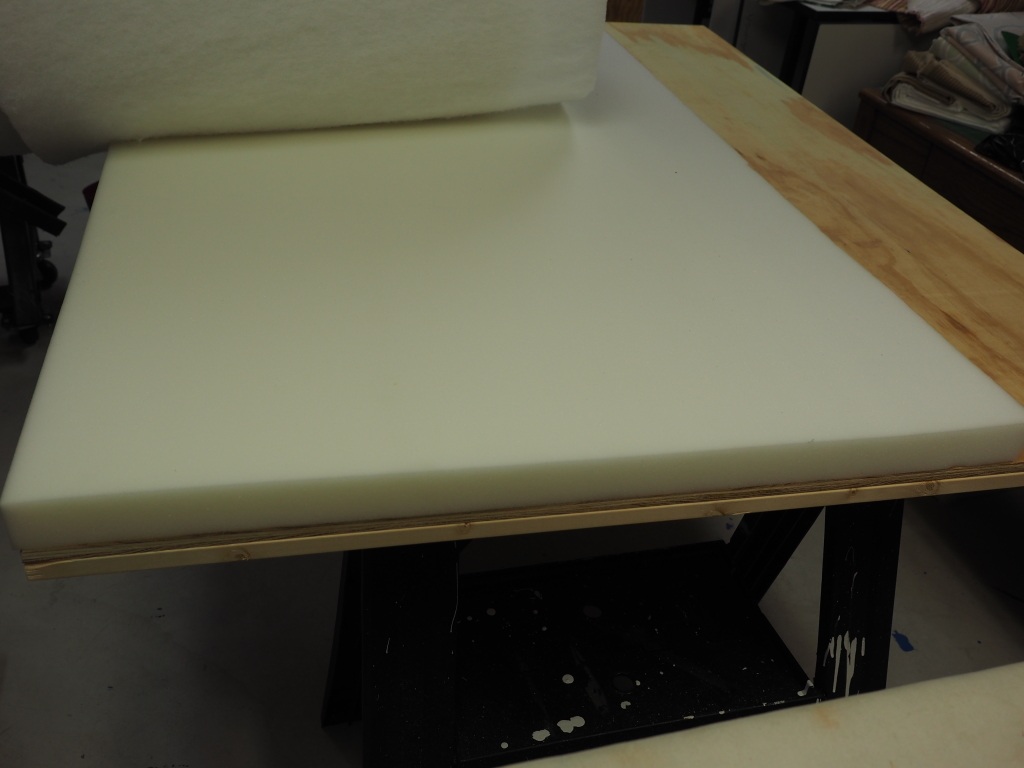
I then used a sheet of 2″ foam that I ordered from Albany Foam Co. They have a Twin mattress size piece that worked perfect. I didn’t put foam on the bottom part of the plywood, this area will be where the mattress fits up against the headboard. There is a lot of math figuring that goes into this and I am not including them, mainly because it depends on the height of the bed, and how high you want the headboard. This headboard was 58″ high and the bed set at 23″. So once I add my wings to the sides it all works out!
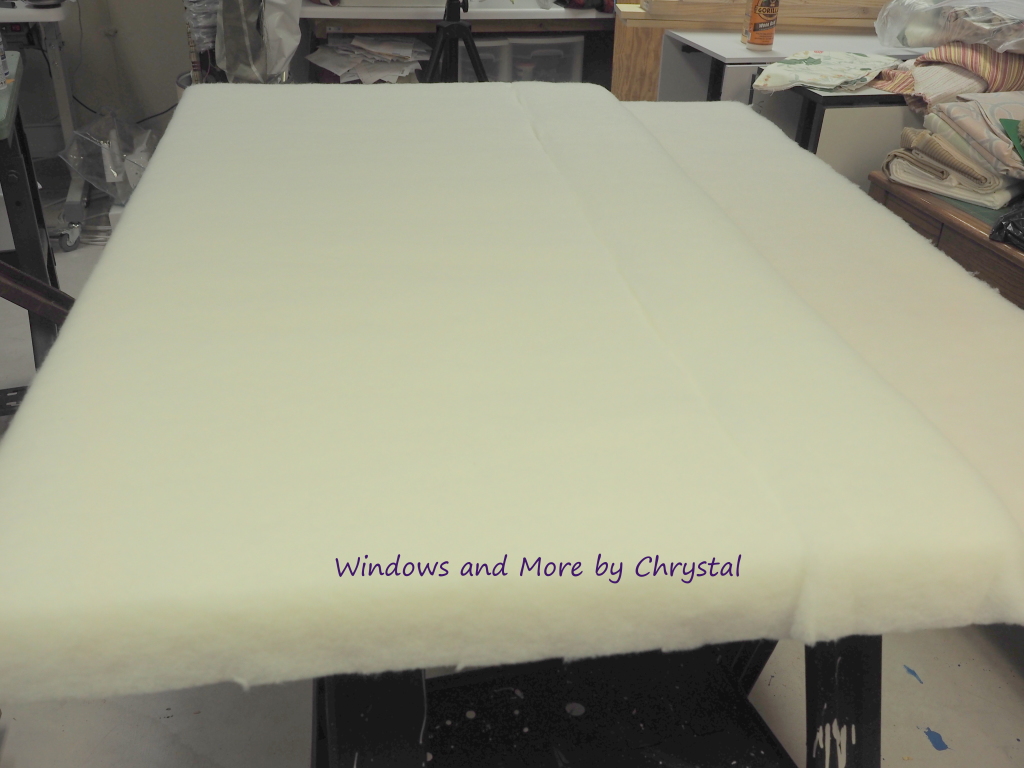
I then add a layer of batting over the whole thing, trimming it so it is even with the edge, no overlapping to the back. I spray it down with adhesive to keep it in place, smoothing it down and over the foam to cover the bottom of the plywood that didn’t have foam on it. It did take 2 widths of the batting, if you look closely you can see the where they are joined.
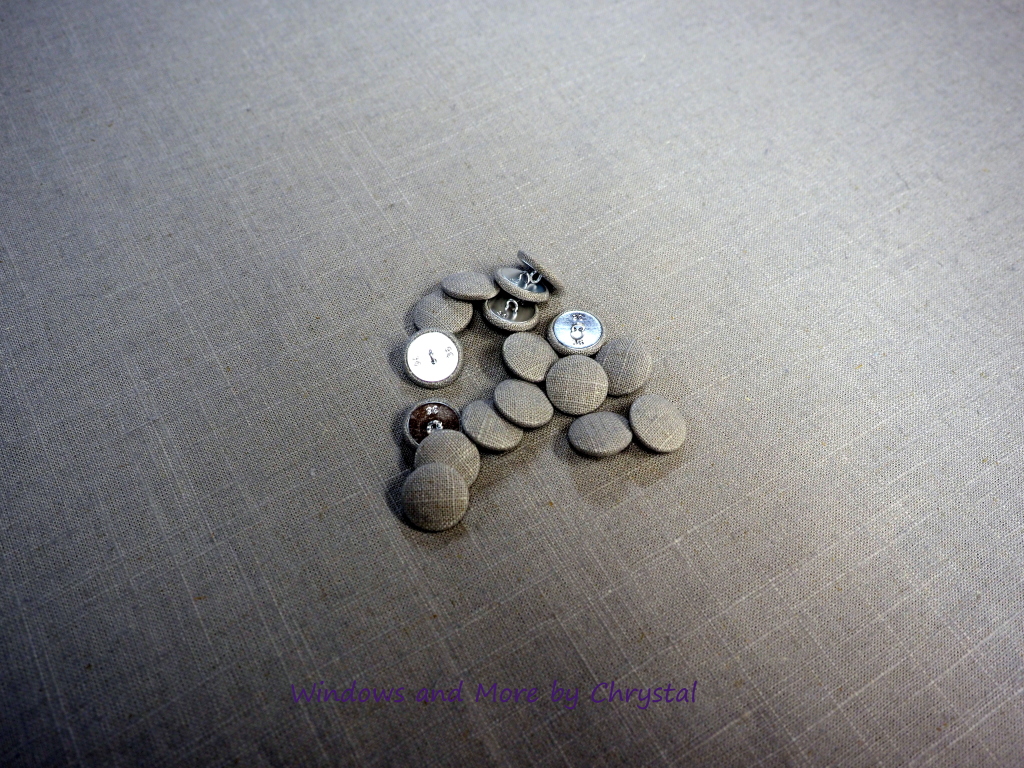
I then covered the buttons I would need with my button/grommet press. I am a visual person, so I laid a couple of sizes out on the headboard and decided on the 3/4″ buttons.
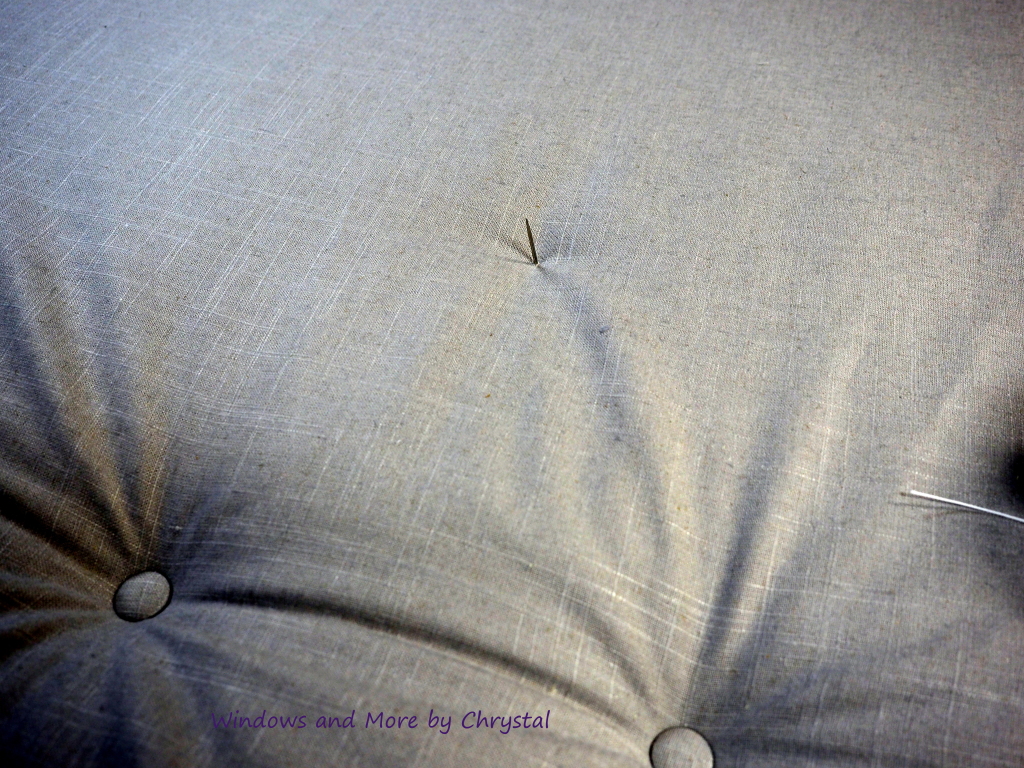
Just to explain, this is not deep tufting, it is what I call button tufting. If you want the real deep tufts, that is a whole different technique. With this method I have not attached my fabric yet. I start in the middle of the headboard, and poke the long tufting needle up thru the hole I drilled in the back. (I have the headboard laying on a couple of saw horses while doing this)
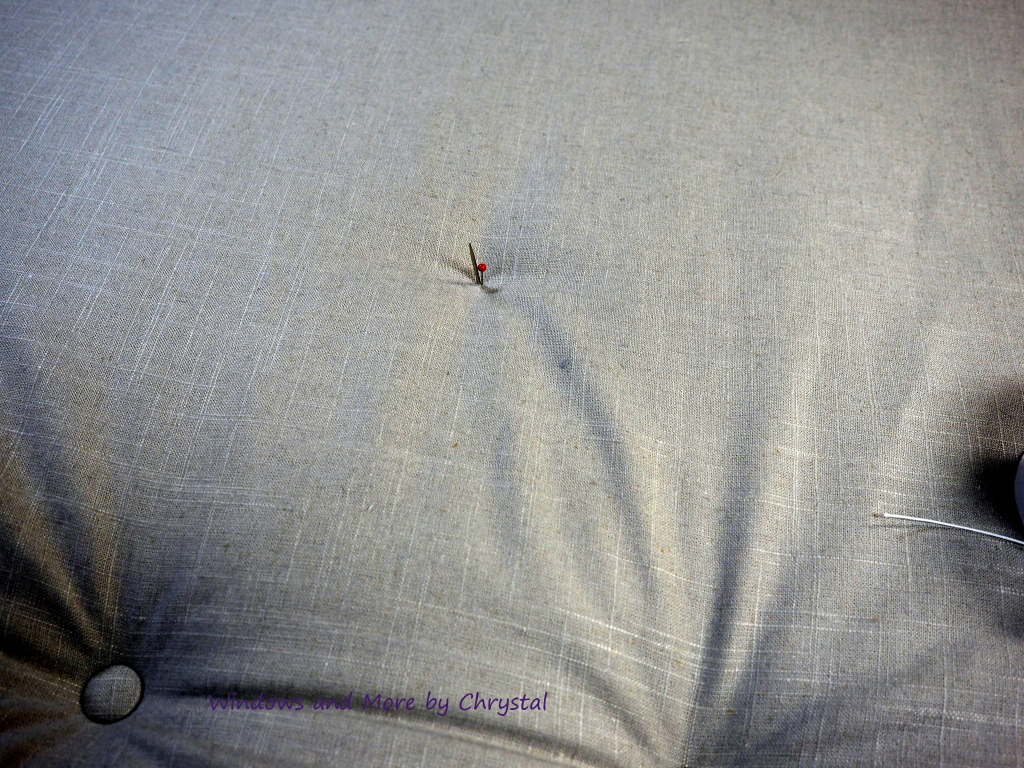
Once I find where the button goes I mark it with a pin.
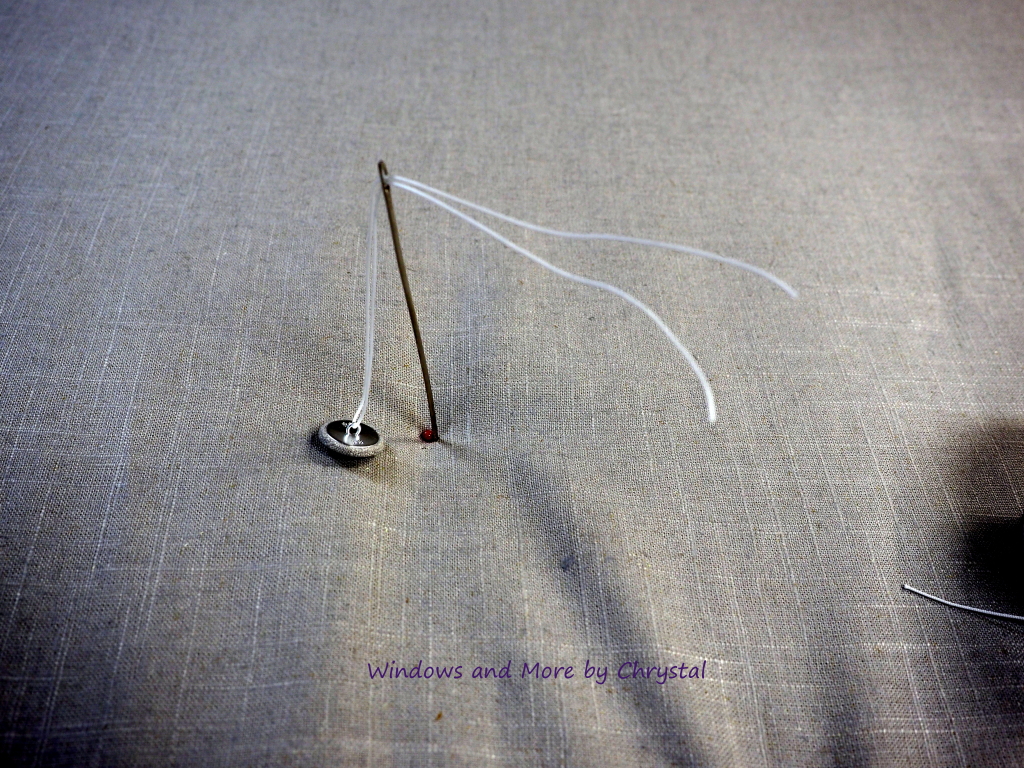
I then thread either button twine or here I used shade cording, thru the button back, tie a knot and then thread both cords thru the needle and pull it down thru the headboard. At this point I have to push the button down and manuever underneath to staple it on the back. I usually have someone help me with this.
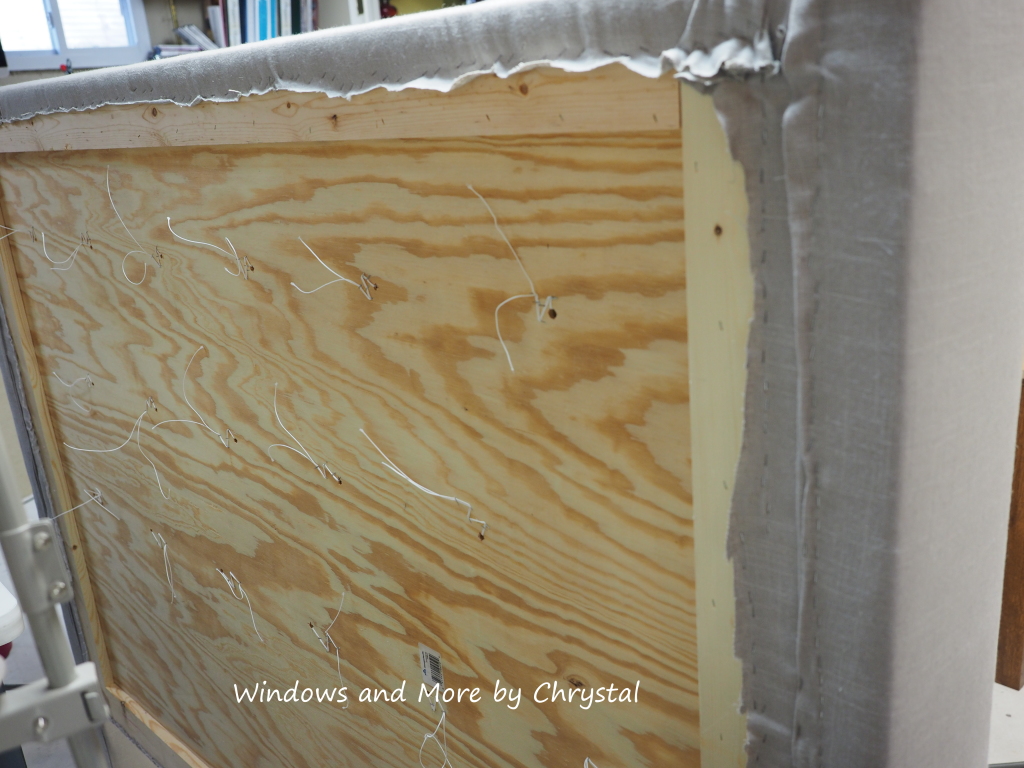
I staple in a zig zag pattern. On this headboard I couldn’t get anyone to help me until the last row on the bottom, so if you look closely they are tighter than the top 2 rows. But I decided not to go back and redo. After I tufted all the buttons I attached the fabric around all the sides.
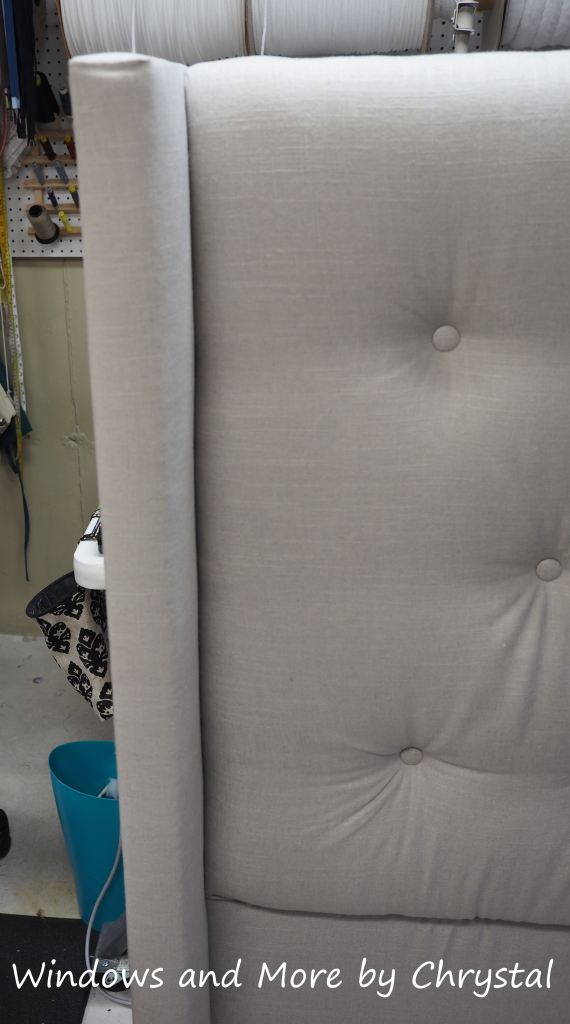
So I forgot to take pictures of the making and attaching the wings. I did use Sarah Dorsey’s instructions on how to build and attach them to the headboard. I did make one change. I used 2″ foam instead of 1″ so I increase the size of the wings to 8″.
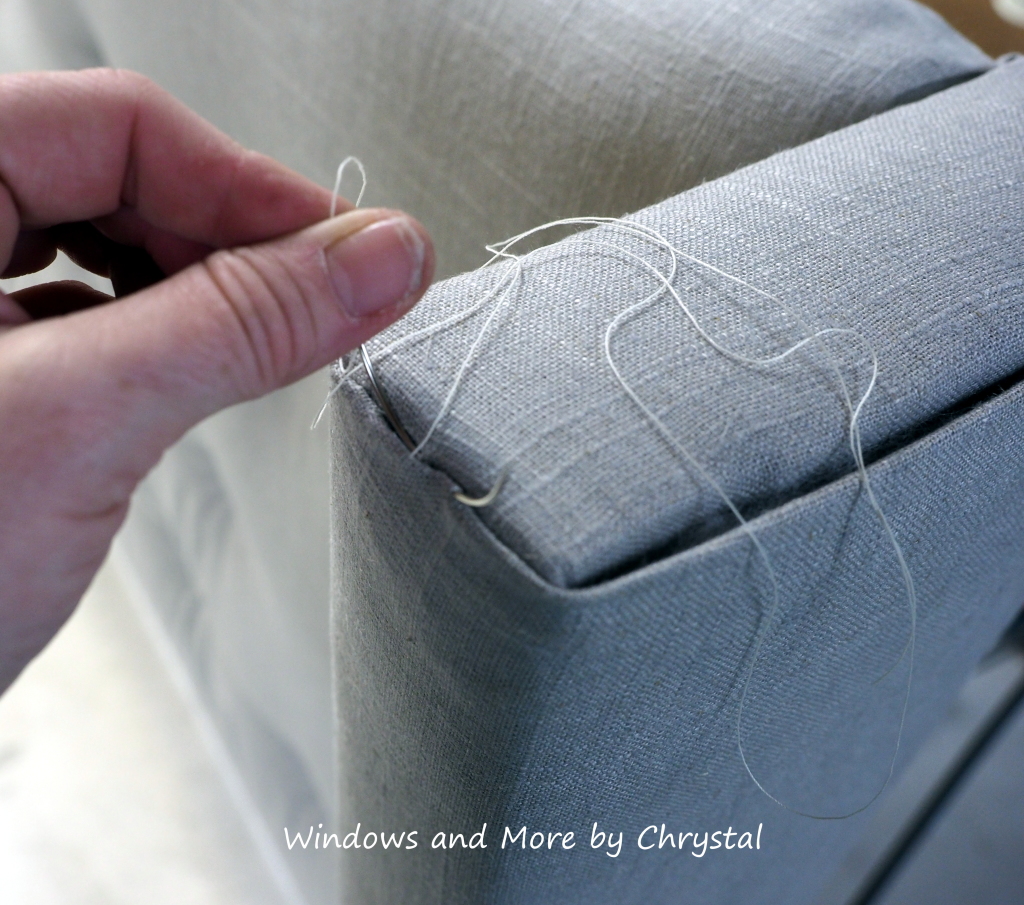
In her instructions she folded the fabric over and stapled to the back, which I did, but I wanted to give it just a little more custom touch. So I used the curved needle to close up the top.
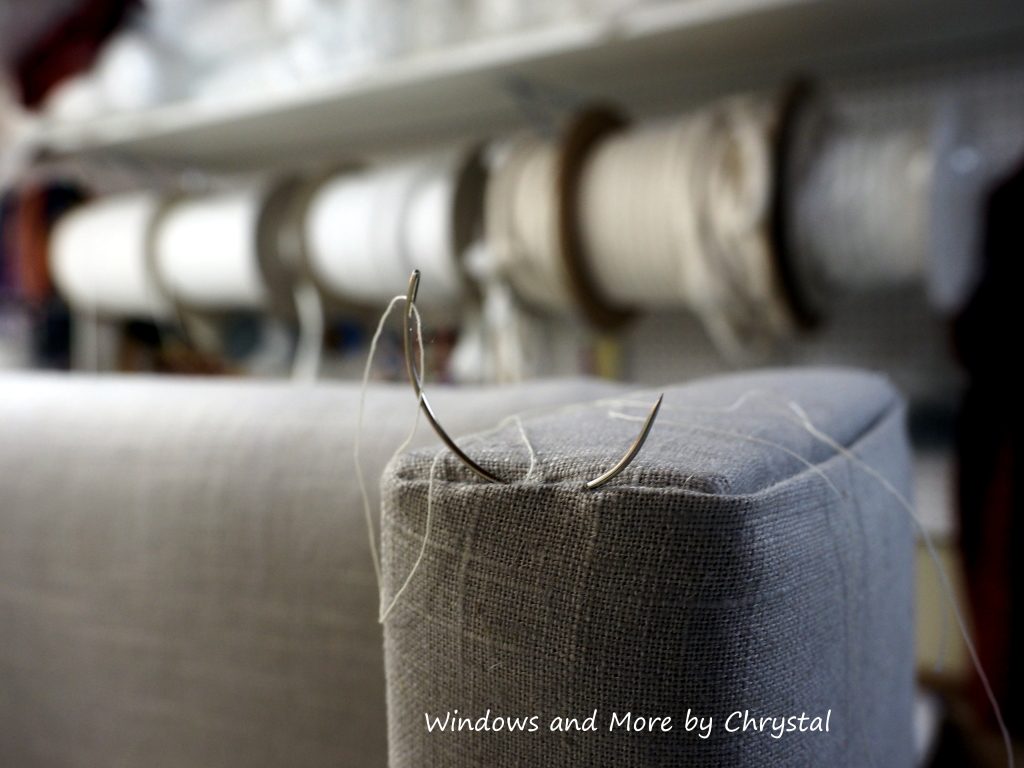
I learned this technique this summer at my upholstery class, so it was good to use it again.
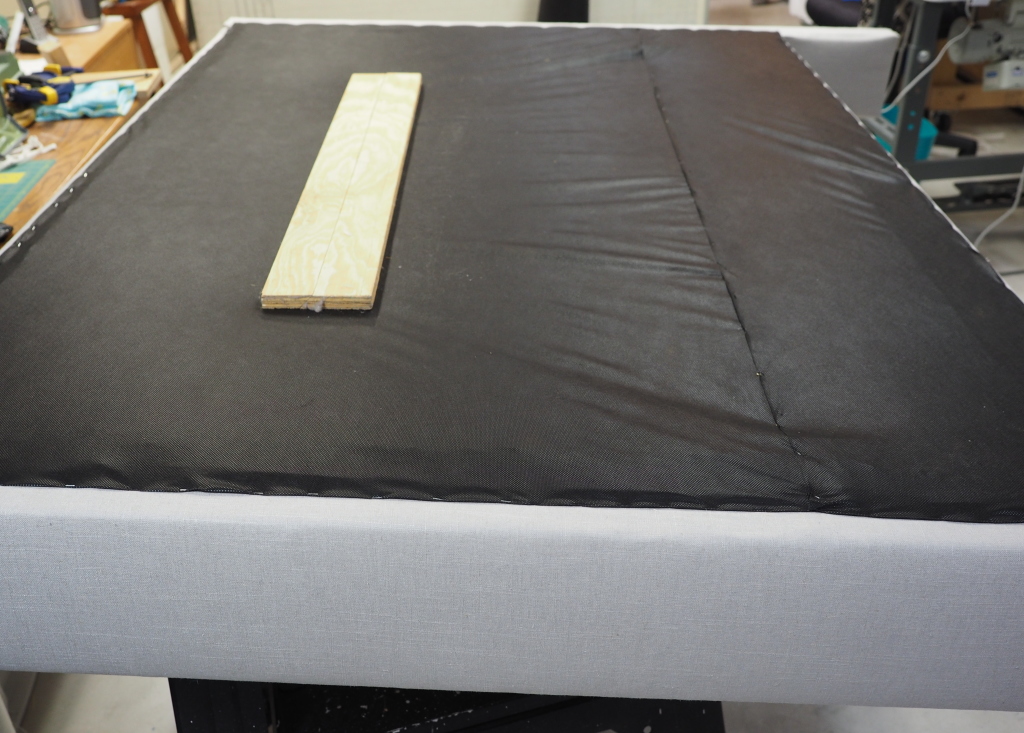
Once I have it all done, I also add a backing to it, which finishes it off. Then we cut a french cleat to fasten it to the wall.
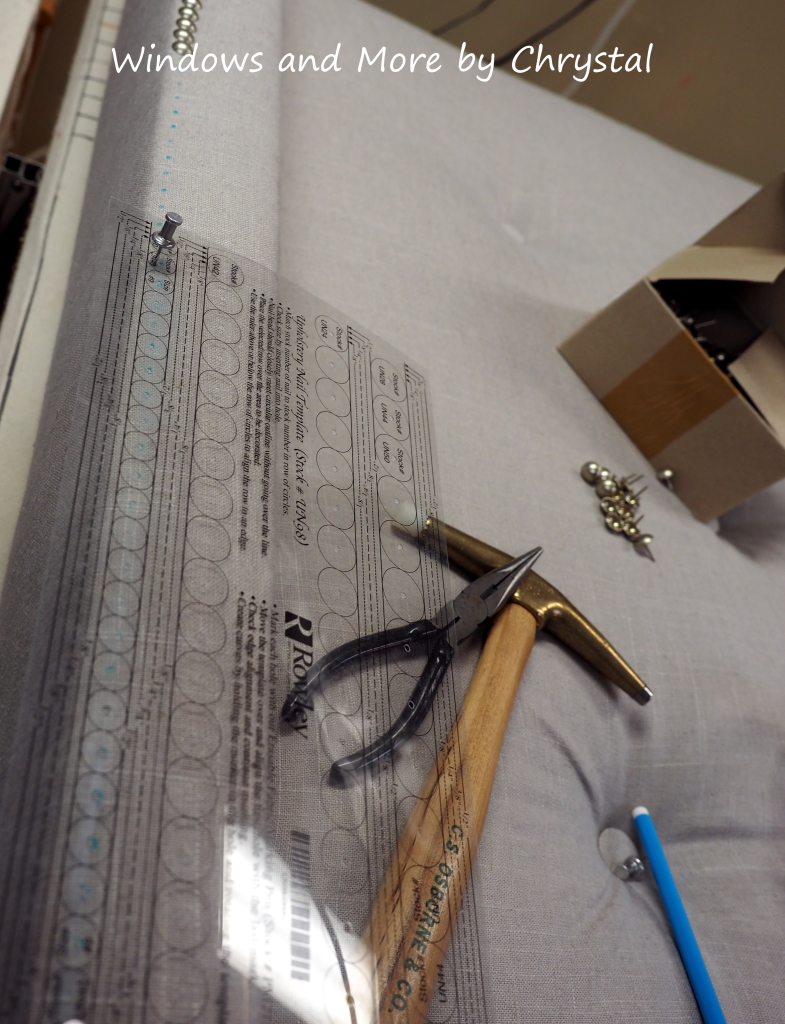
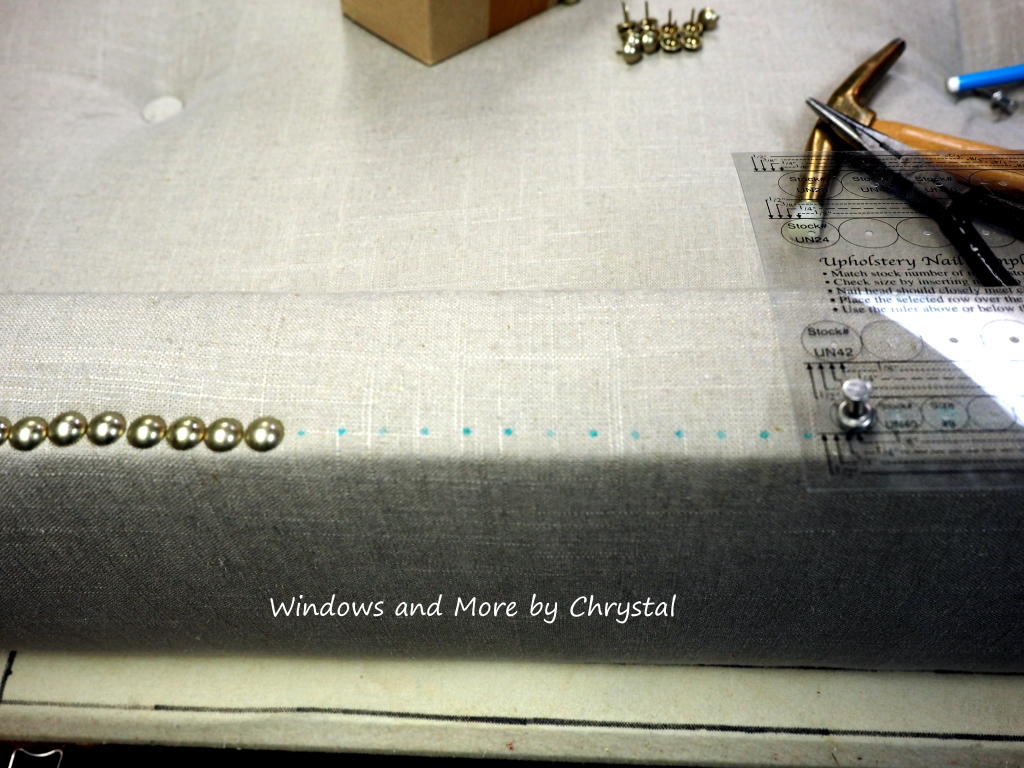
Next came the nail heads. I had ordered the nail template from Rowley’s a long time ago, but never had the opportunity to use it. It really sped things up and made it easy to place the nail heads. I used a blue pen to mark where each nail head went and then went to town. I would do one section at a time. moving the template down and marking the new section as I went.
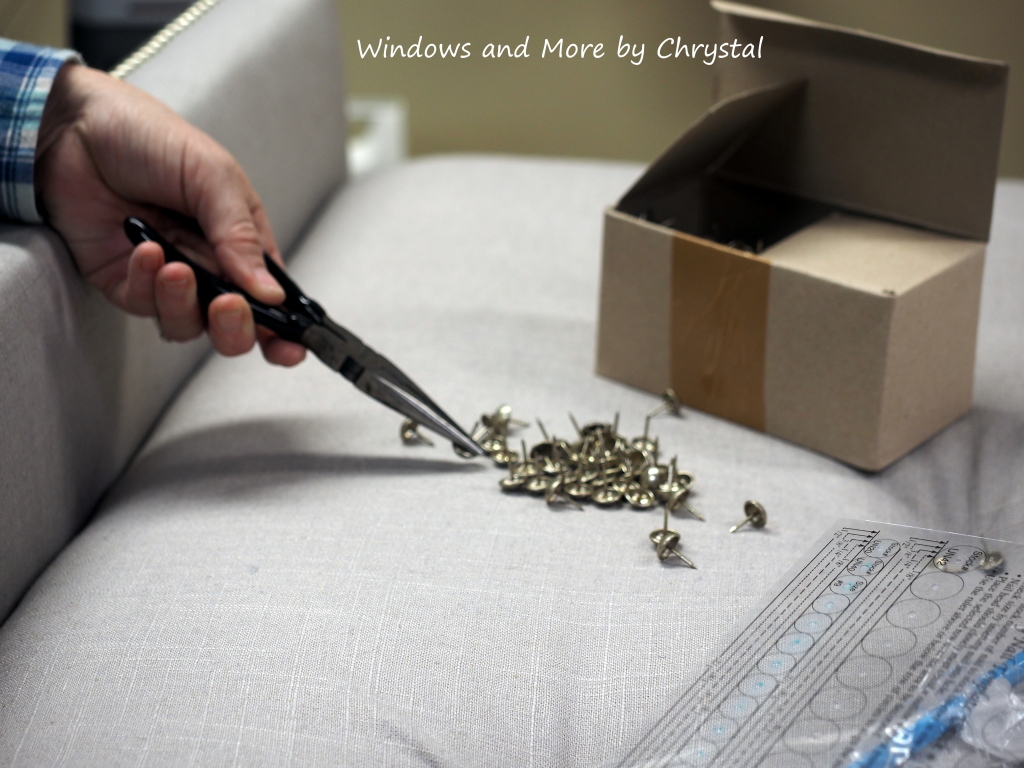
I picked up the nailhead with the needle nose pliers.
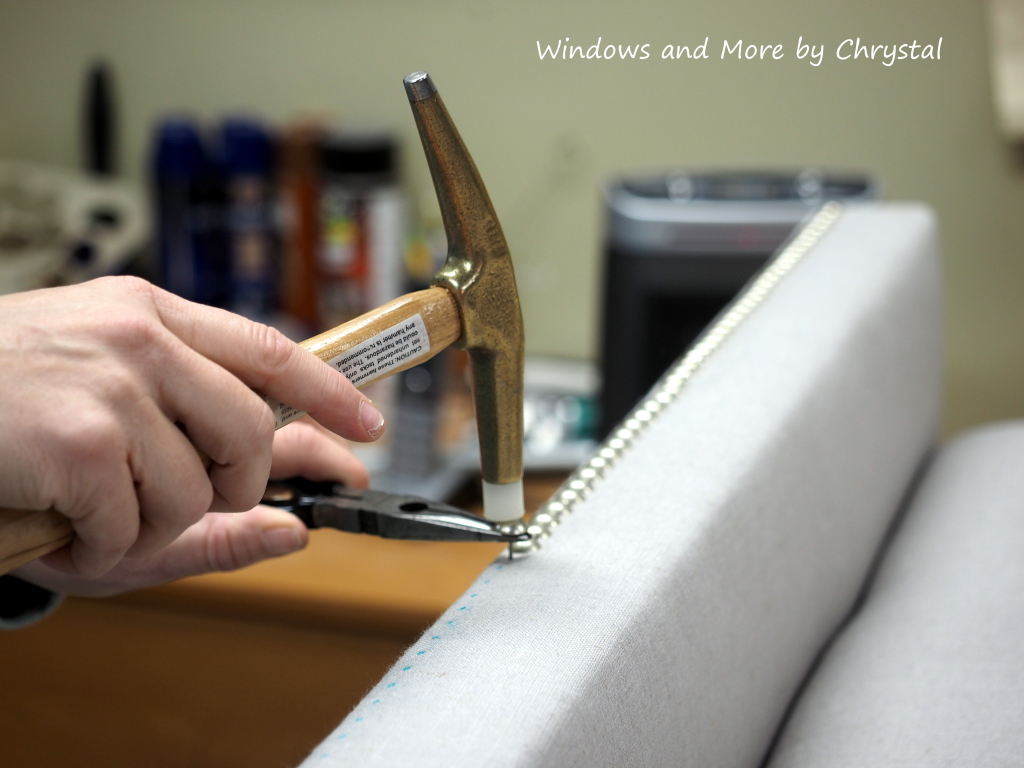
And tapped it down with the rubber end of the tack hammer, holding it with the pliers.
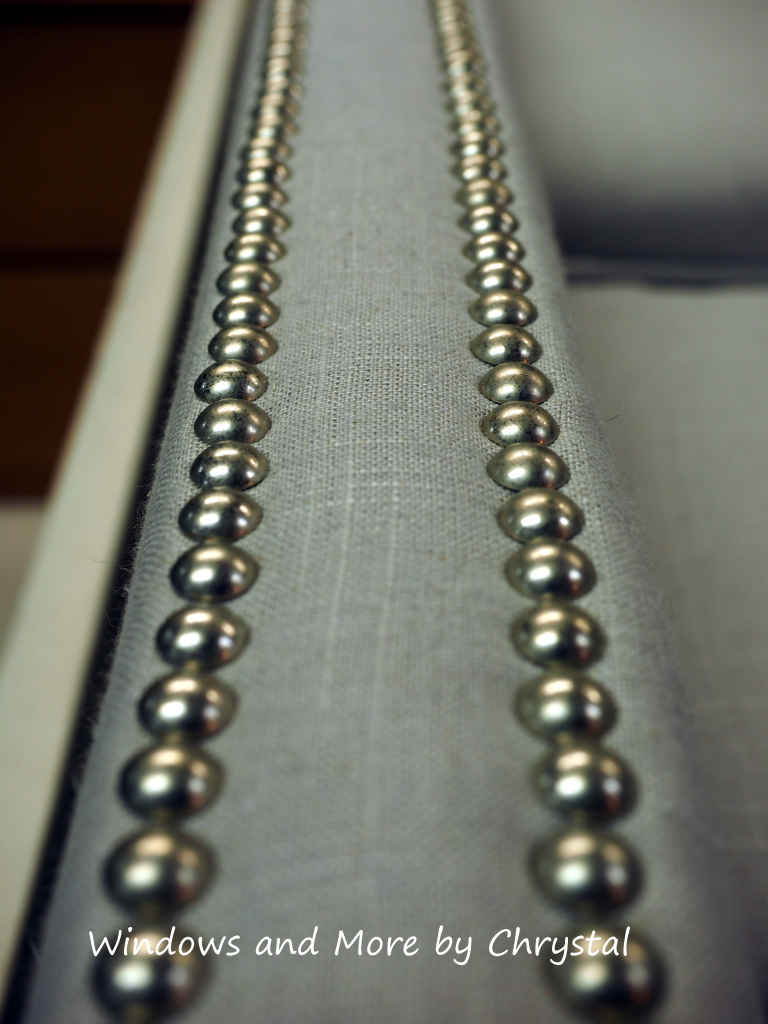
Lots of Nailheads!
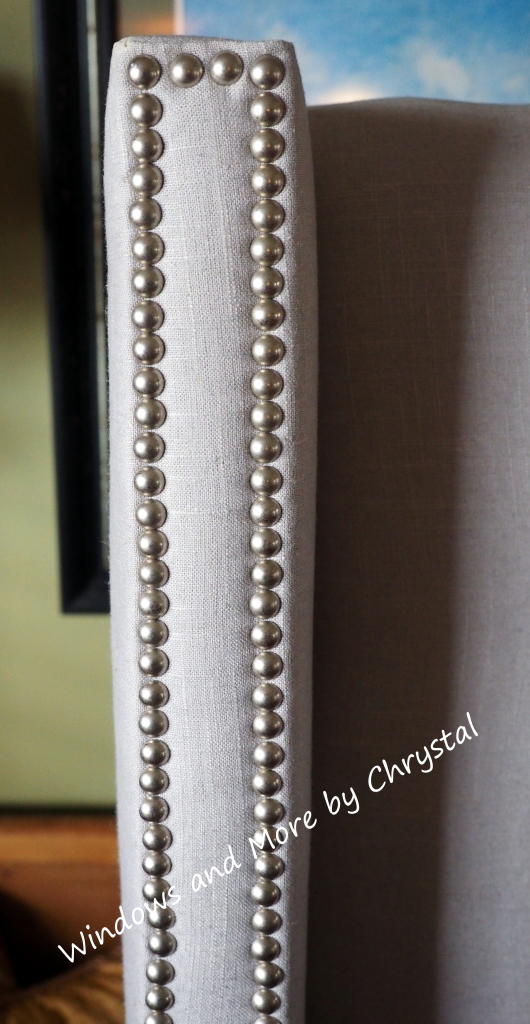
I watched the Mizzou/Arkansas Football game while I was putting in the nailheads, so the time flew by!
Mizzou Won!
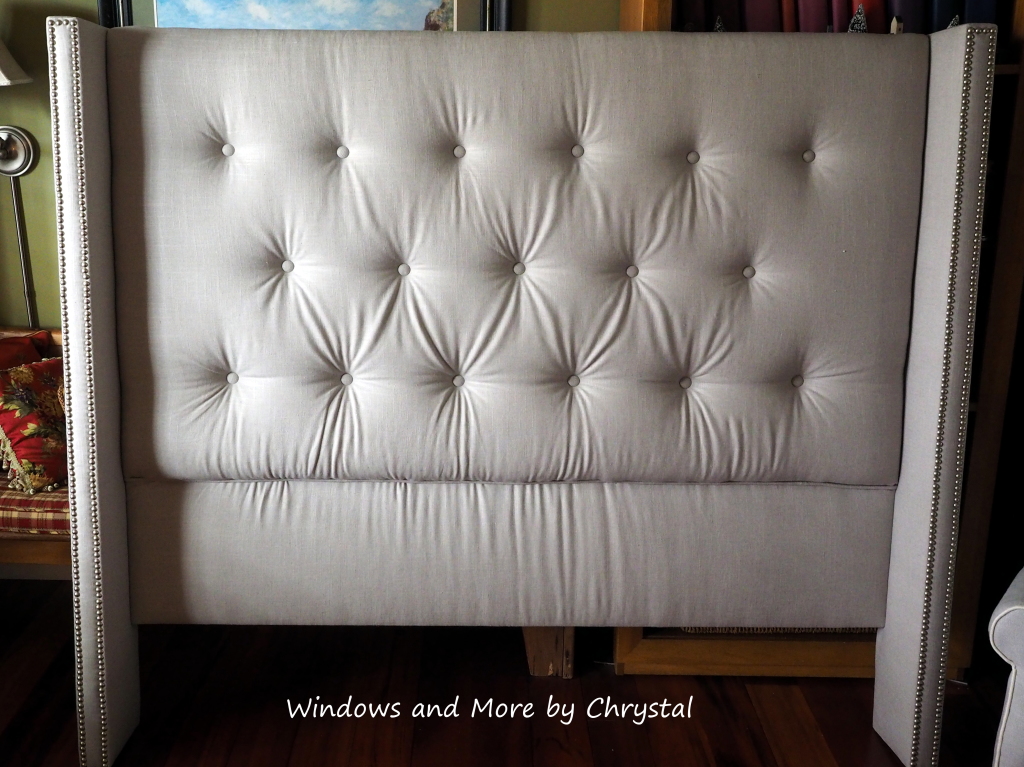
It was ready for all of the family to come over for Thanksgiving Dinner on Saturday. If you notice the lower row of buttons are tighter. If I was selling this to a client, I would have gone back and fixed it or had someone help me with it from the start!
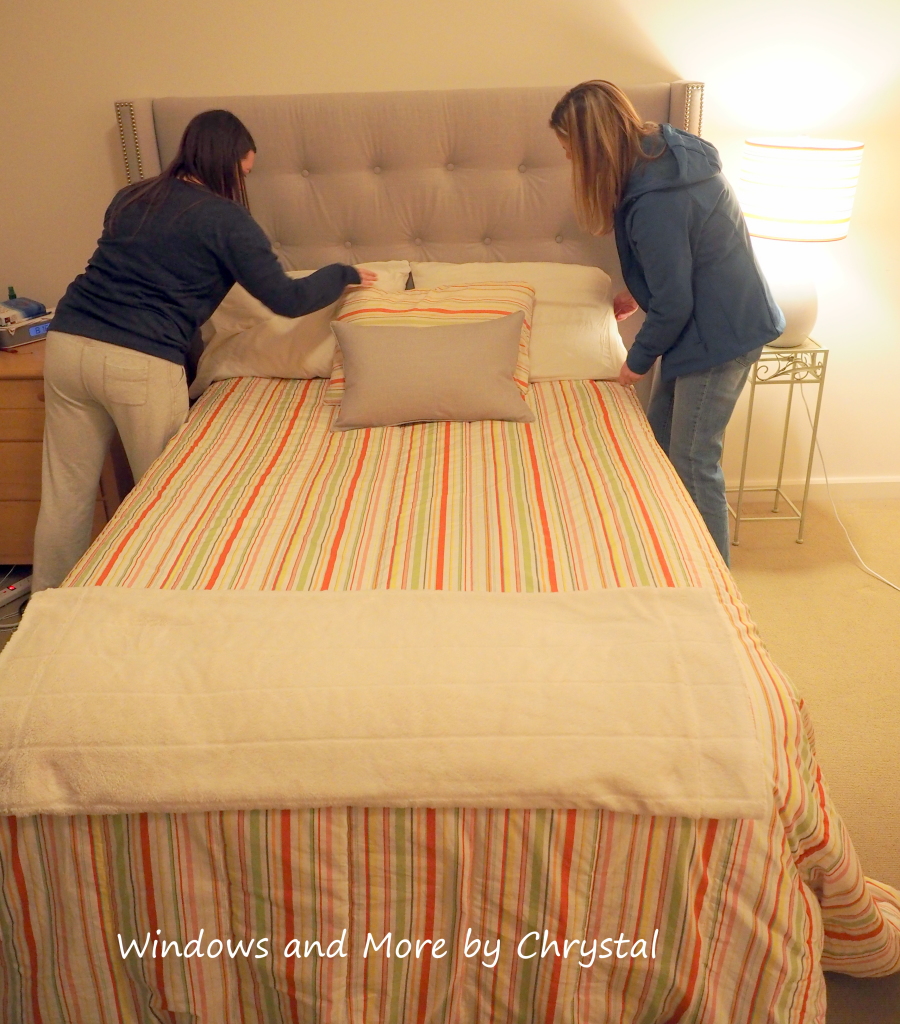
We went and installed it in my nieces apartment this week. It barely fit in the van, well technically it didn’t, one of the wings hung out the back and we had to wrap a blanket around it and tie down the van door!
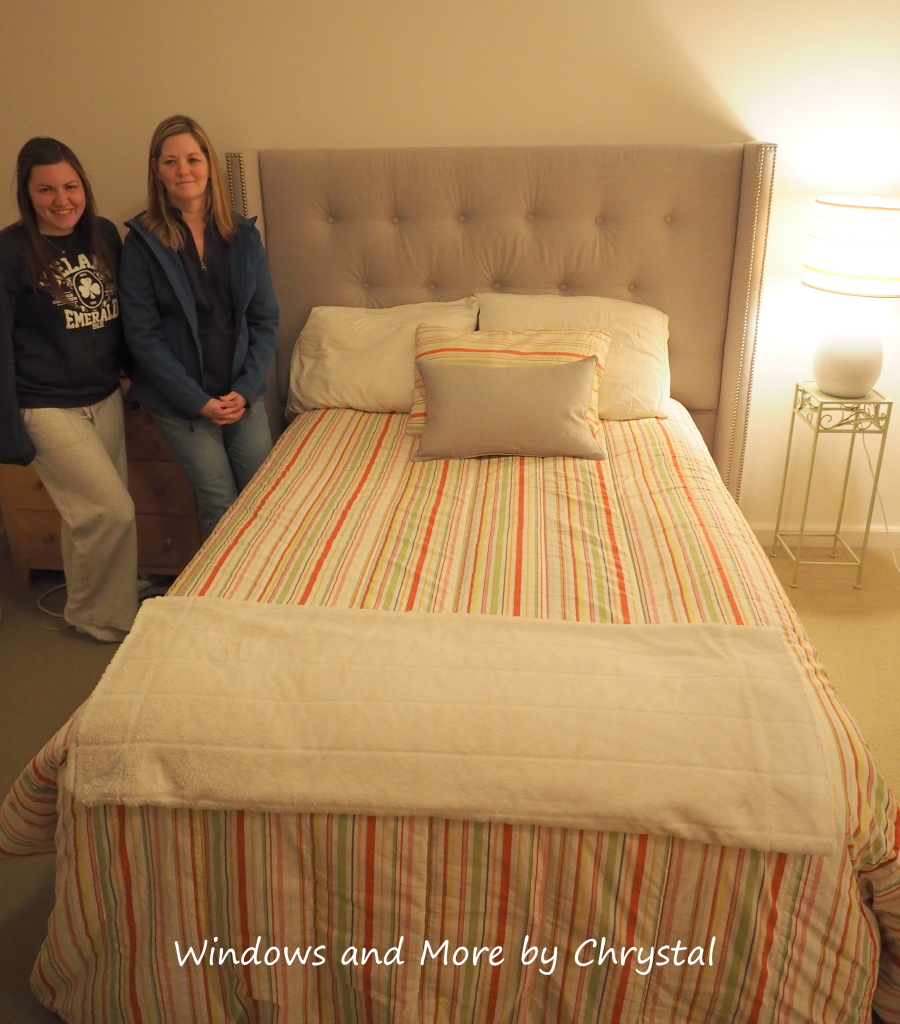
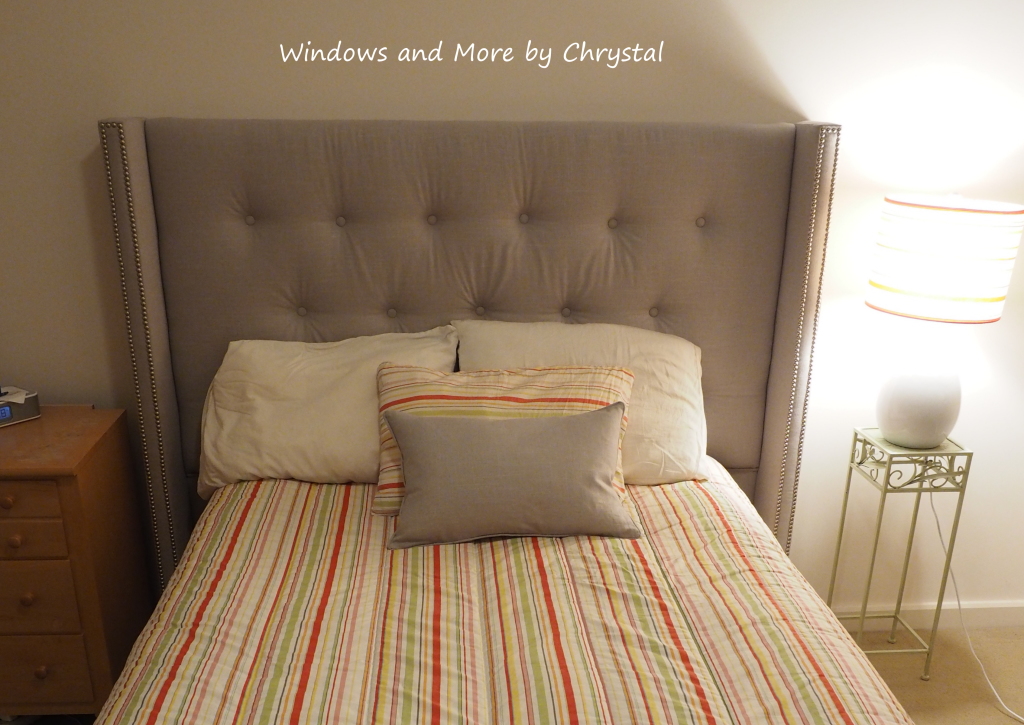
My niece Sarah and me. Like I explained earlier her bed is a full right now, but we were planning for the future. That is one of the reasons I used the full 48″ of plywood, it brings it down a little more and doesn’t show the wall as much. I also made her a pillow to go along with it. And I am sure that once she gets the bigger bed she will change-up the bedding.

Thanks for stopping by and hope you enjoyed this post. If you decide to do one yourself and have any questions just let me know, or if you would like me to build one for you, let me know too! In case I don’t get back before the big holiday:
Merry Christmas and Happy New Year!
P.S. If you like getting these posts, sign up on the side and they will automatically come to you! Thanks!



3 Comments
Leave your reply.