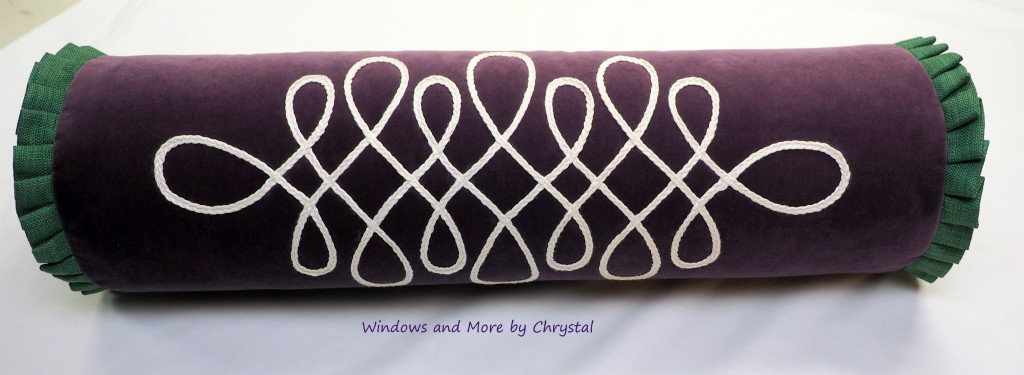
It has been awhile since I posted, and not because I have been over whelmed with business,(staying steadily busy). I also haven’t been sick, or any other excuse, just haven’t been in the mood. I have been waiting to take pictures of installed projects so I can write about them. But I have finally decided to post about this bolster pillow that I did a few months ago for a client. I actually had this article written for a magazine and they decided not to use it, so I will share it here.
Recently I had one of my client’s email me a picture of an Eastern Accents Bolster Pillow that she wanted copied but in her fabrics.

So I took a look and realized that I would need to know how to copy the design on it. I put out a plea on the CHF forum and once again Merlyn came through. (Merlyn is our CHF Forum Guru) She worked out the design in Minutes Matters design program and emailed me the PDF file with instructions on how to copy it. It took me a while to figure out how to get it copied on my printer, and still not completely right, but as you can see I got the idea.
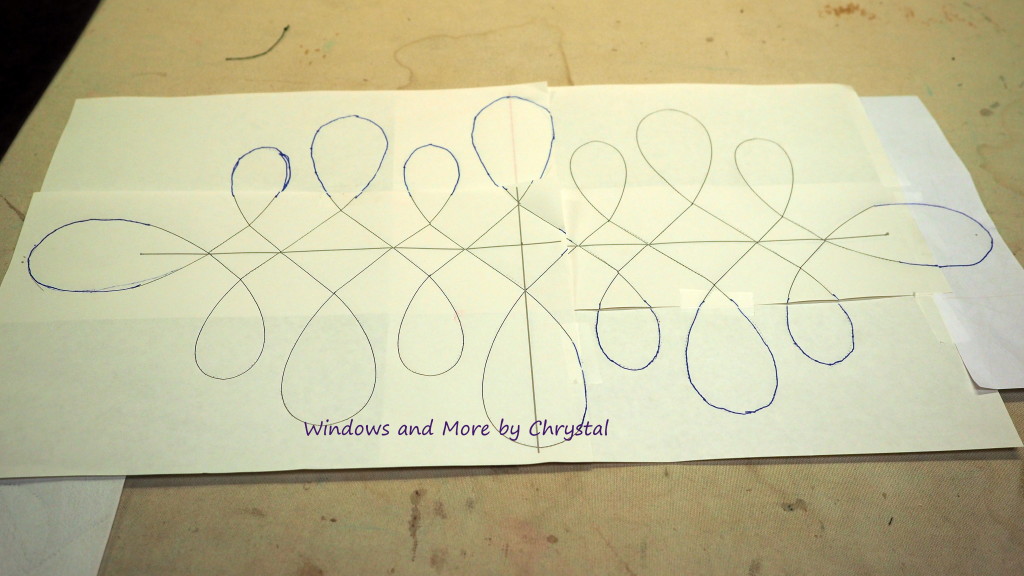
(Excuse the dirty table, one of these days I am going to get a new canvas) 🙂
Now I had to figure out how to transfer the design to the velvet I was going to be using for the body of the pillow. I went back to the old fashion tracing wheel and paper.
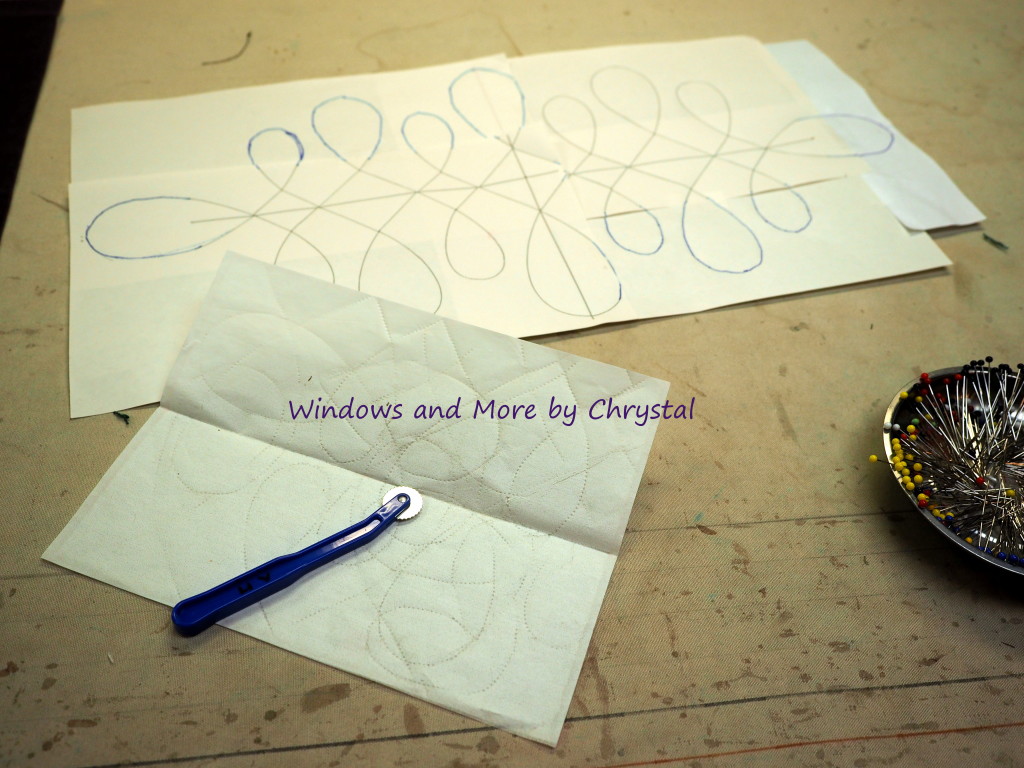
I centered my design on the fabric, pinned it in place and slipped the tracing paper under the design and traced it, moving the paper and tracing one section at a time.
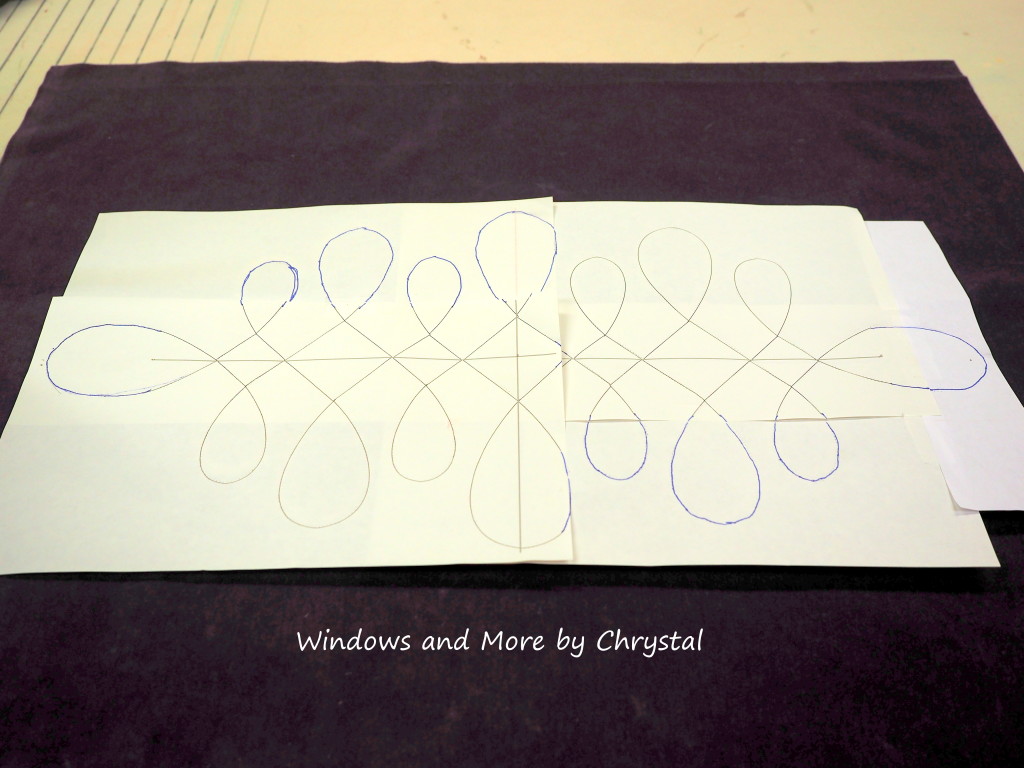
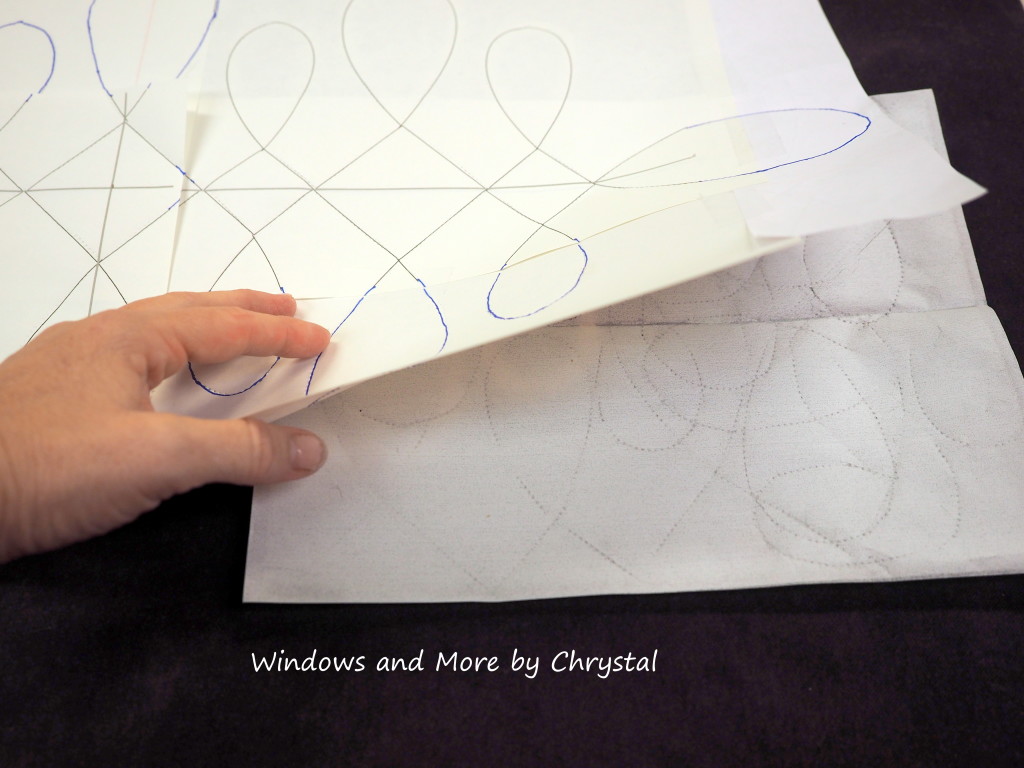
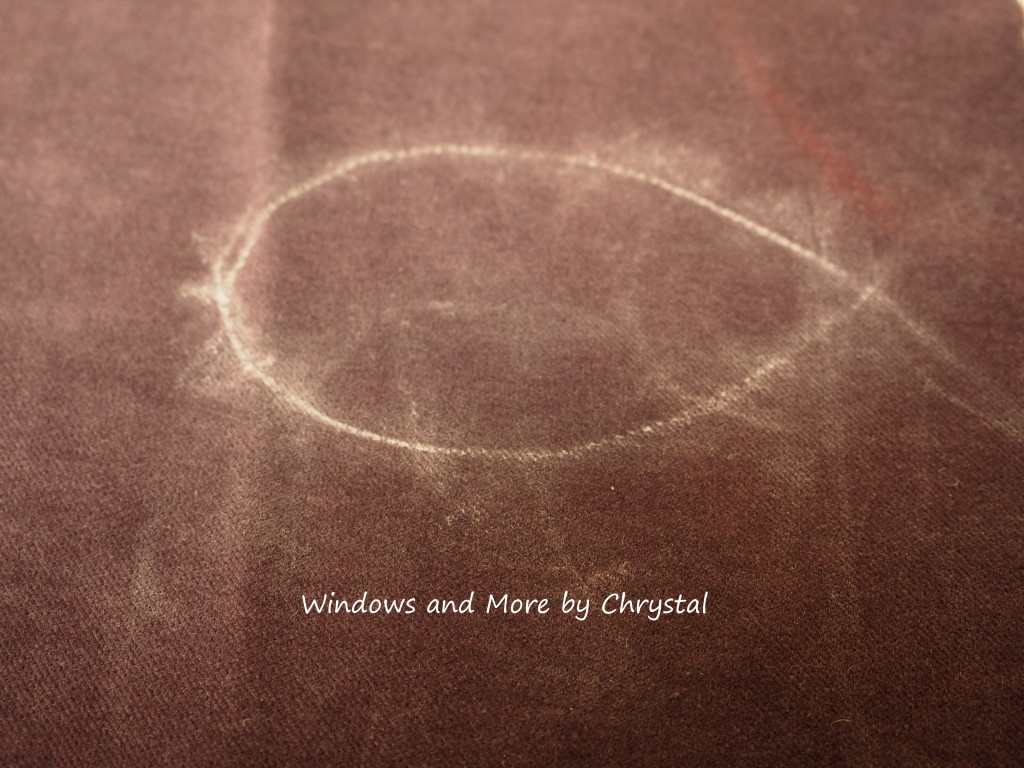
I checked to make sure the design was coming through.
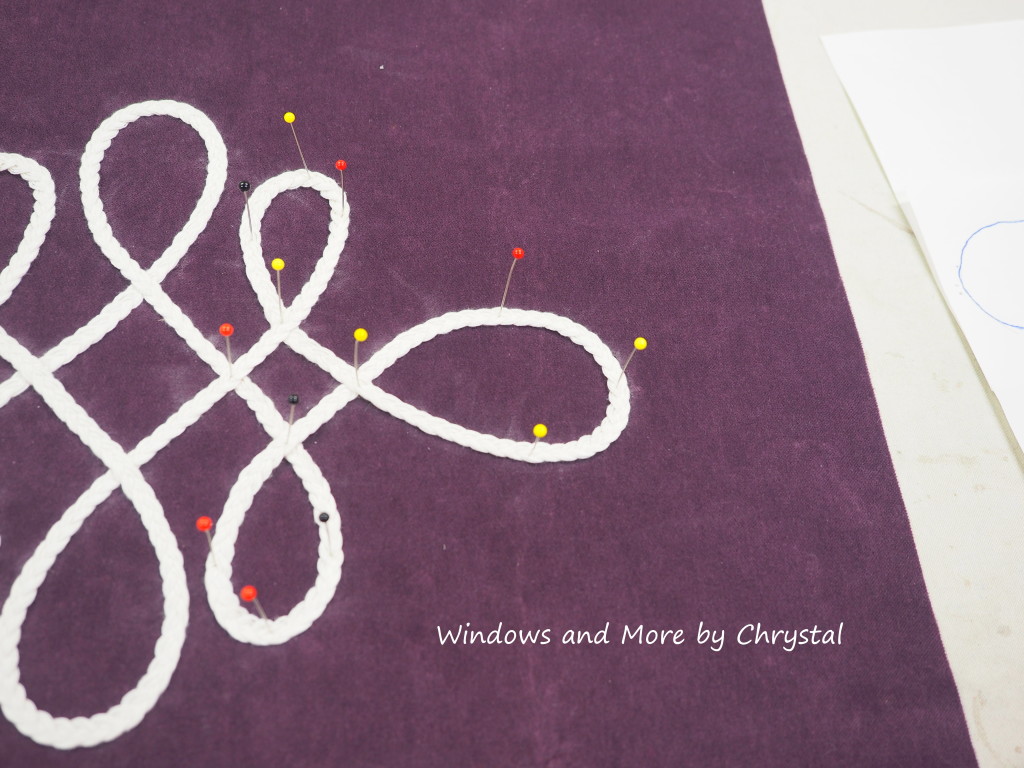
Then I did a dry run of laying the trim out over the lines and pinning in place.
After I had it all pinned, I used Rowley’s Fringe adhesive to glue baste it to the velvet.
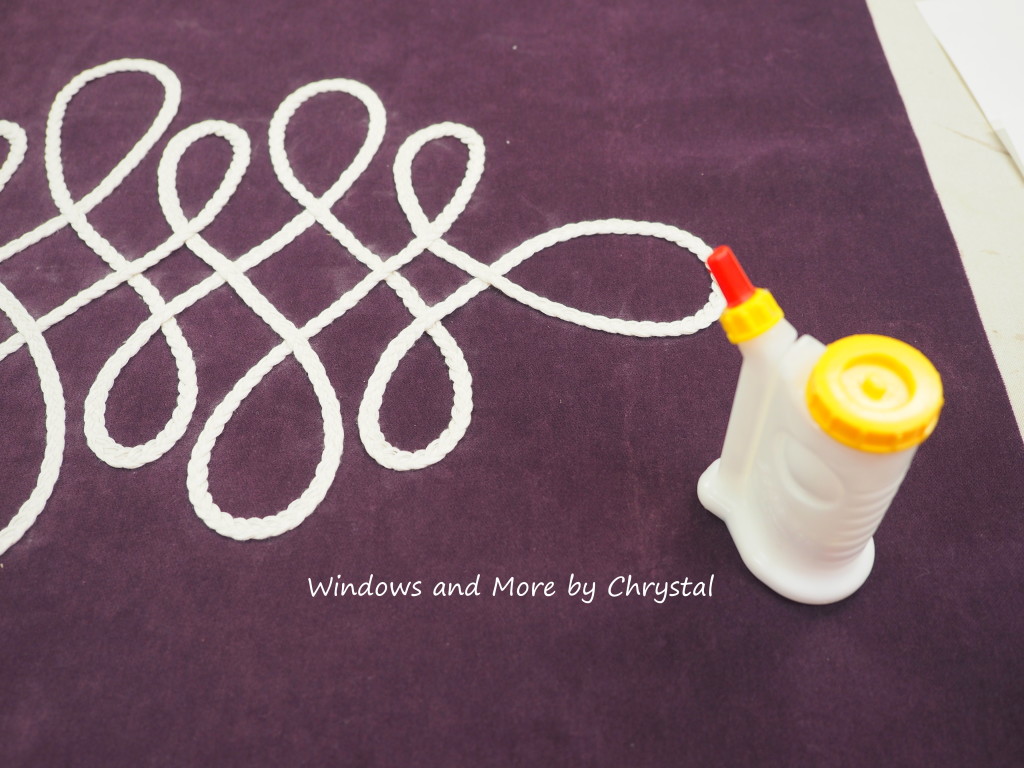
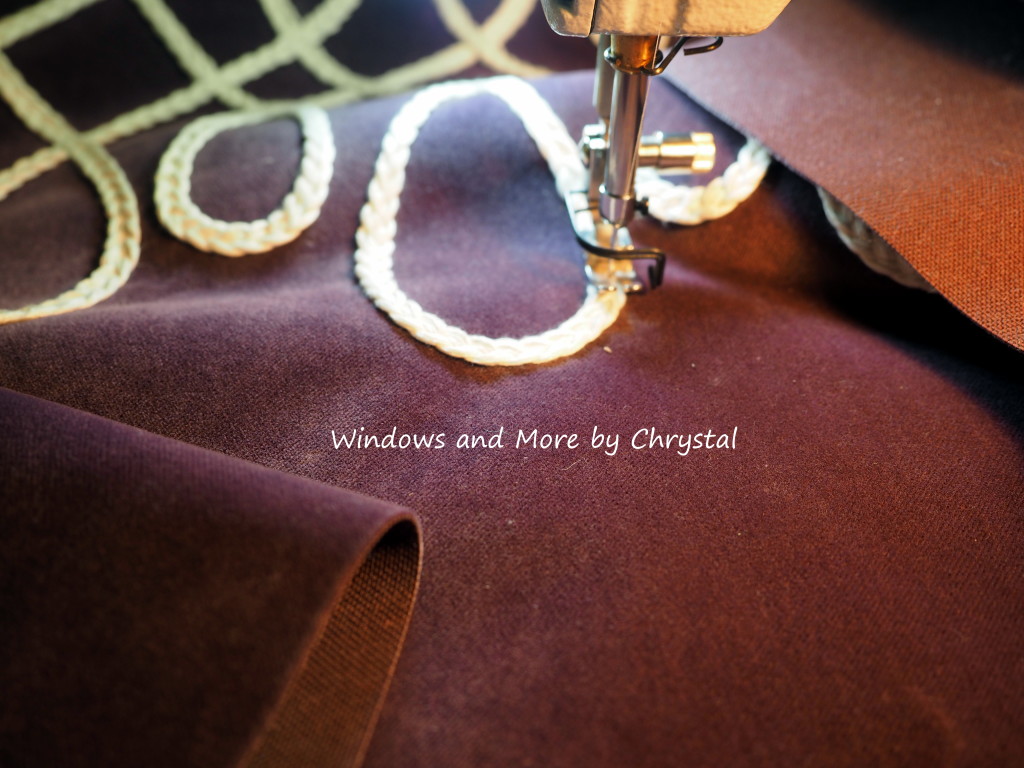
After the glue was completely dry, I sewed a single line down the middle of the trim.
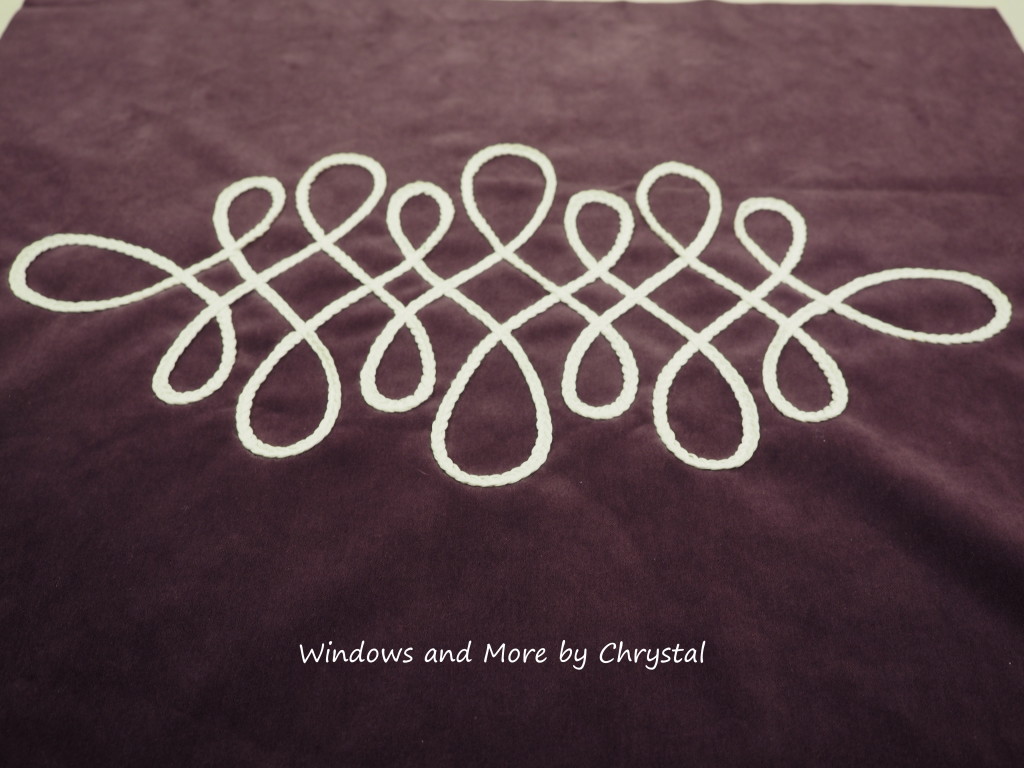
The completed design.
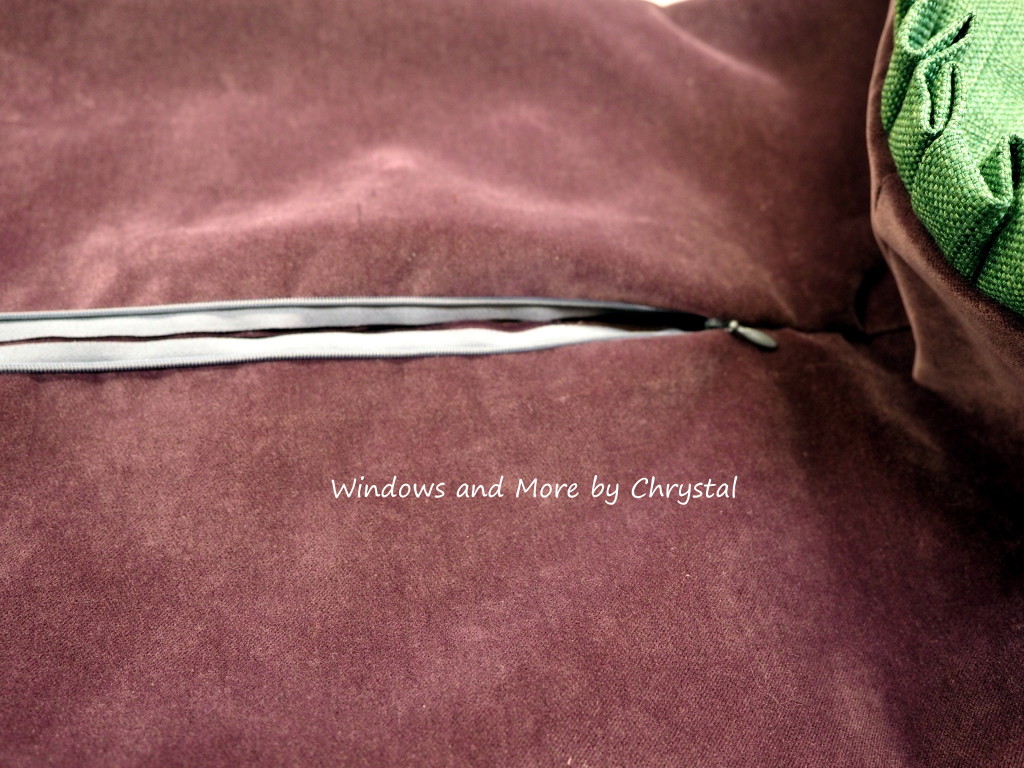
I put in an invisible zipper in the seam.
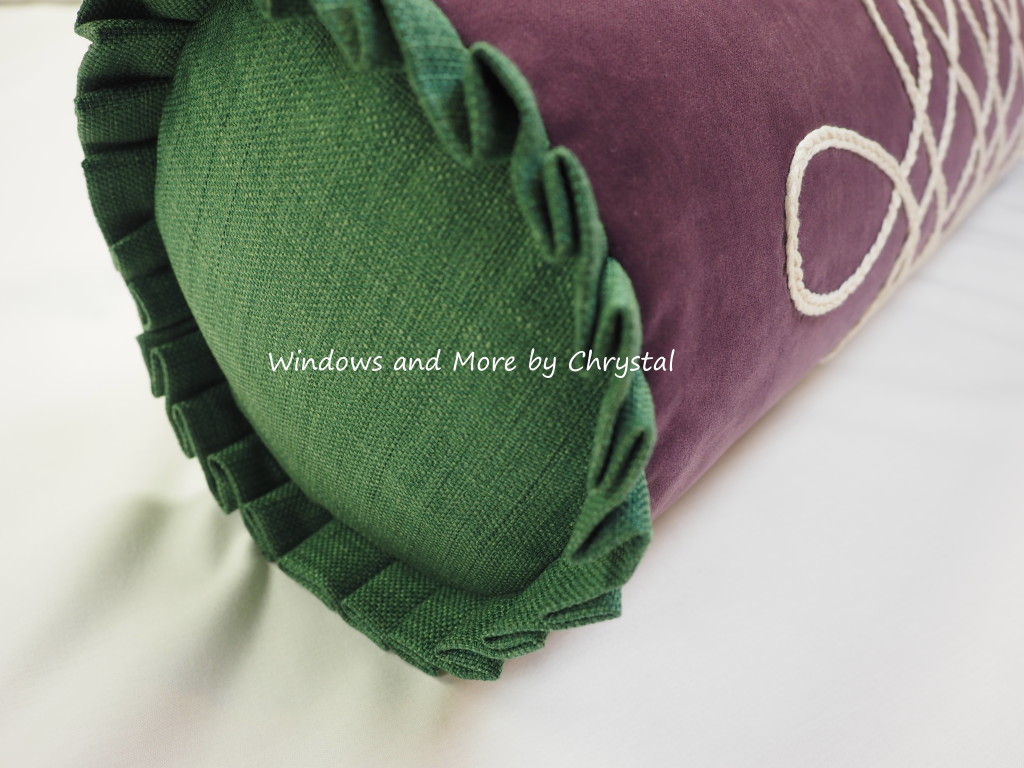
I then made a pleated ruffle trim for the ends, using my ¾” Quick Pleater tool. That you can purchase at Quickpleater.com. Love this tool! (I will have to do a post some day just on making the pleated ruffle trim) I basted the ruffle to the velvet body, and sewed in my ends.
For the insert I cut a 4” cube of foam and the length of the pillow and rolled batting around it, till I got a 10 diameter insert and then I used spray adhesive to hold it together. The final dimensions of the bolster were 9”x32”.
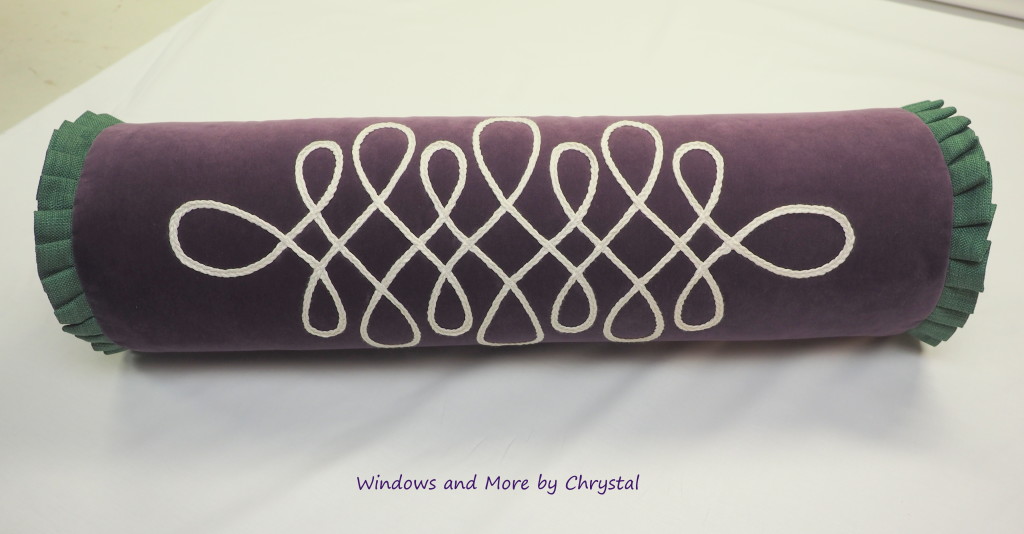
The Client loved the pillow.
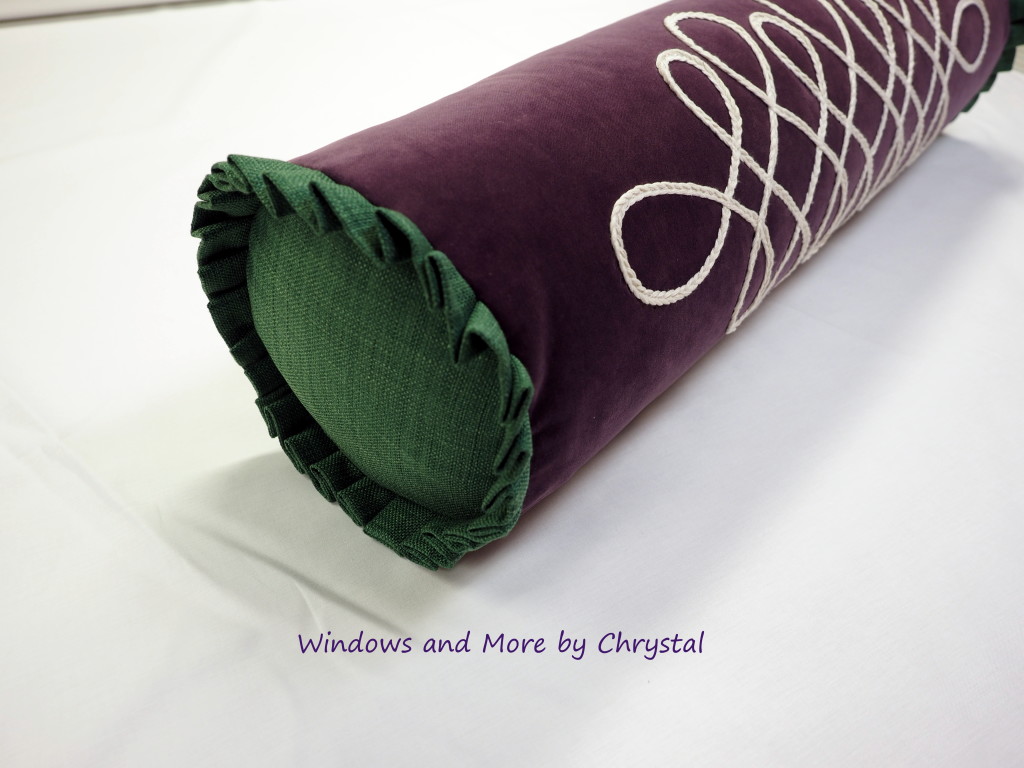
Some day I hope to get a picture of the bolster on the bed. So if you would like a bolster pillow like this one, in your own fabrics, I now have the design and can custom make one for you! Hope you enjoyed this tutorial and maybe picked up a tip or two on how I created this beautiful bolster pillow.


2 Comments
Leave your reply.