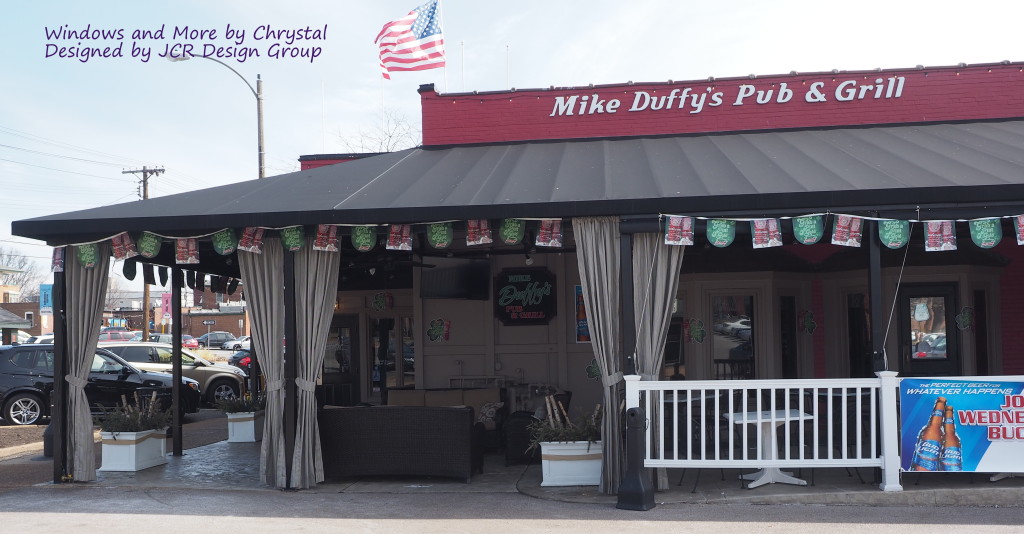
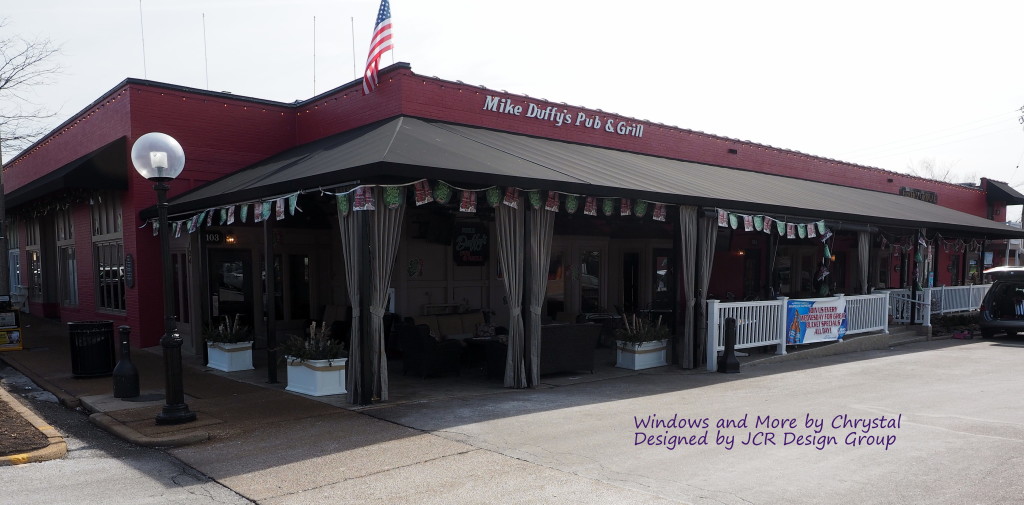
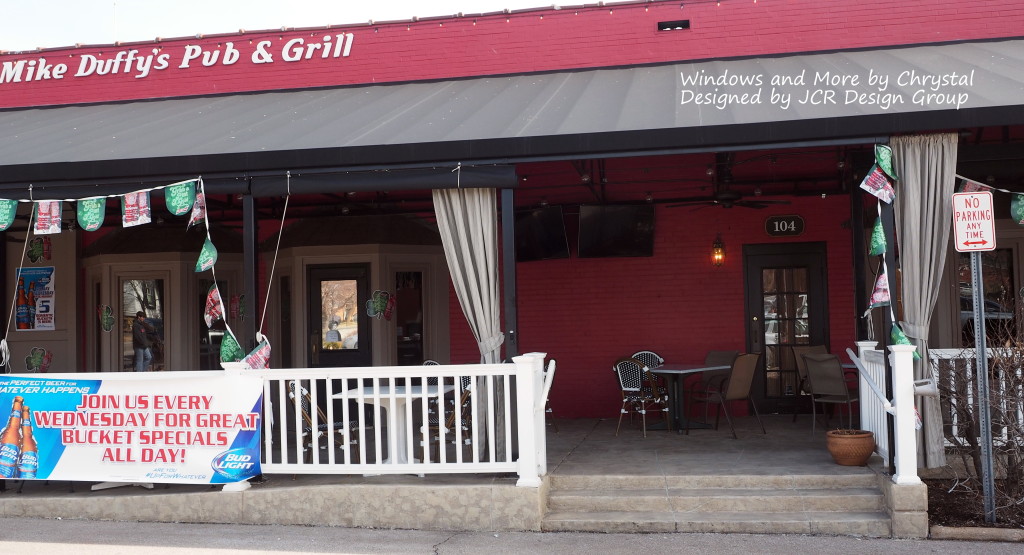
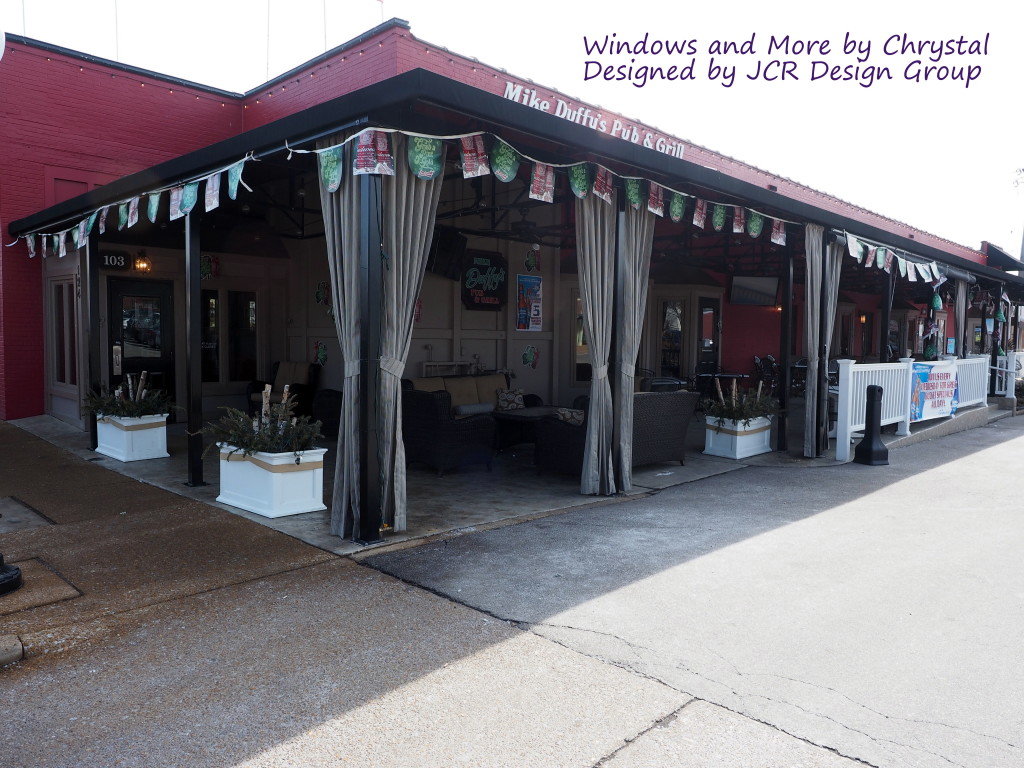
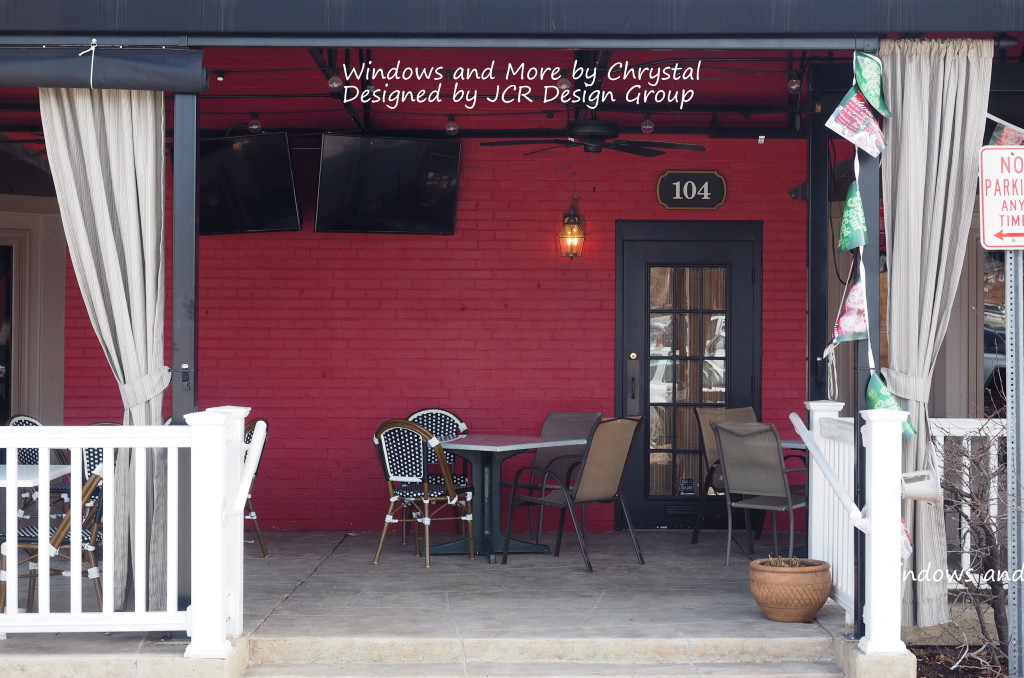
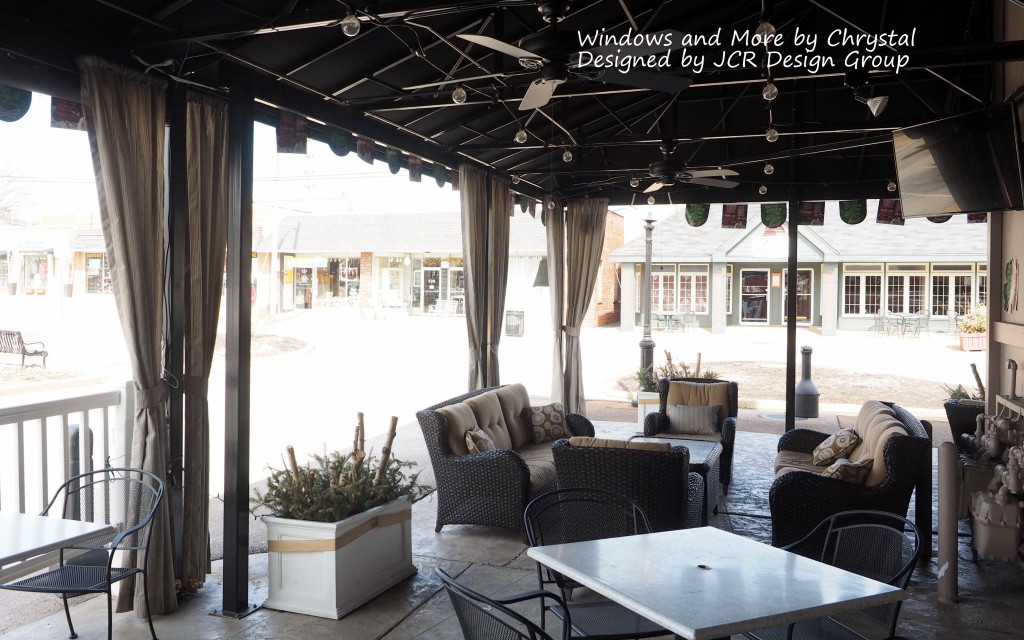
This weekend we installed 8 outdoor Drapery Panels at a local restaurant in Kirkwood, Mo. A lot of planning went into the panels and how they would be installed and what hardware we were going to use. We met with the designer (Emily Koch with JCR Design Group)last fall and measured and discussed the various issues. Emily and the owner settled on 8 panels and decided where they would be place. By the time all the planning and deciding had been wrapped up it was time to close the patio area for the winter. Emily went ahead and ordered the fabric and had it sent to me so we would have it when it got closer to spring. Our install date was initially set for the first weekend in March, but it happened to snow! So we delayed the install til this weekend, which happen to be almost a perfect spring weekend.
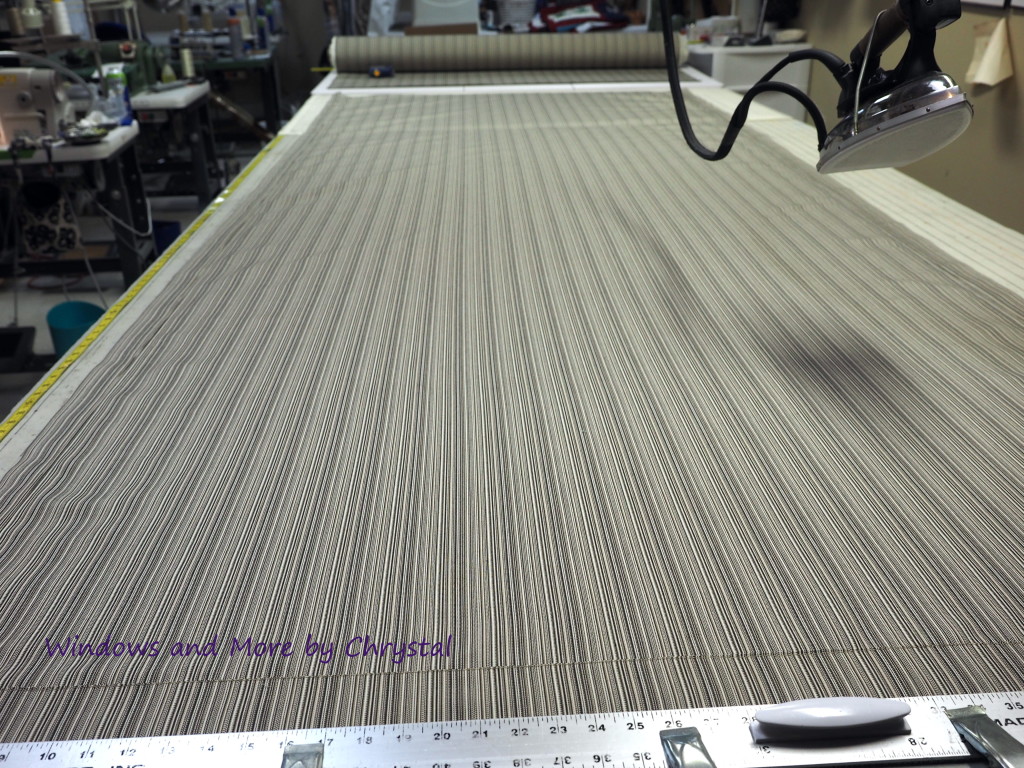
But lets back up a little and I thought I would share some of the behind the scenes part. Emily chose a striped outdoor fabric for the project.
The fabric was very easy to work with. With an outdoor panel there are a few things we do differently than a normal indoor panel. To begin with we decided not to line them, the front and back of the fabric was identical.
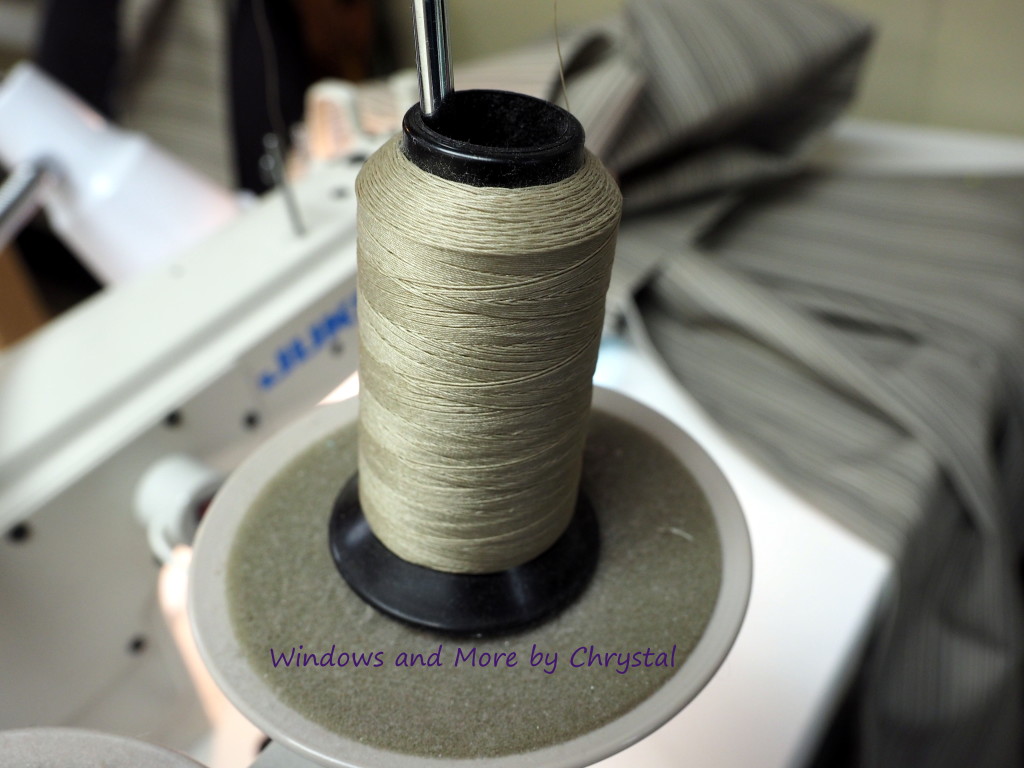
I also use an outdoor thread on the panels.
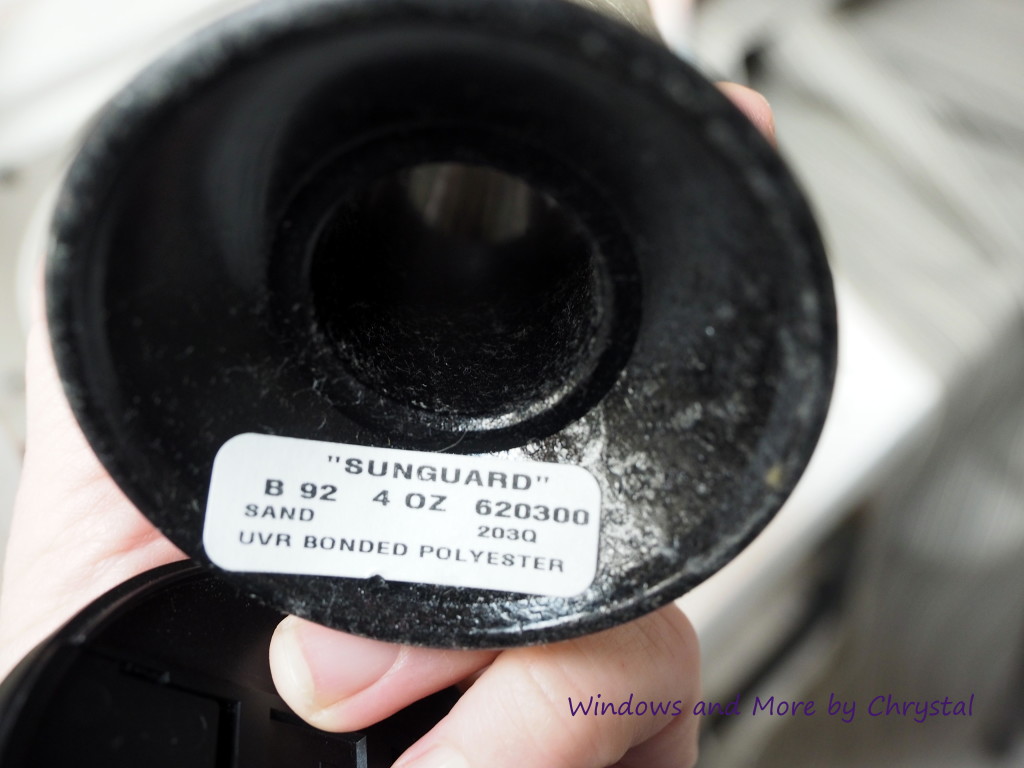
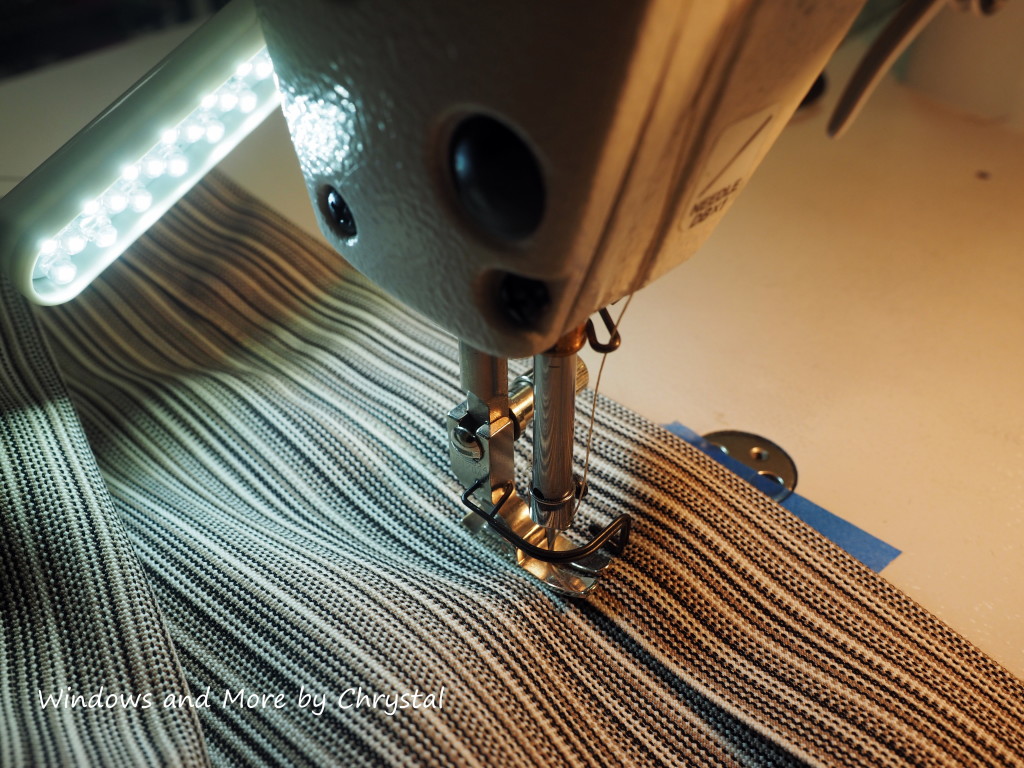
And I topstitched all of the hems, sides and bottoms so they are more secure.
With the outdoor thread you do have to work with your tension to get it to sew just right. I usually take a scrap of the fabric and adjust the tension. Sometimes it takes a while to get it just right. With this tread I had to adjust the tension on the top tread and the bottom tread. To adjust the tension on the bottom tread you have to tighten or loosen the little screw on the bobbin.
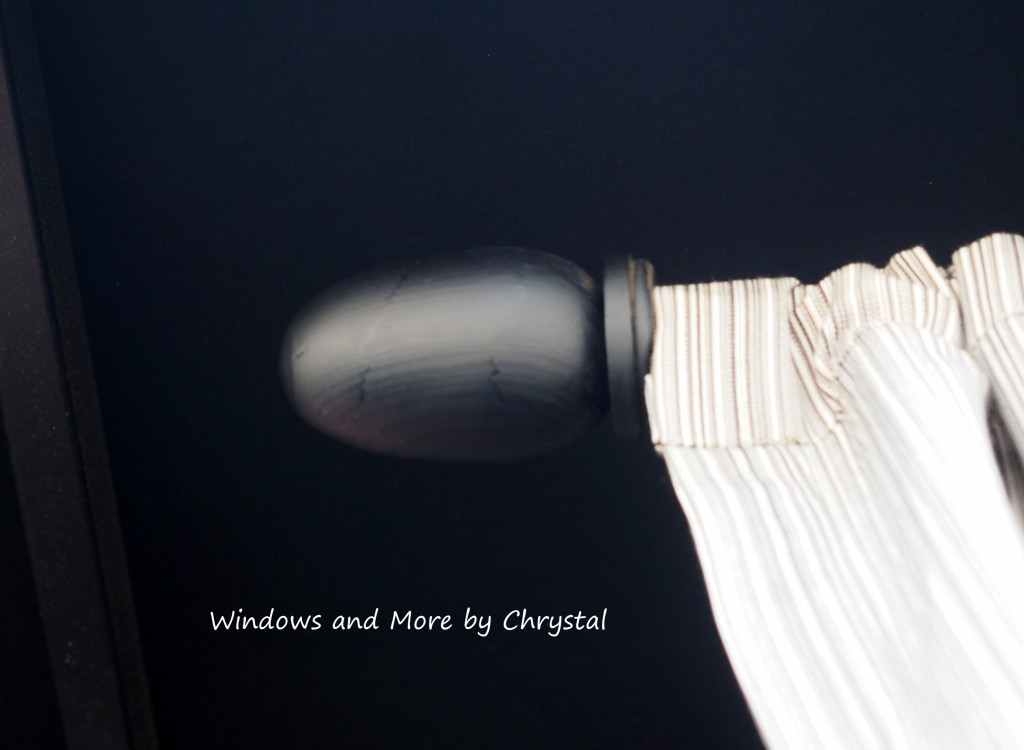
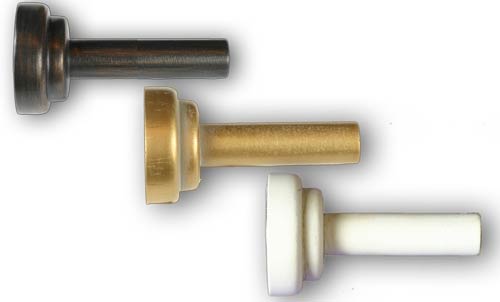
I forgot to take pictures of the hardware we used, but we decided to order galvanized pipe, elbows and flanges. We chose it because it is fairly inexpensive and will withstand the weather. The panels were made with a rod pocket header and slipped on over the pipe, so you never see the pipe or elbows. I did paint the flanges and screws black to match the metal that we were installing into. There were also 2 of the panels that hung on the pipe straight out from the post, so I had to come up with some kind of final for the end, so the panels would stay on. I finally came up with using some medallion posts(made of wood) that I had lying around. We turned them backwards and stuck the post part into the pipe. Mark drilled a hole in the pipe to put a screw in to hold them in. Then I bought a large wooded oval piece at Hobby Lobby and we screwed it onto the other end. Then I spray painted them black. This is the only picture I got of them.
The posts that I am talking about were from
Pate-Meadows and they were the old kind that had a large screw to screw into the wall, they no longer carry that kind.
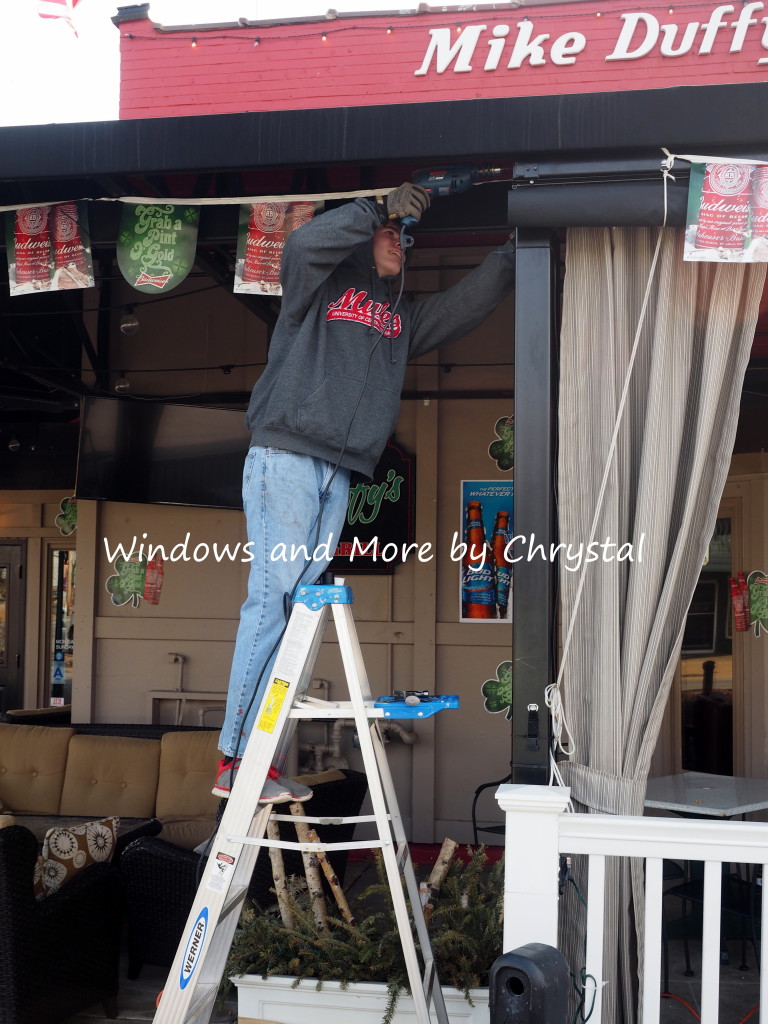
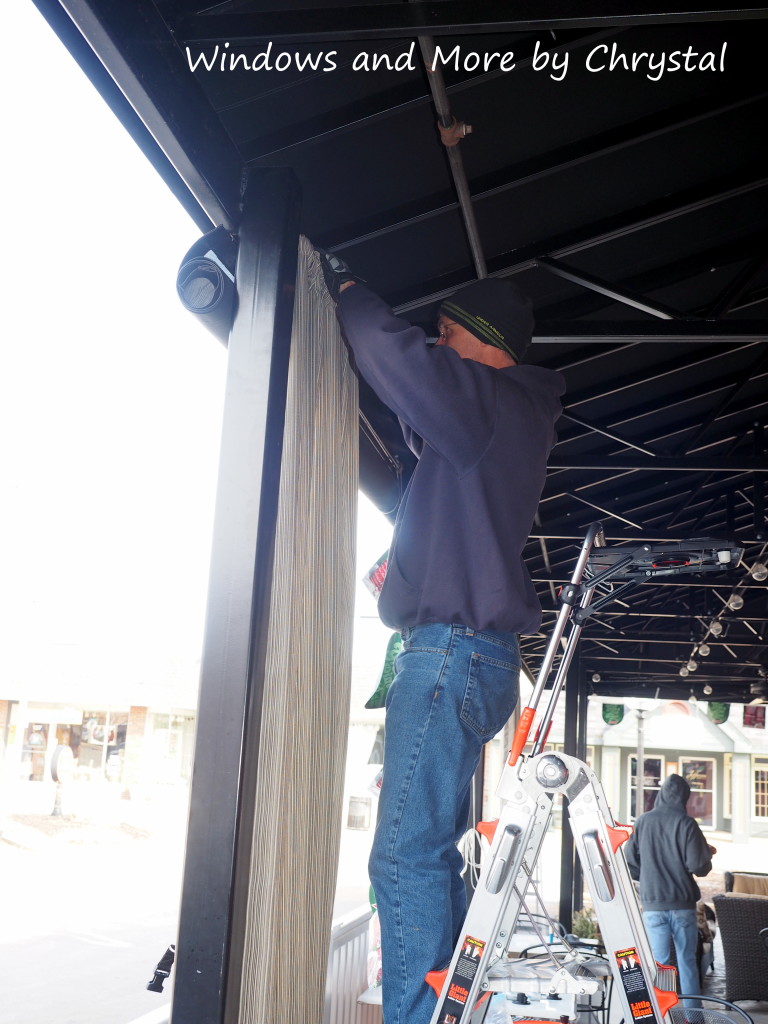
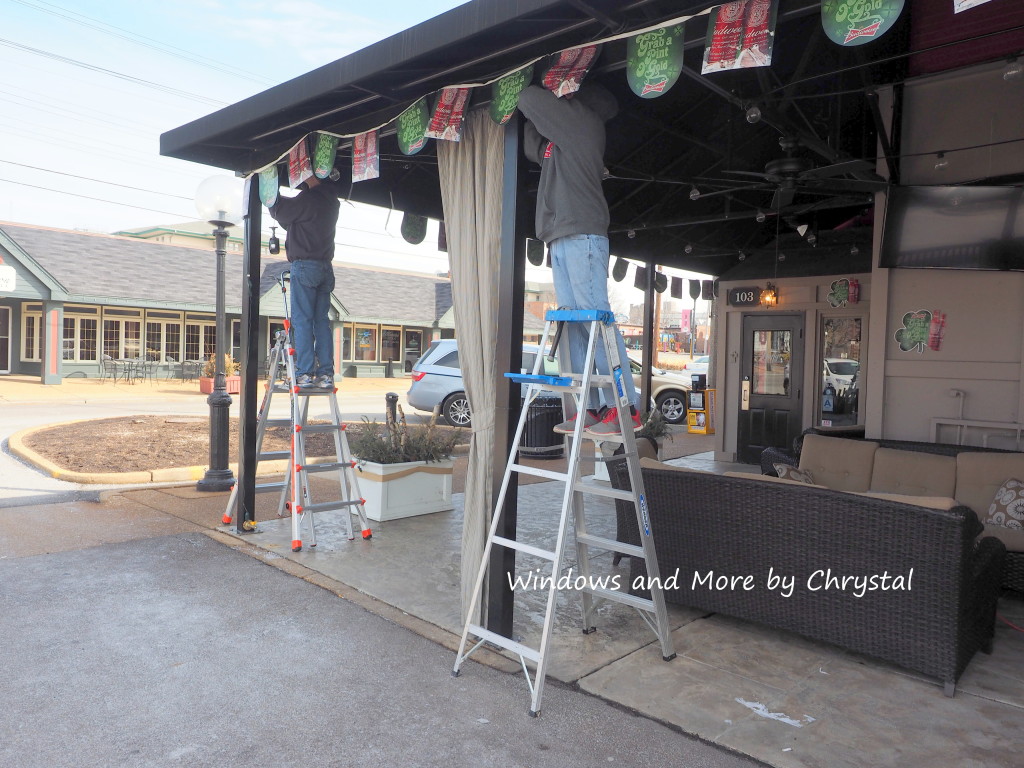
So one of the great things that happened is that I got my 19 yr. old son to come and help us install on an early Sunday morning, on the morning of the time change! But he was a great help and we got it done in half the time. (I have to secretly say that I think he as a bit faster than his dad!) 🙂 It was not an easy install, because the metal structure was approx. 1/4″ thick, so it took several different drills and drivers and drill bits.
But the two of them got a system down and quickly moved things along. Duffy’s is also closed on Sunday so that helped.
It is always a relief to have the installed completed. I hope the owner is pleased!
Thanks for stopping by and hope you come back. If you would like to get my post, just go to the sidebar and subscribe!
Like this:
Like Loading...





1 Comment
Leave your reply.