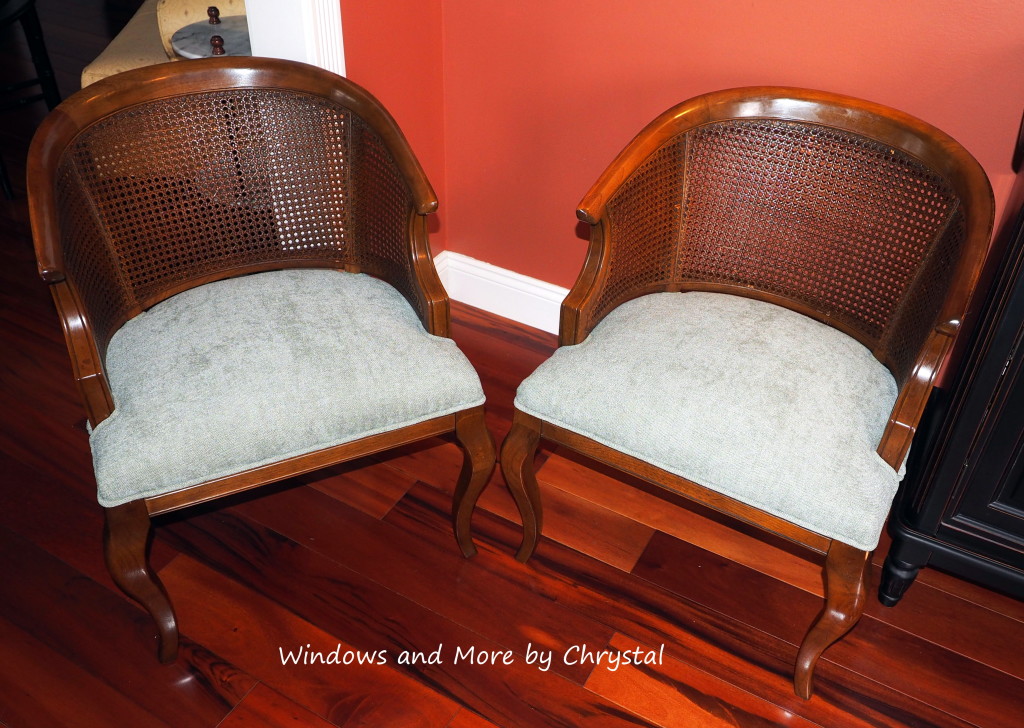
I know I just did a post on a couple of old chairs, but back in February I re-upholstered another pair, that I never shared. So today I thought I would share these. These 2 chairs are also a classic chair, that the client picked up somewhere for very little money. They did need a little bit more work then the other set. So I thought I would show you the process I go thru when I re-upholster a chair.
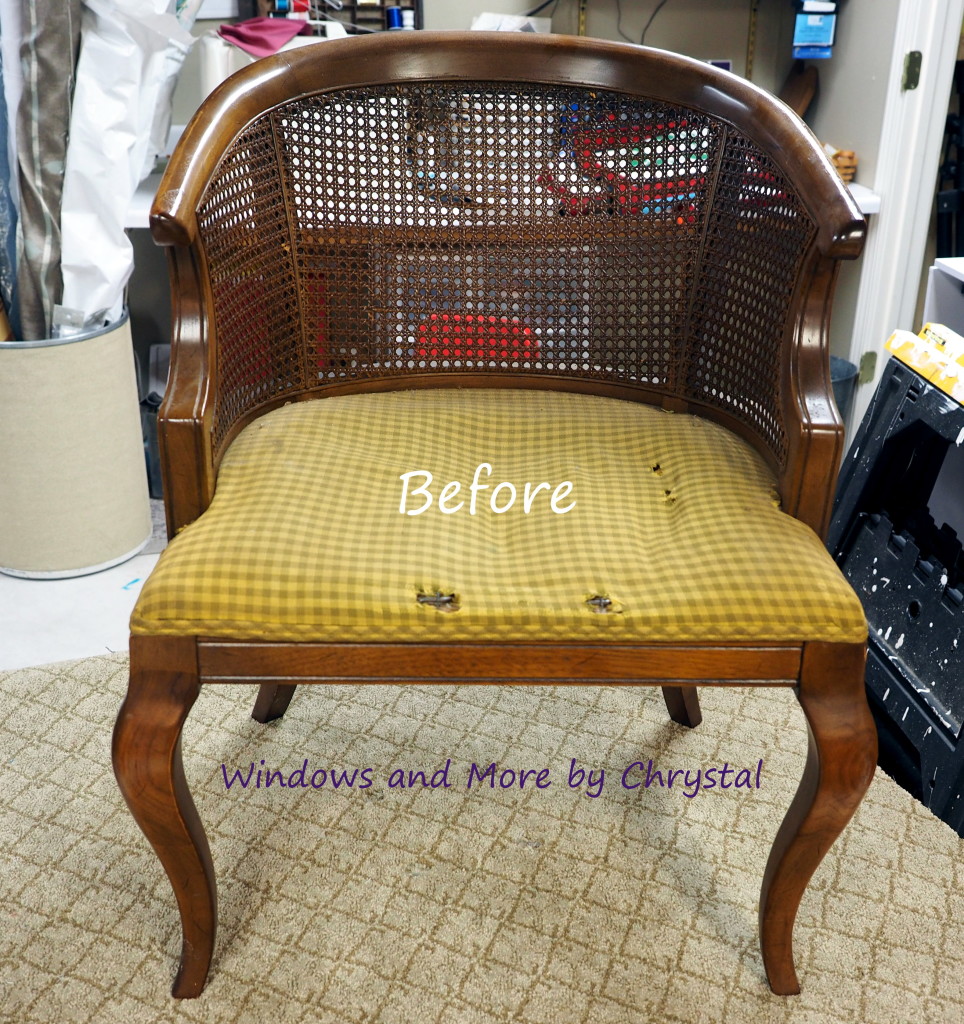
This is what they looked like to start with! So I knew just looking at them that the springs would need to be replaced along with everything else! The rest of the chair was in pretty good shape. I did do some touch up work on the wood. I use a wipe on product, something like Old English.
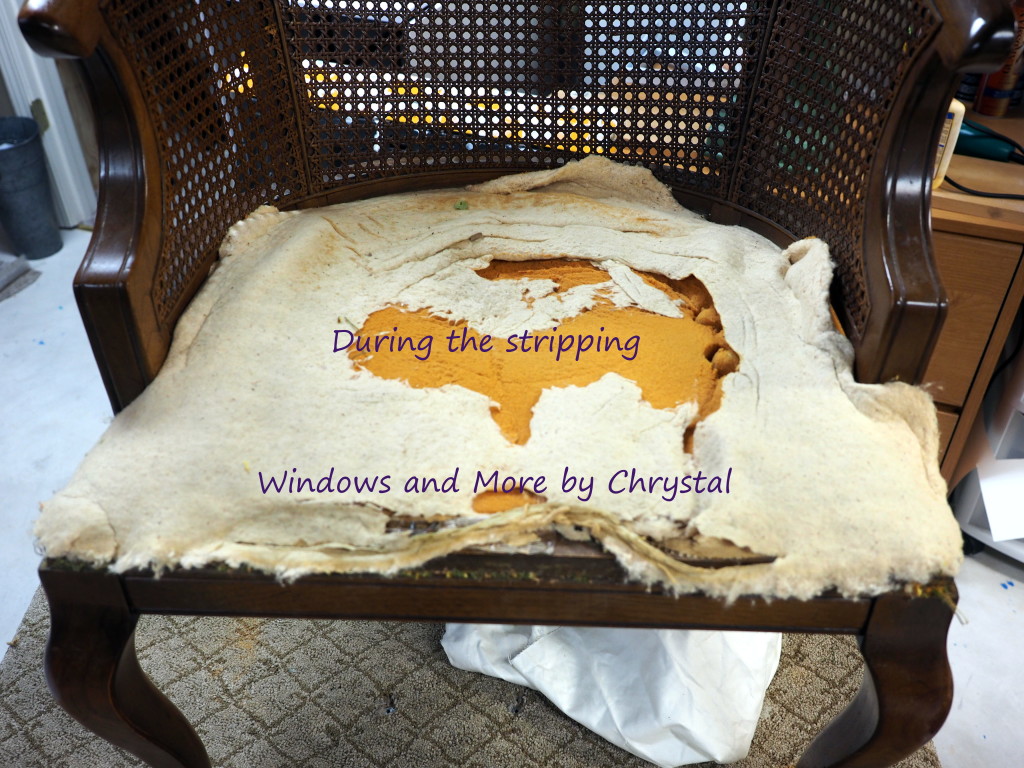
I start by pulling off the cording along the edge. Usually I can grab it with a pair of pliers and just pull it off, which exposes all the staples. Then you have to carefully remove them without damaging the wood. Some people think that these kinds of chairs would be easier to re-upholster, but actually it is more difficult, because you do have to be careful of damaging the wood. So once you have the fabric removed you can see that everything is going to have to be replaced.
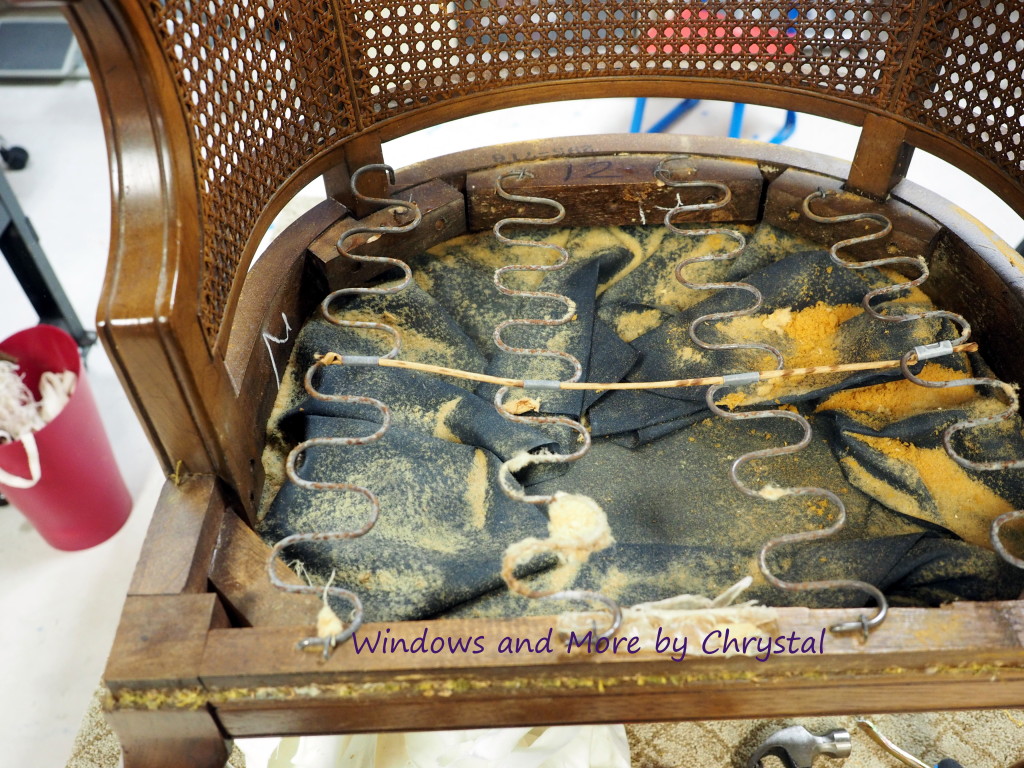
As you can see the springs are in bad shape, some are broken, or coming off the chair.
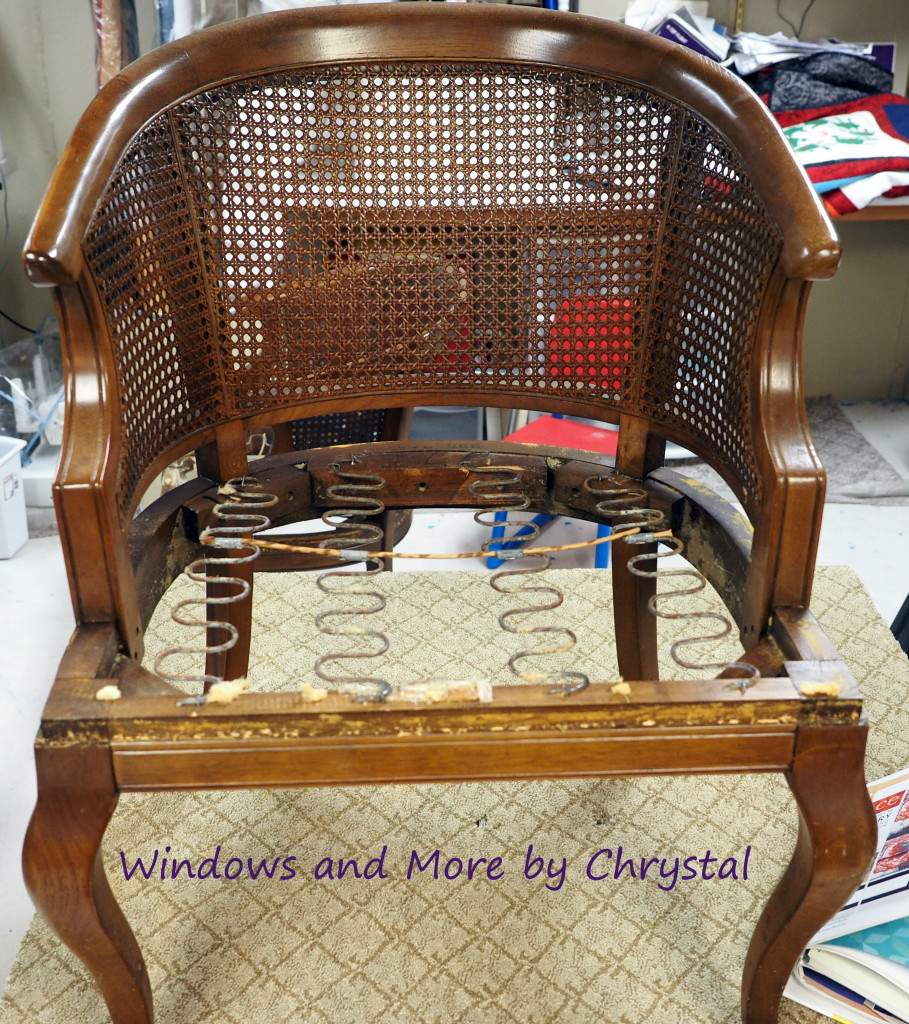
The chair is completely stripped except the springs.
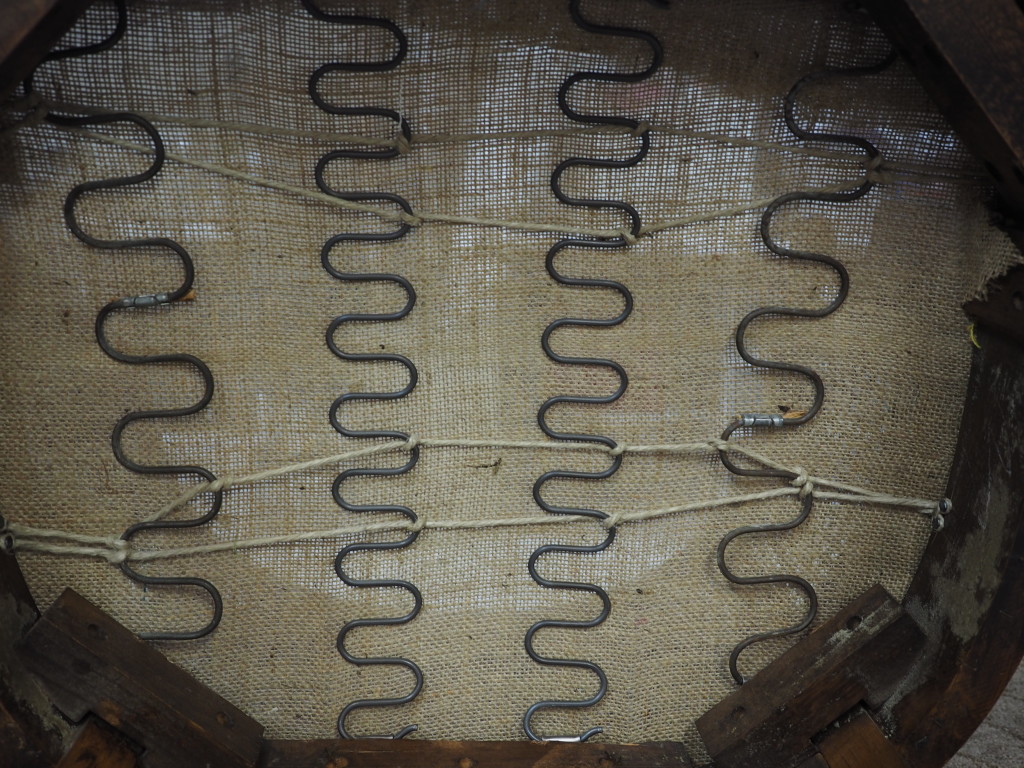
I forgot to take a picture of the springs before I put the burlap on over them, so I turned it over and took one looking up under the chair. I actually reused the side springs, they were still in good shape, just needed re-attaching and tied. The chair now has a slight dome effect to it.
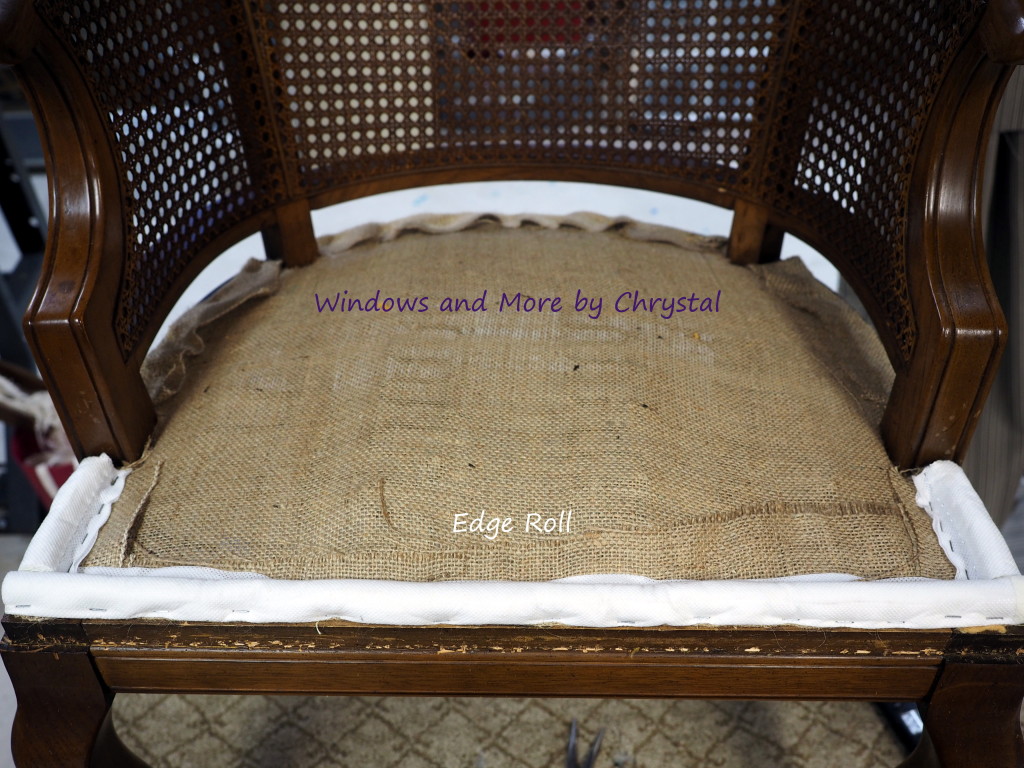
After fixing the springs, I covered them with a burlap and attached an edge roll all along the edges.
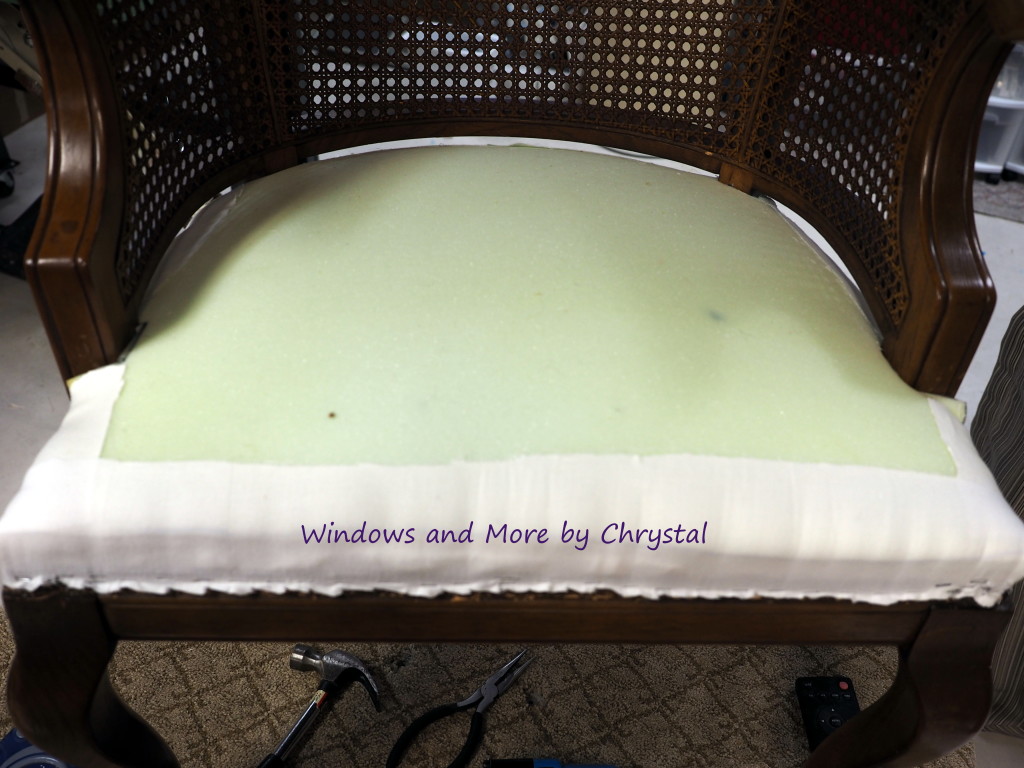
Then I added the foam. I attach fabric to the edge of the foam so I can pull a nice smooth rounded edge to the chair. Then I applied a layer of batting over the foam.
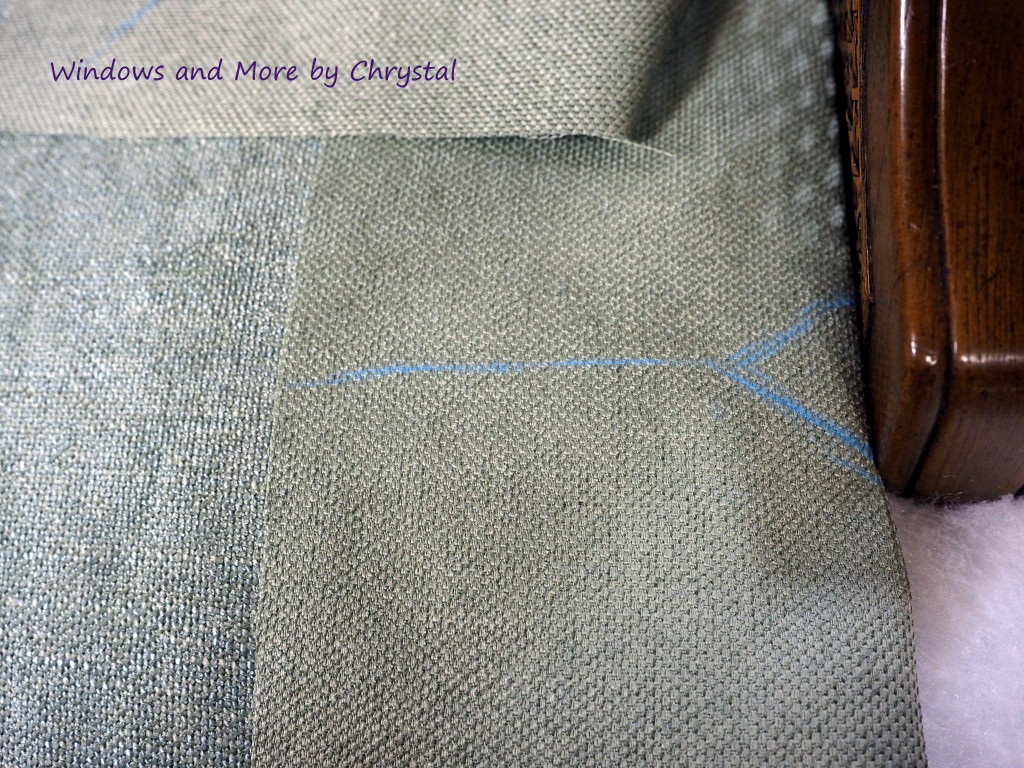 Then comes the fabric. With wood chairs with posts or places that the arms or back attach to the seat you have to make Y cuts to get around them. Here I have marked my cut, before I make it. These are all techniques I learned last year, when I went to Atlanta last year for a week and took the Upholstery class.
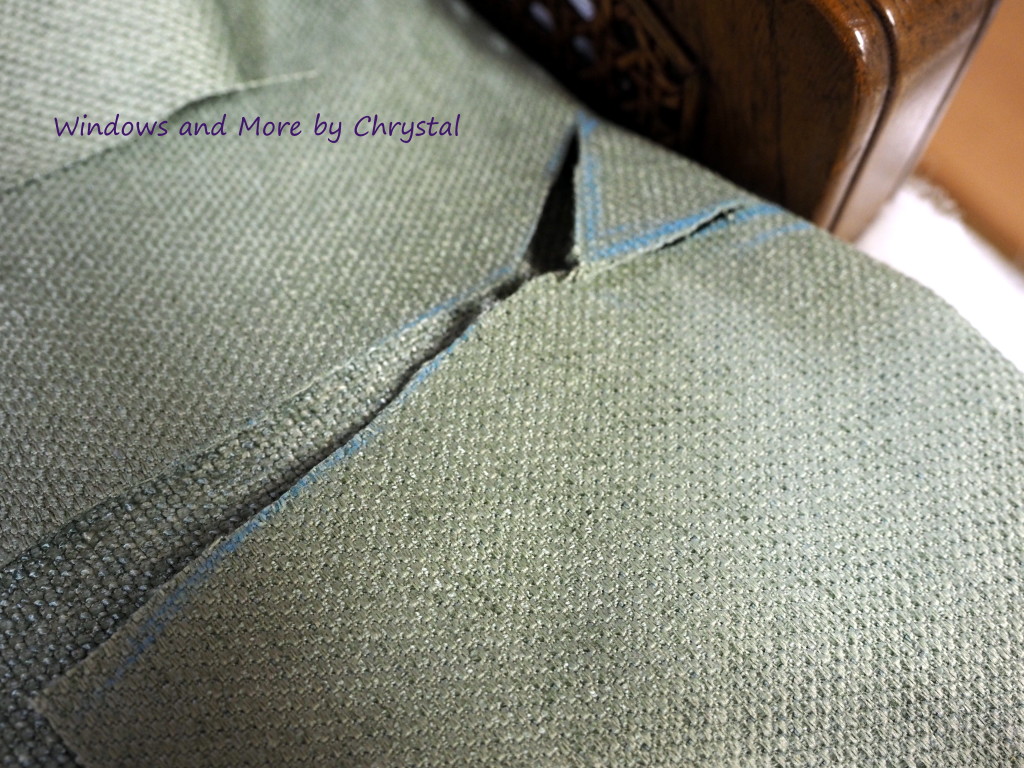
Then I have to take the brave step of cutting the fabric!
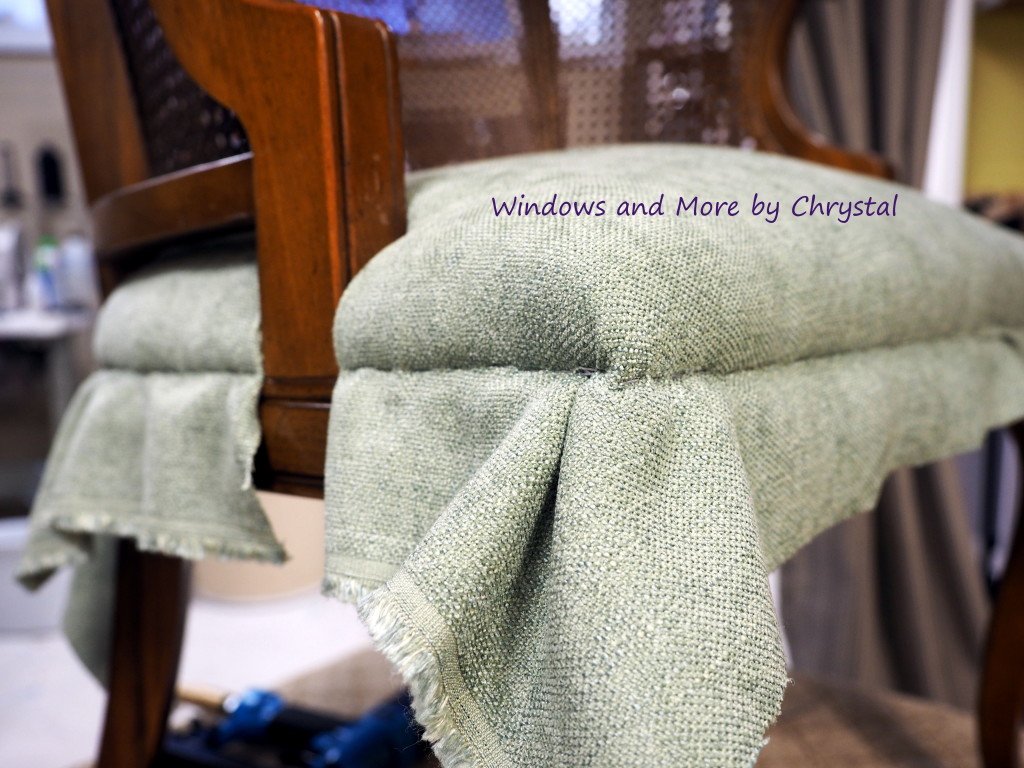
Once the cuts are made, and the fabric is in place, then you can start stapling. This is where a long nose pneumatic stapler comes in handy. The long nose, lets you get the staples into the ridge around the chair and the pneumatic part lets you go fast!
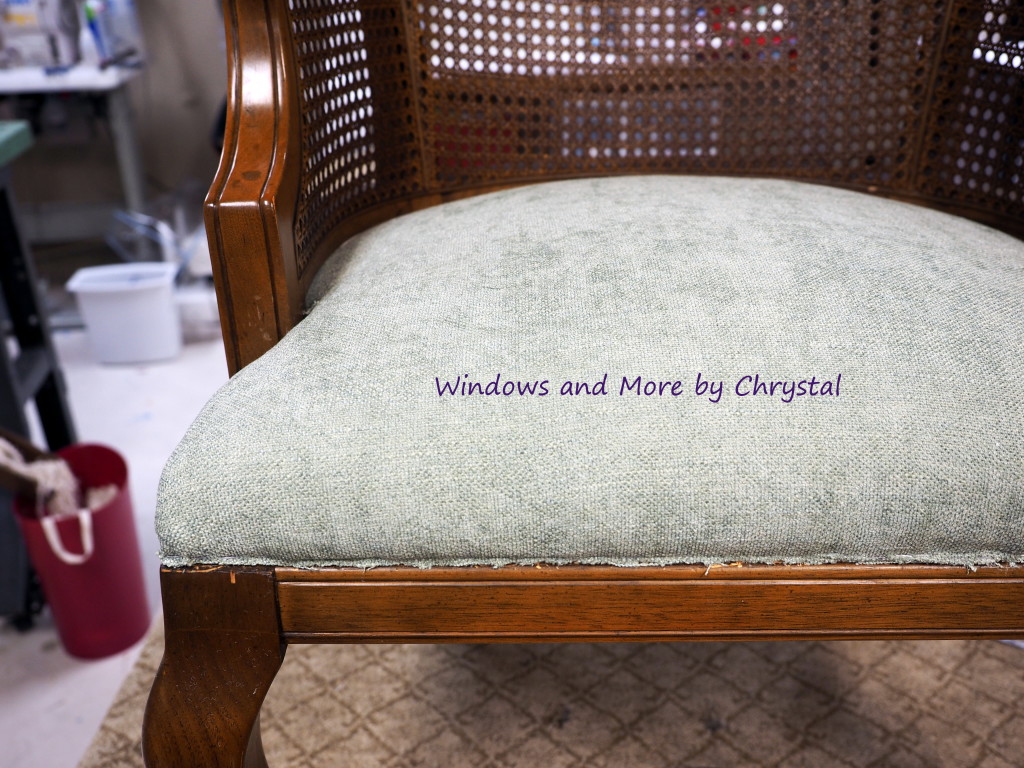
After the stapling is done then you trim the fabric close to the staples, and it is ready for welting/cording around the edges.
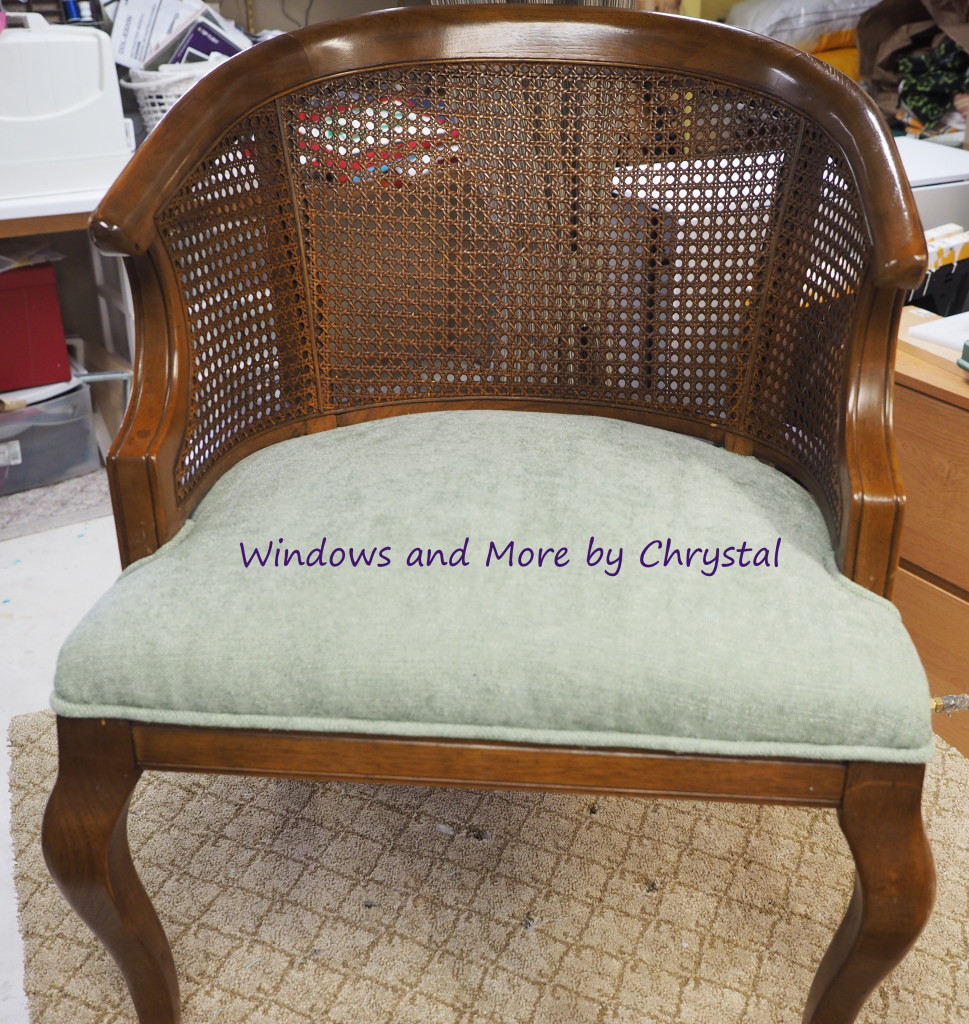
I almost always make my welting on the bias, so it goes round curves and corners nice and smooth. Then you hot glue the trim over the staples and join it in an inconspicuous place.
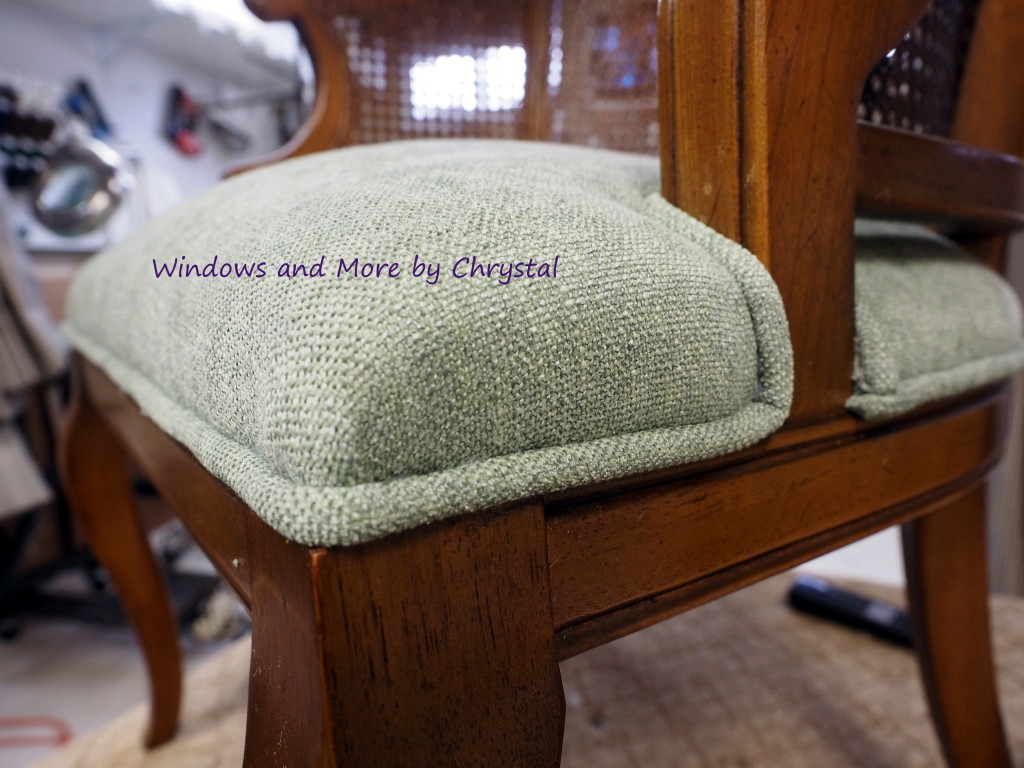
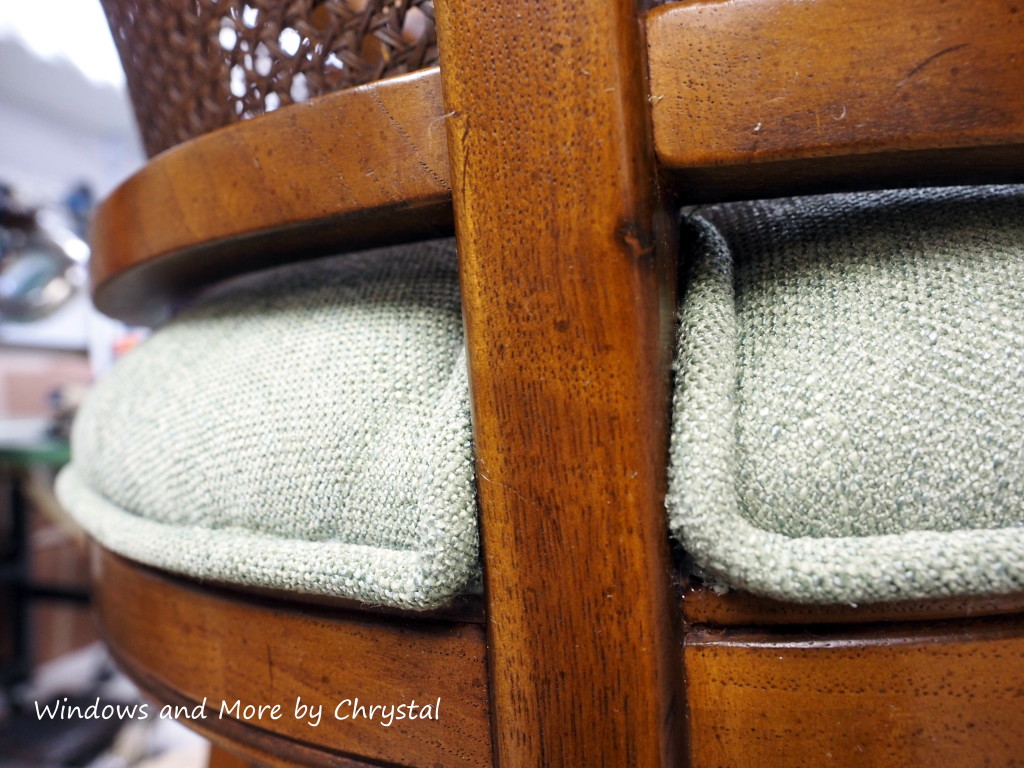
And Wha La! the chairs are done! Wasn’t that easy! 🙂
So from this,

To This, a new pair of classic chairs, that can go anywhere in your home.
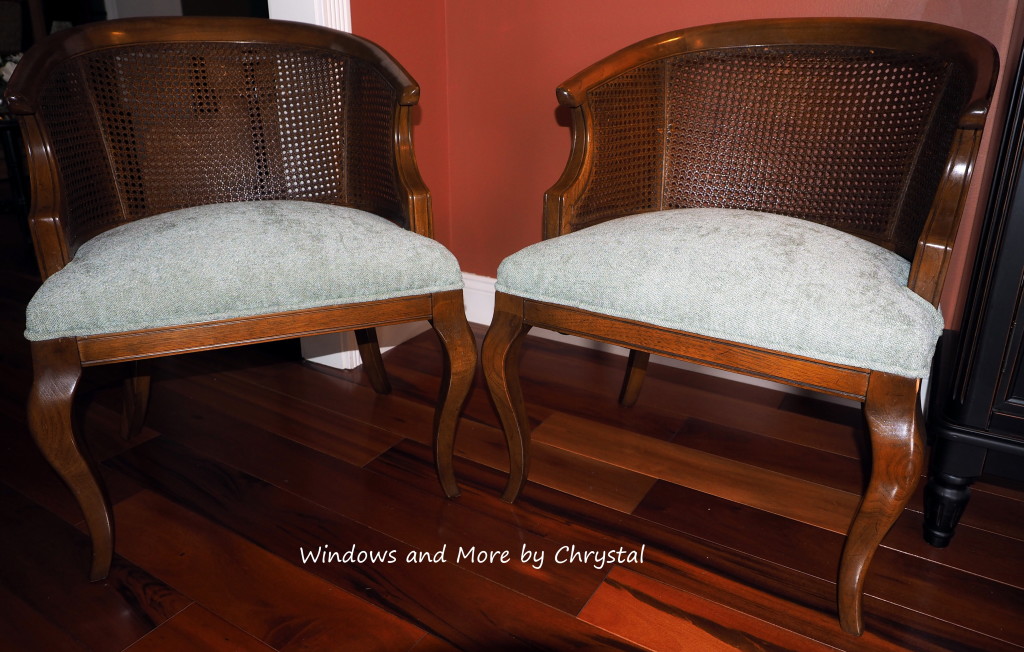
Hope you enjoyed the process! If you have a couple of chairs that need fixing just let me know!


2 Comments
Leave your reply.